Help
Everything you need to get growing with Trug.
Getting Started
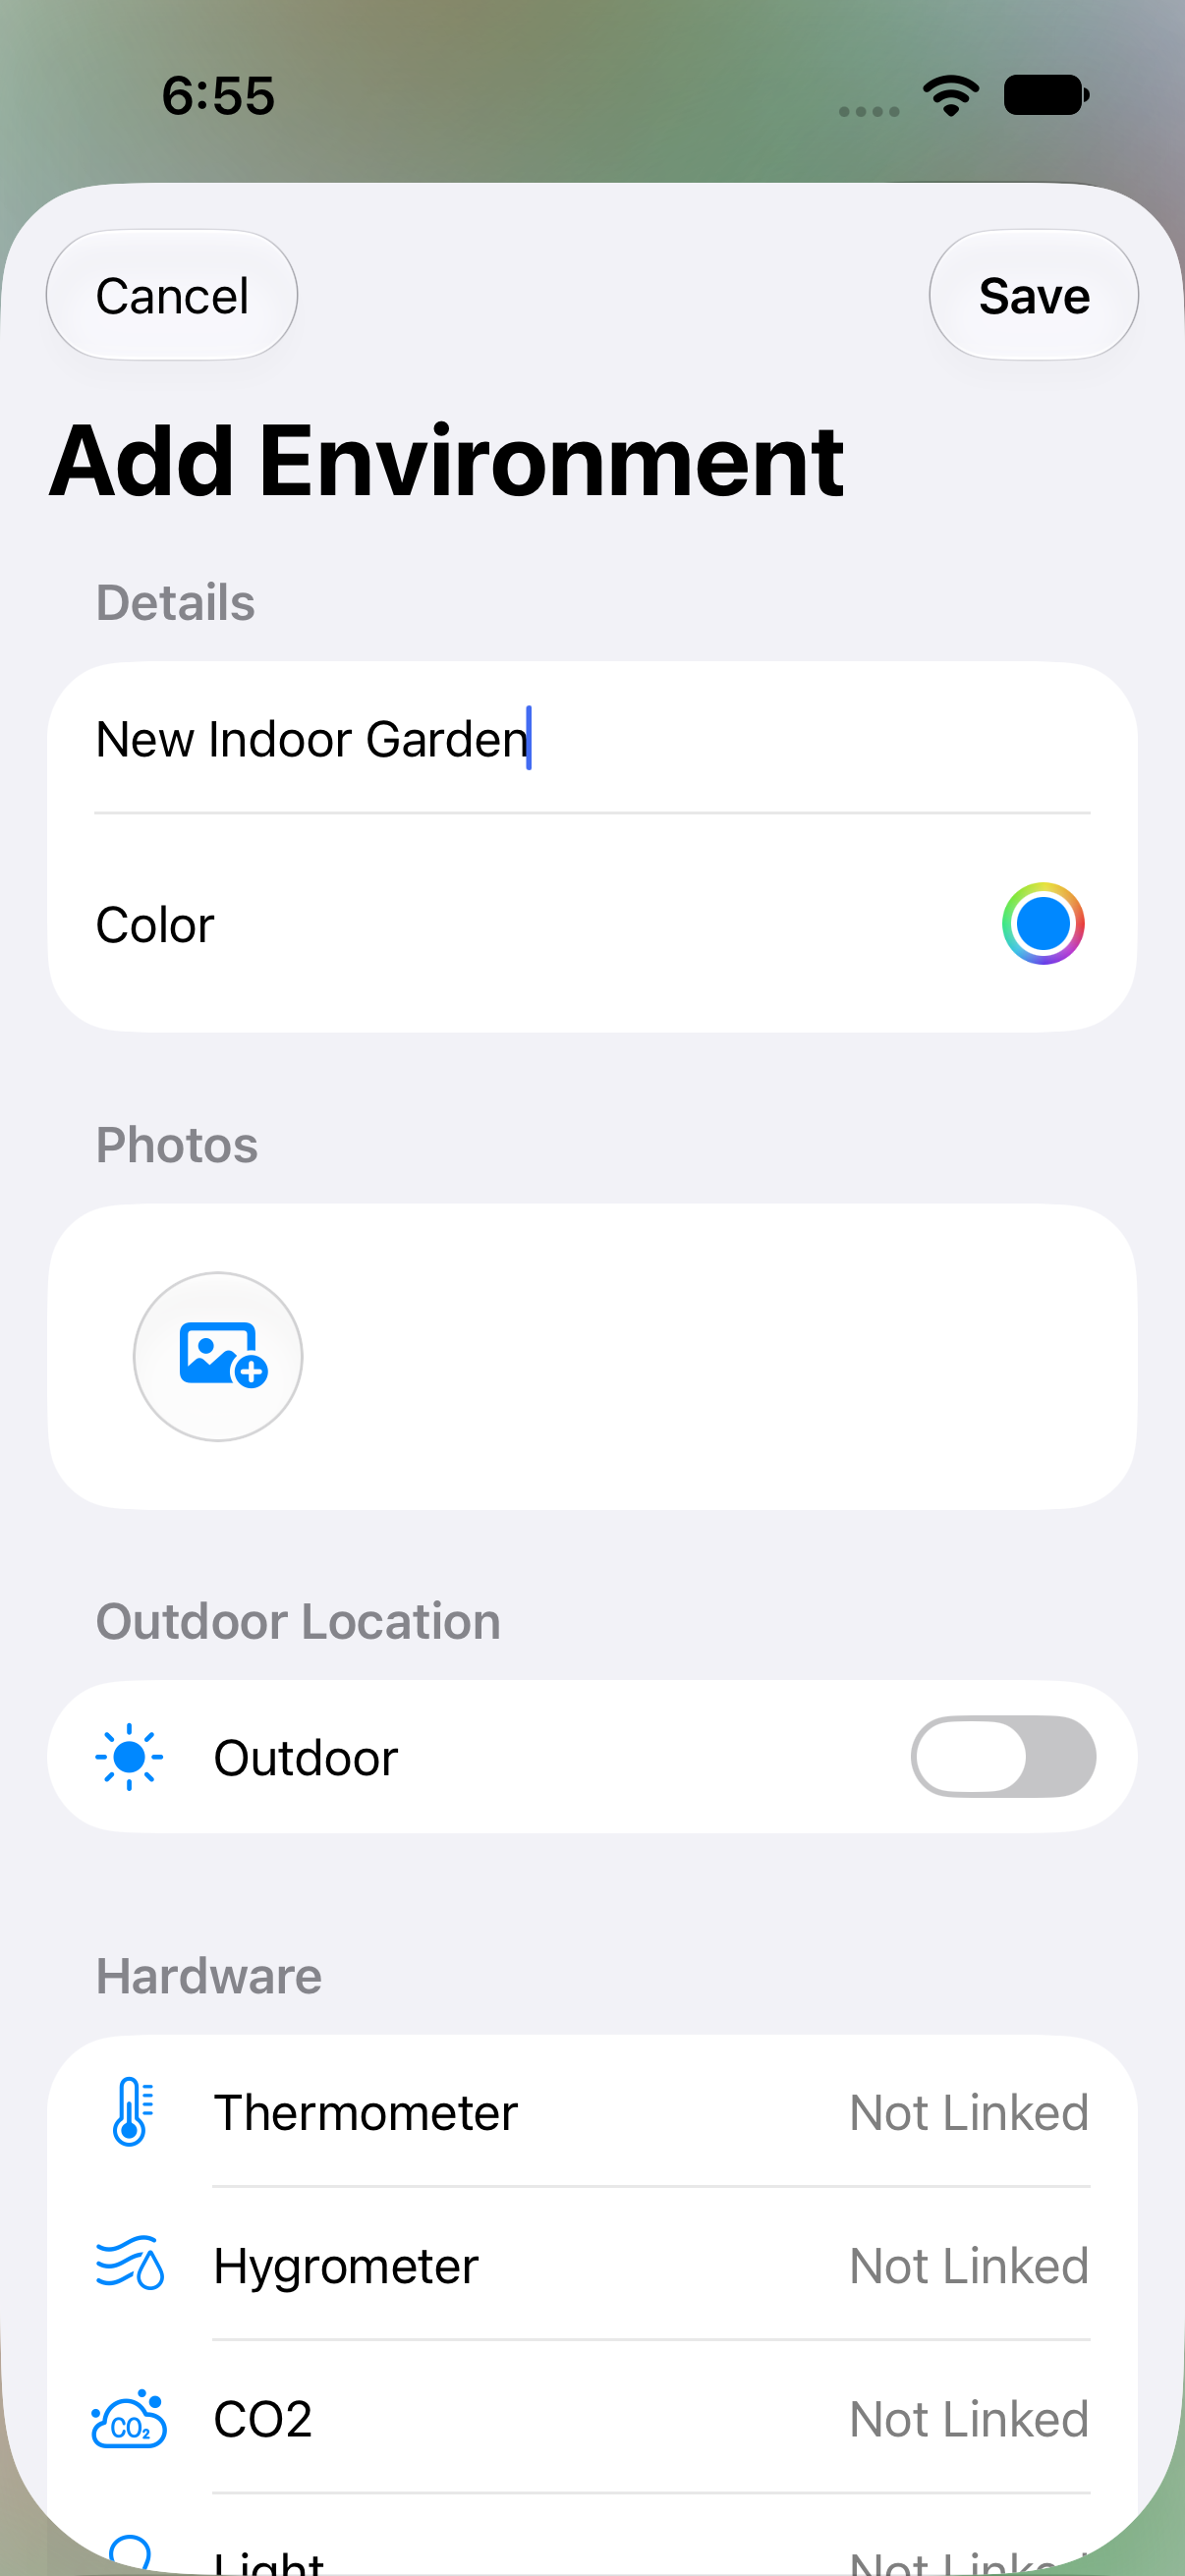
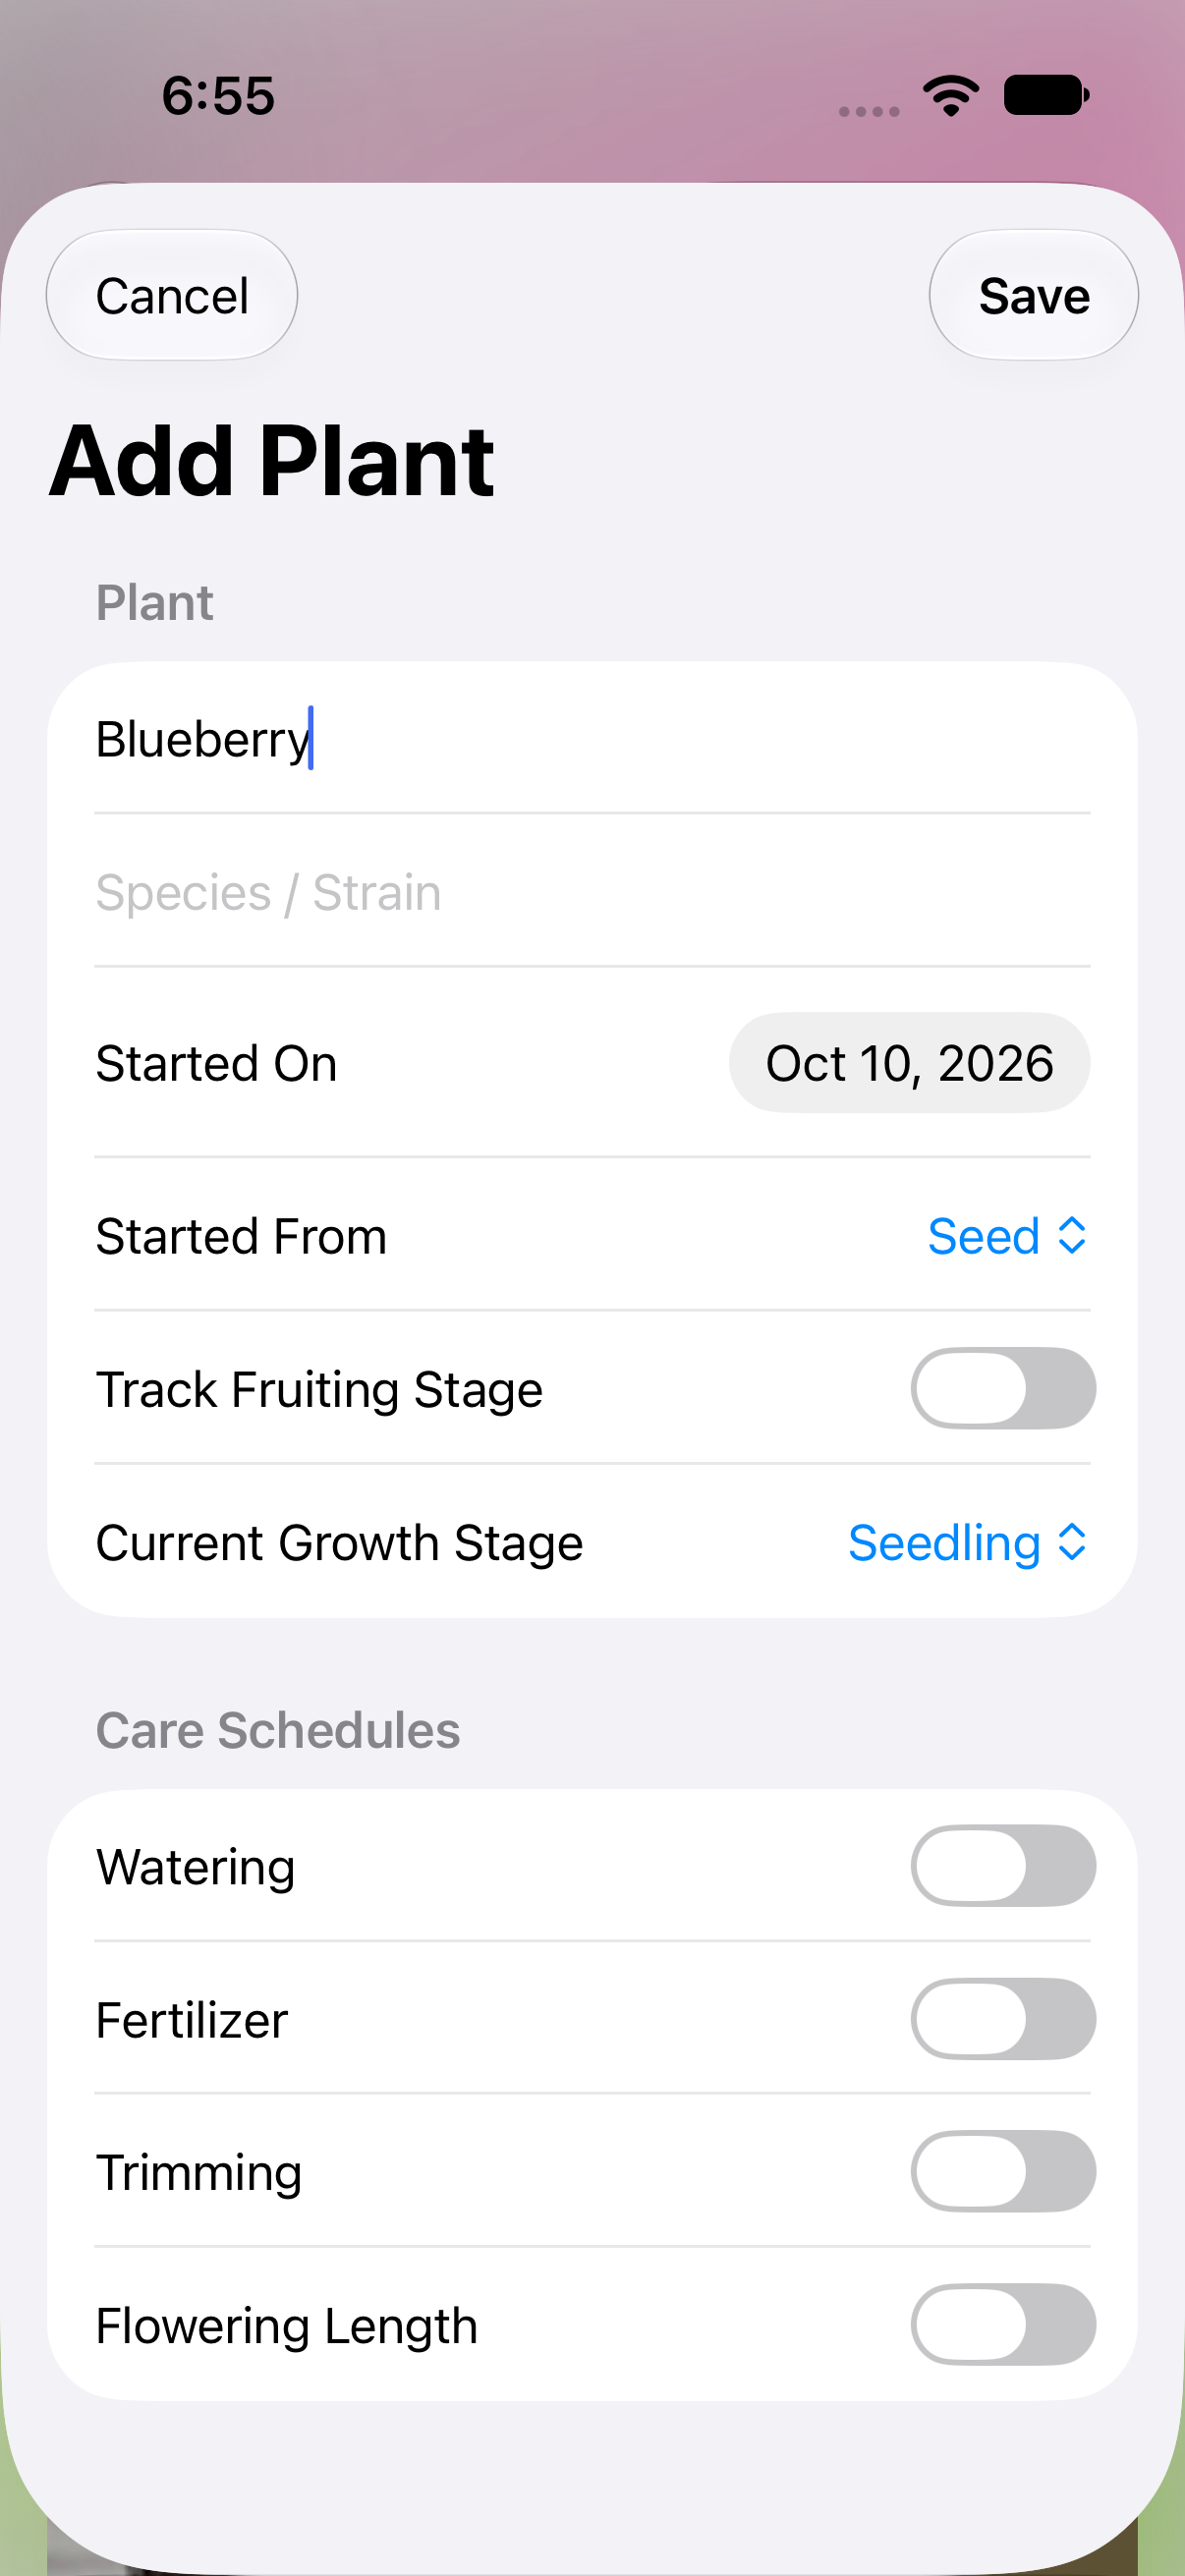
Start by creating an Environment — a tent, room, or shelf you name and customize with your own photo or icon. Then add your first plant to it, choosing a growth stage (clone → veg → flower → harvest) so Trug can build the right care schedule from day one.
Logging Actions
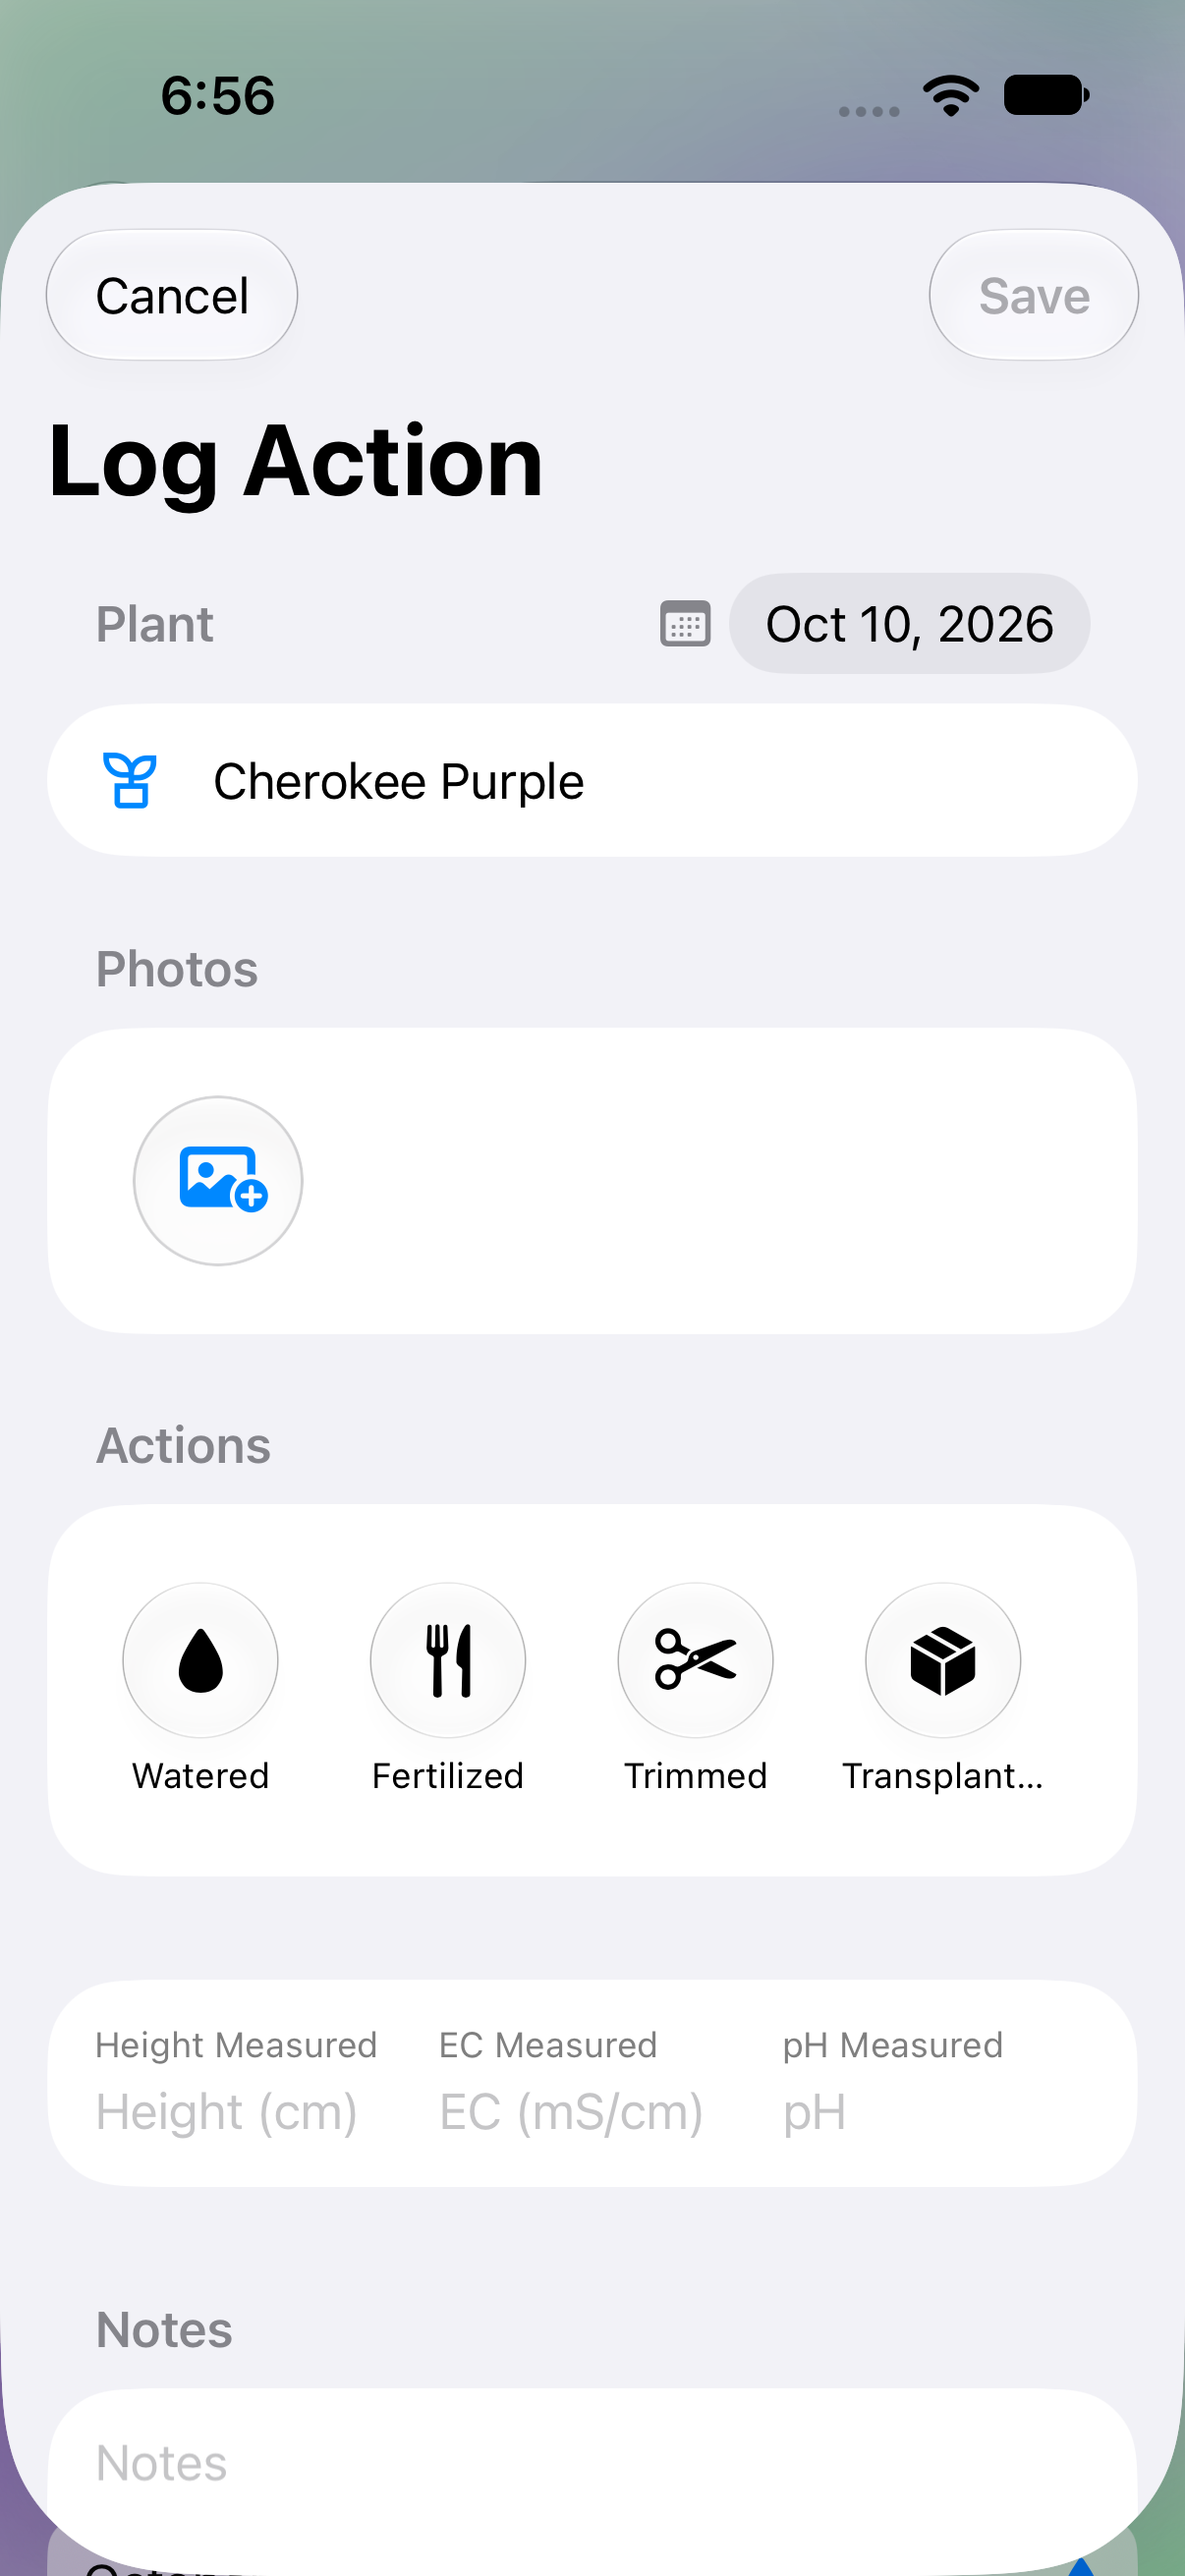
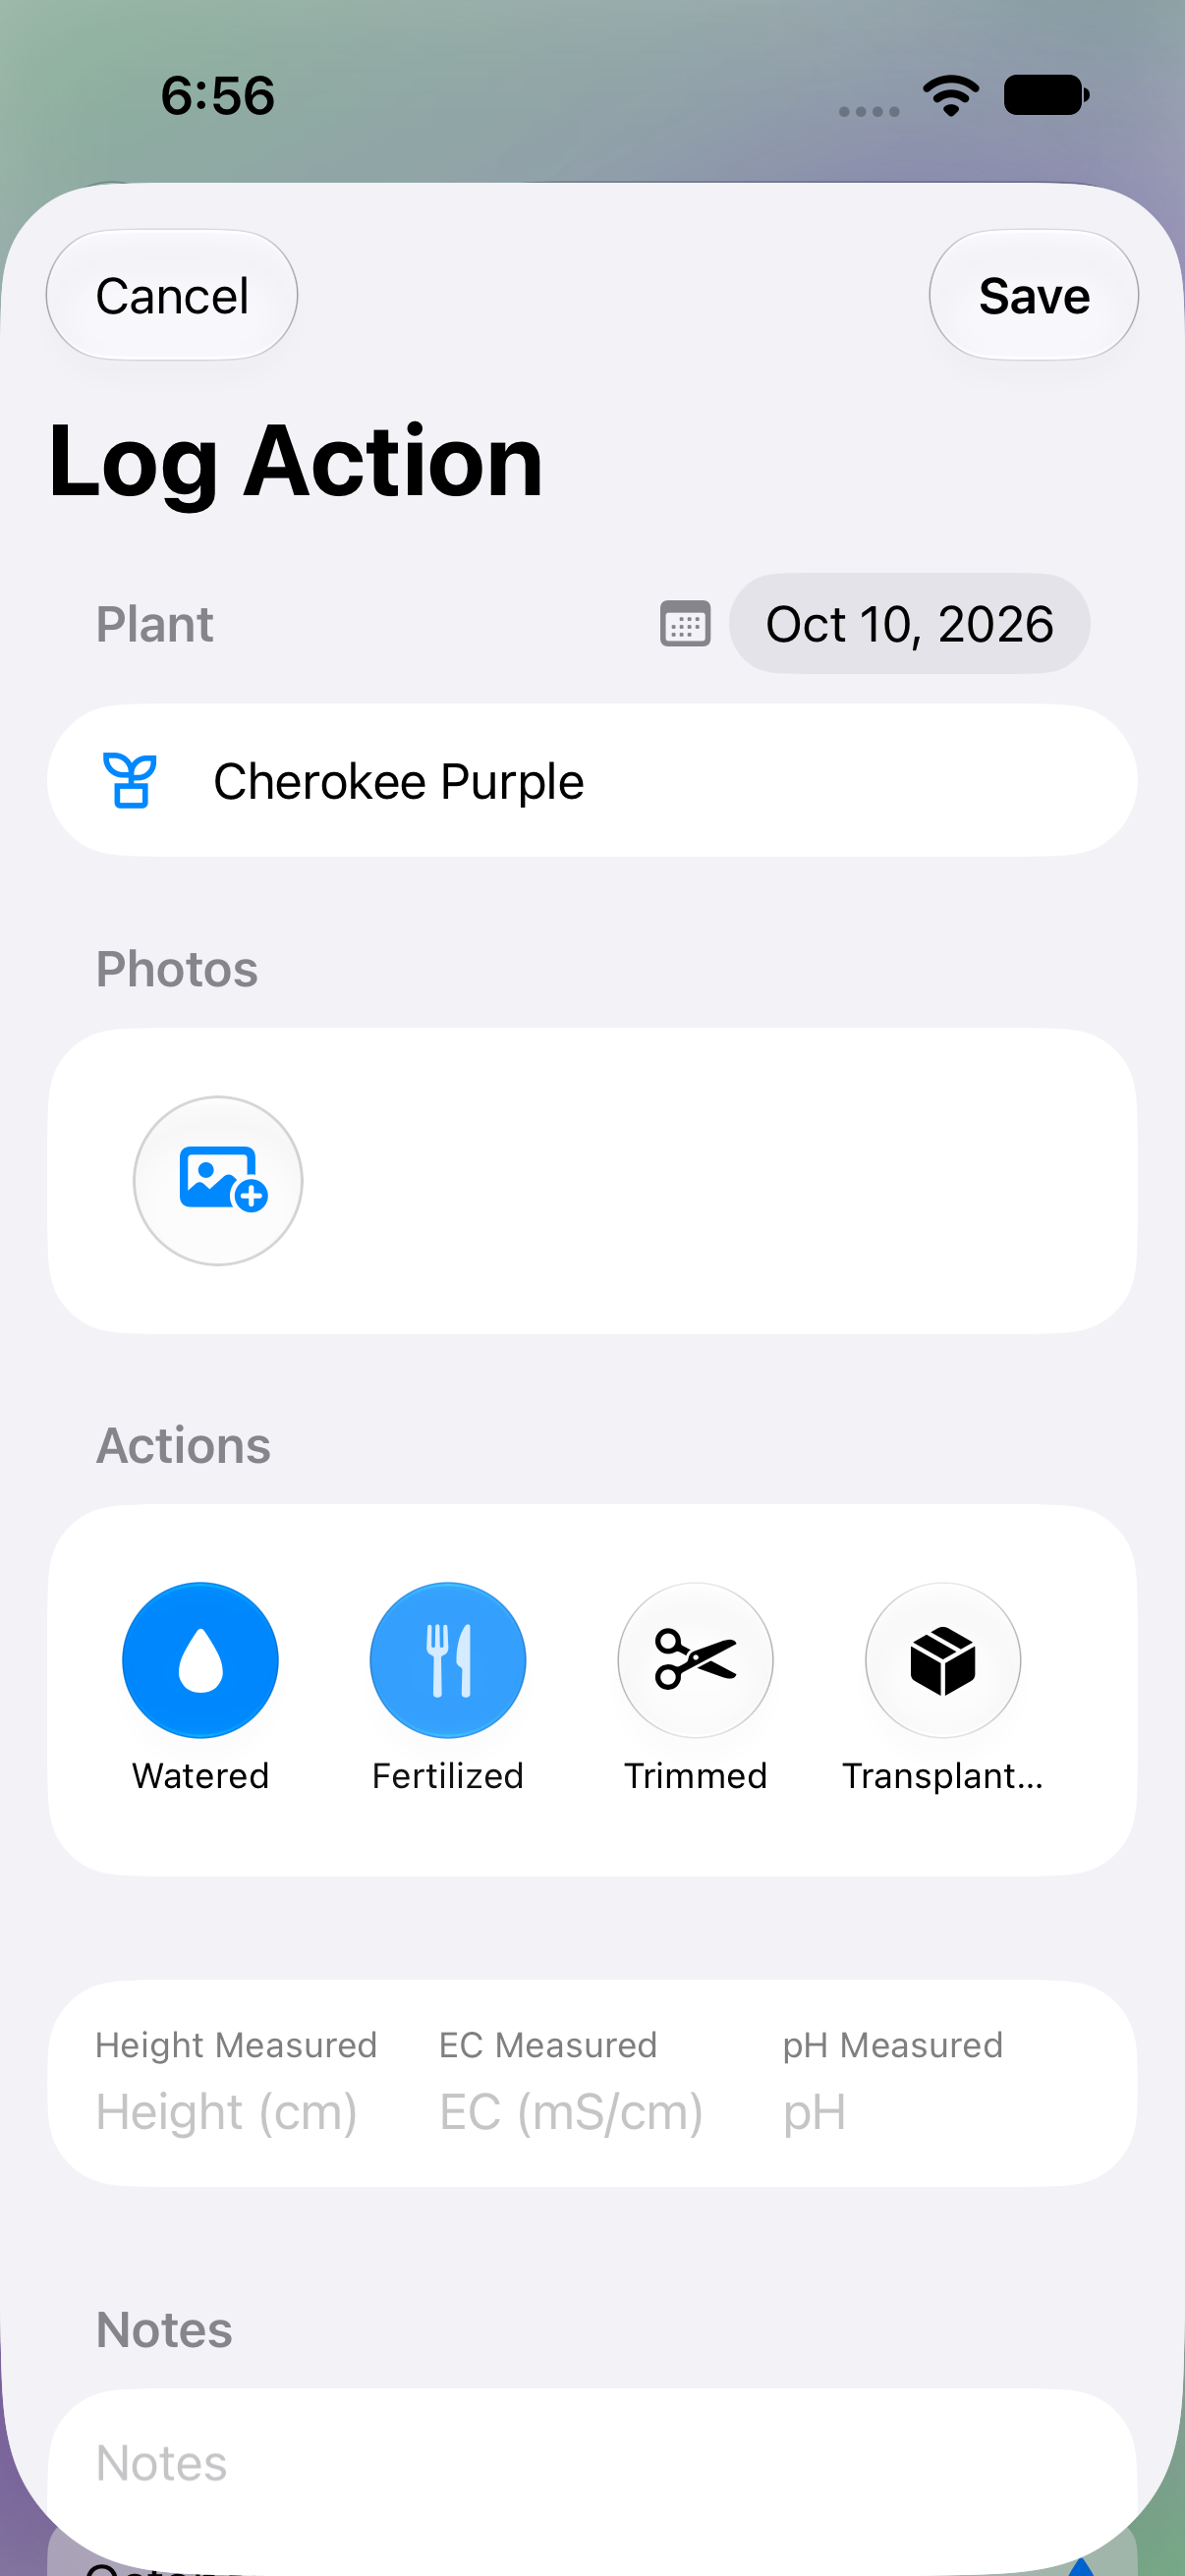
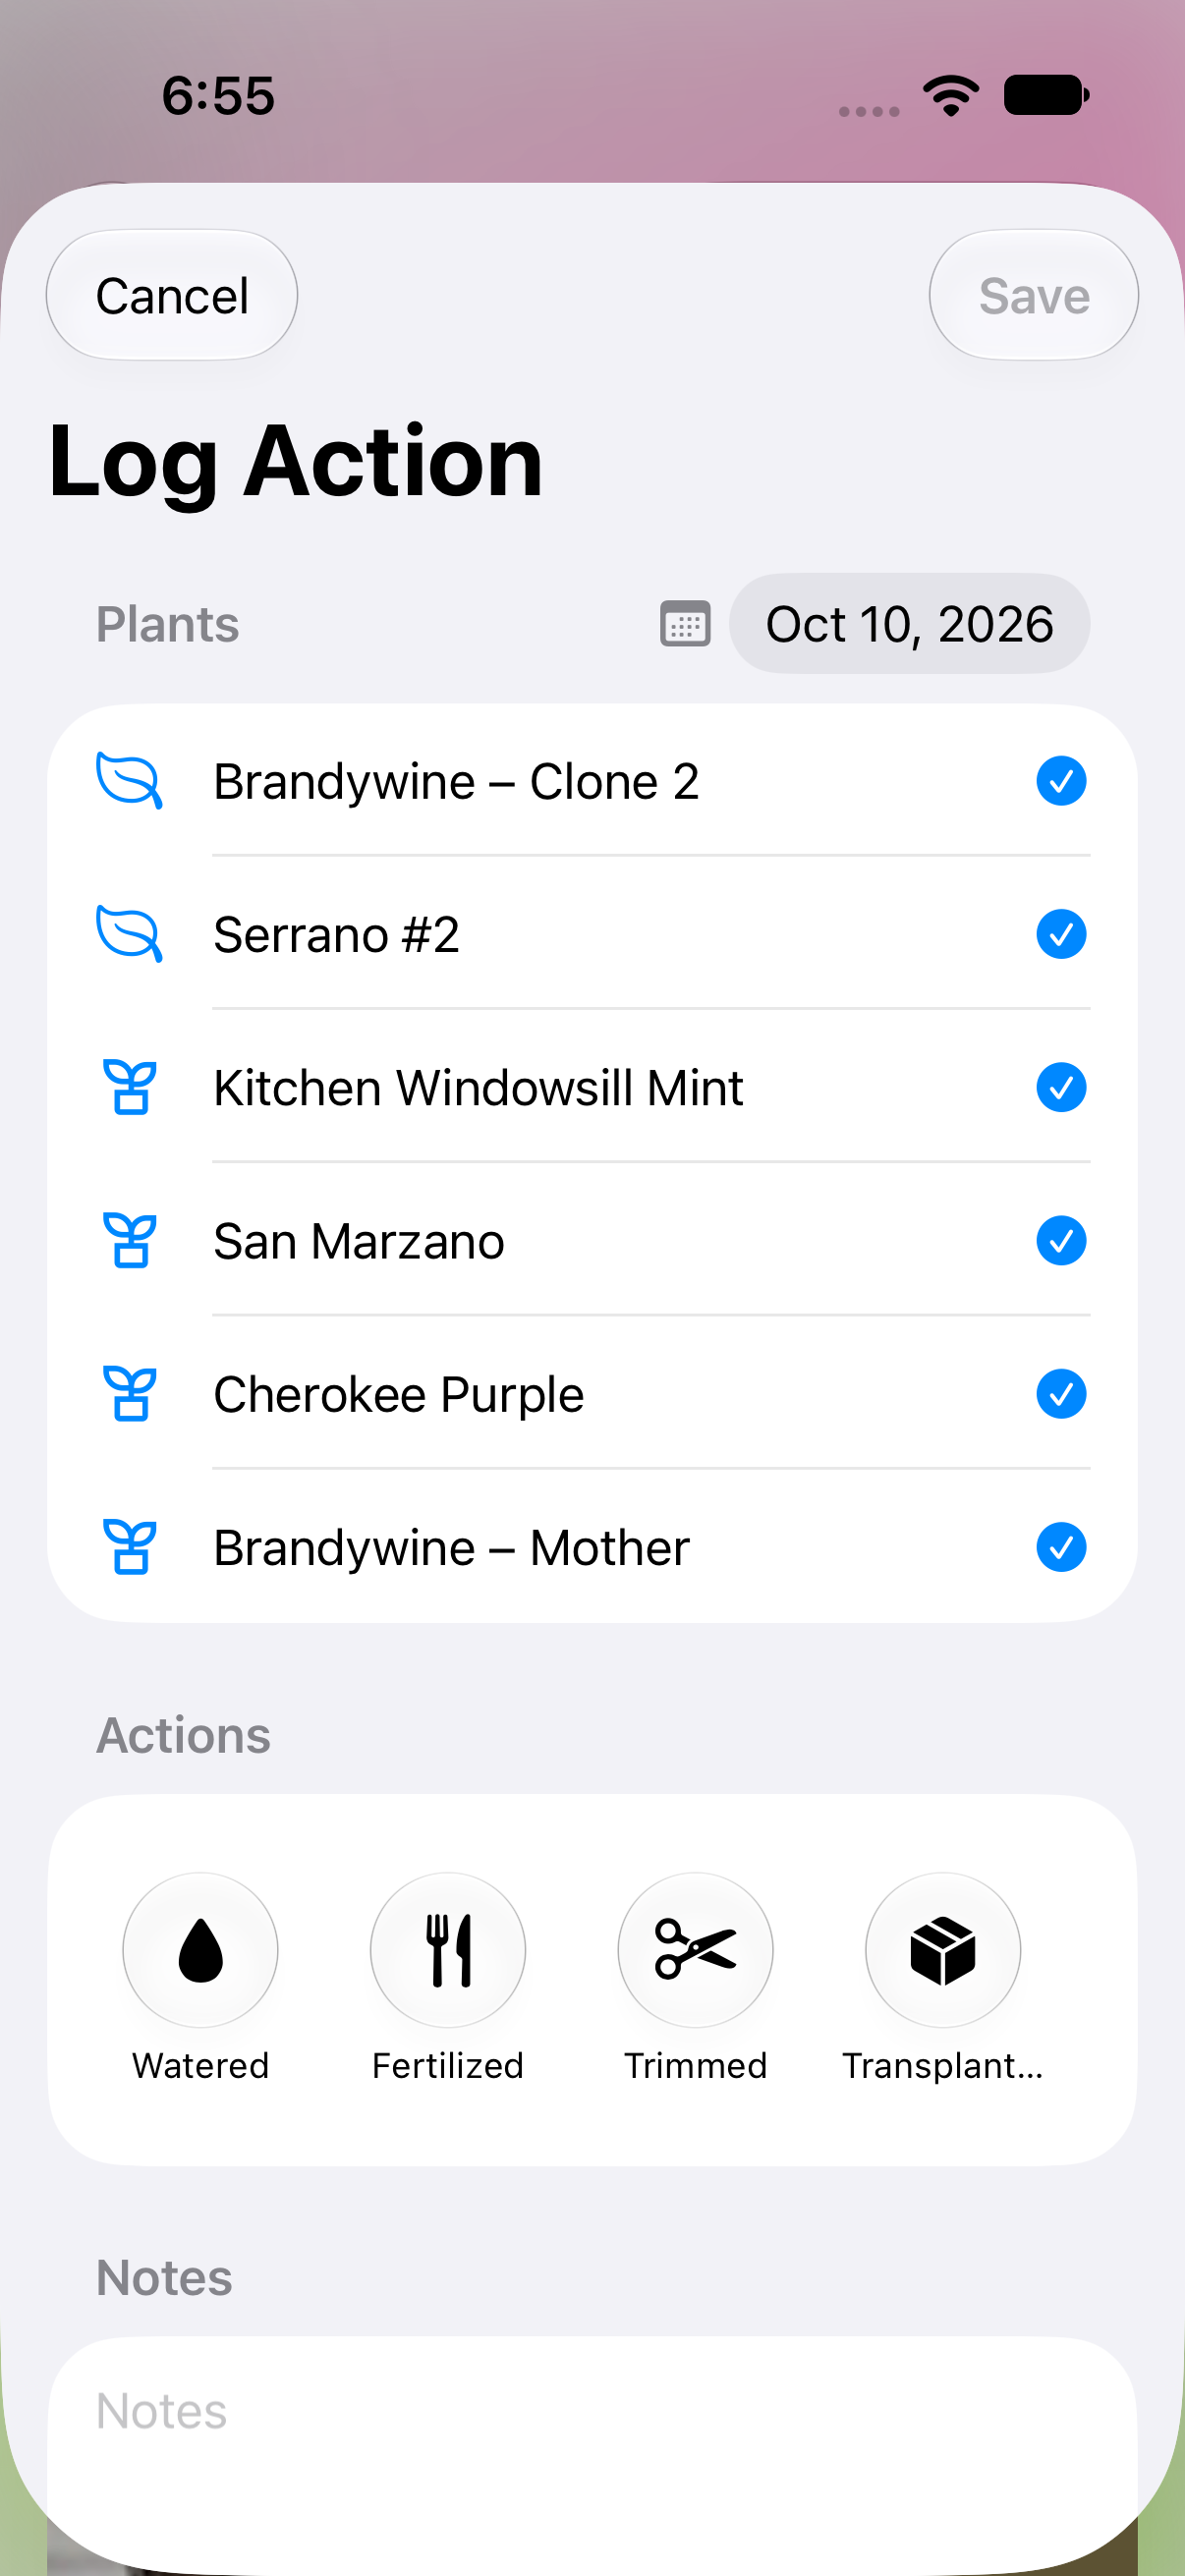
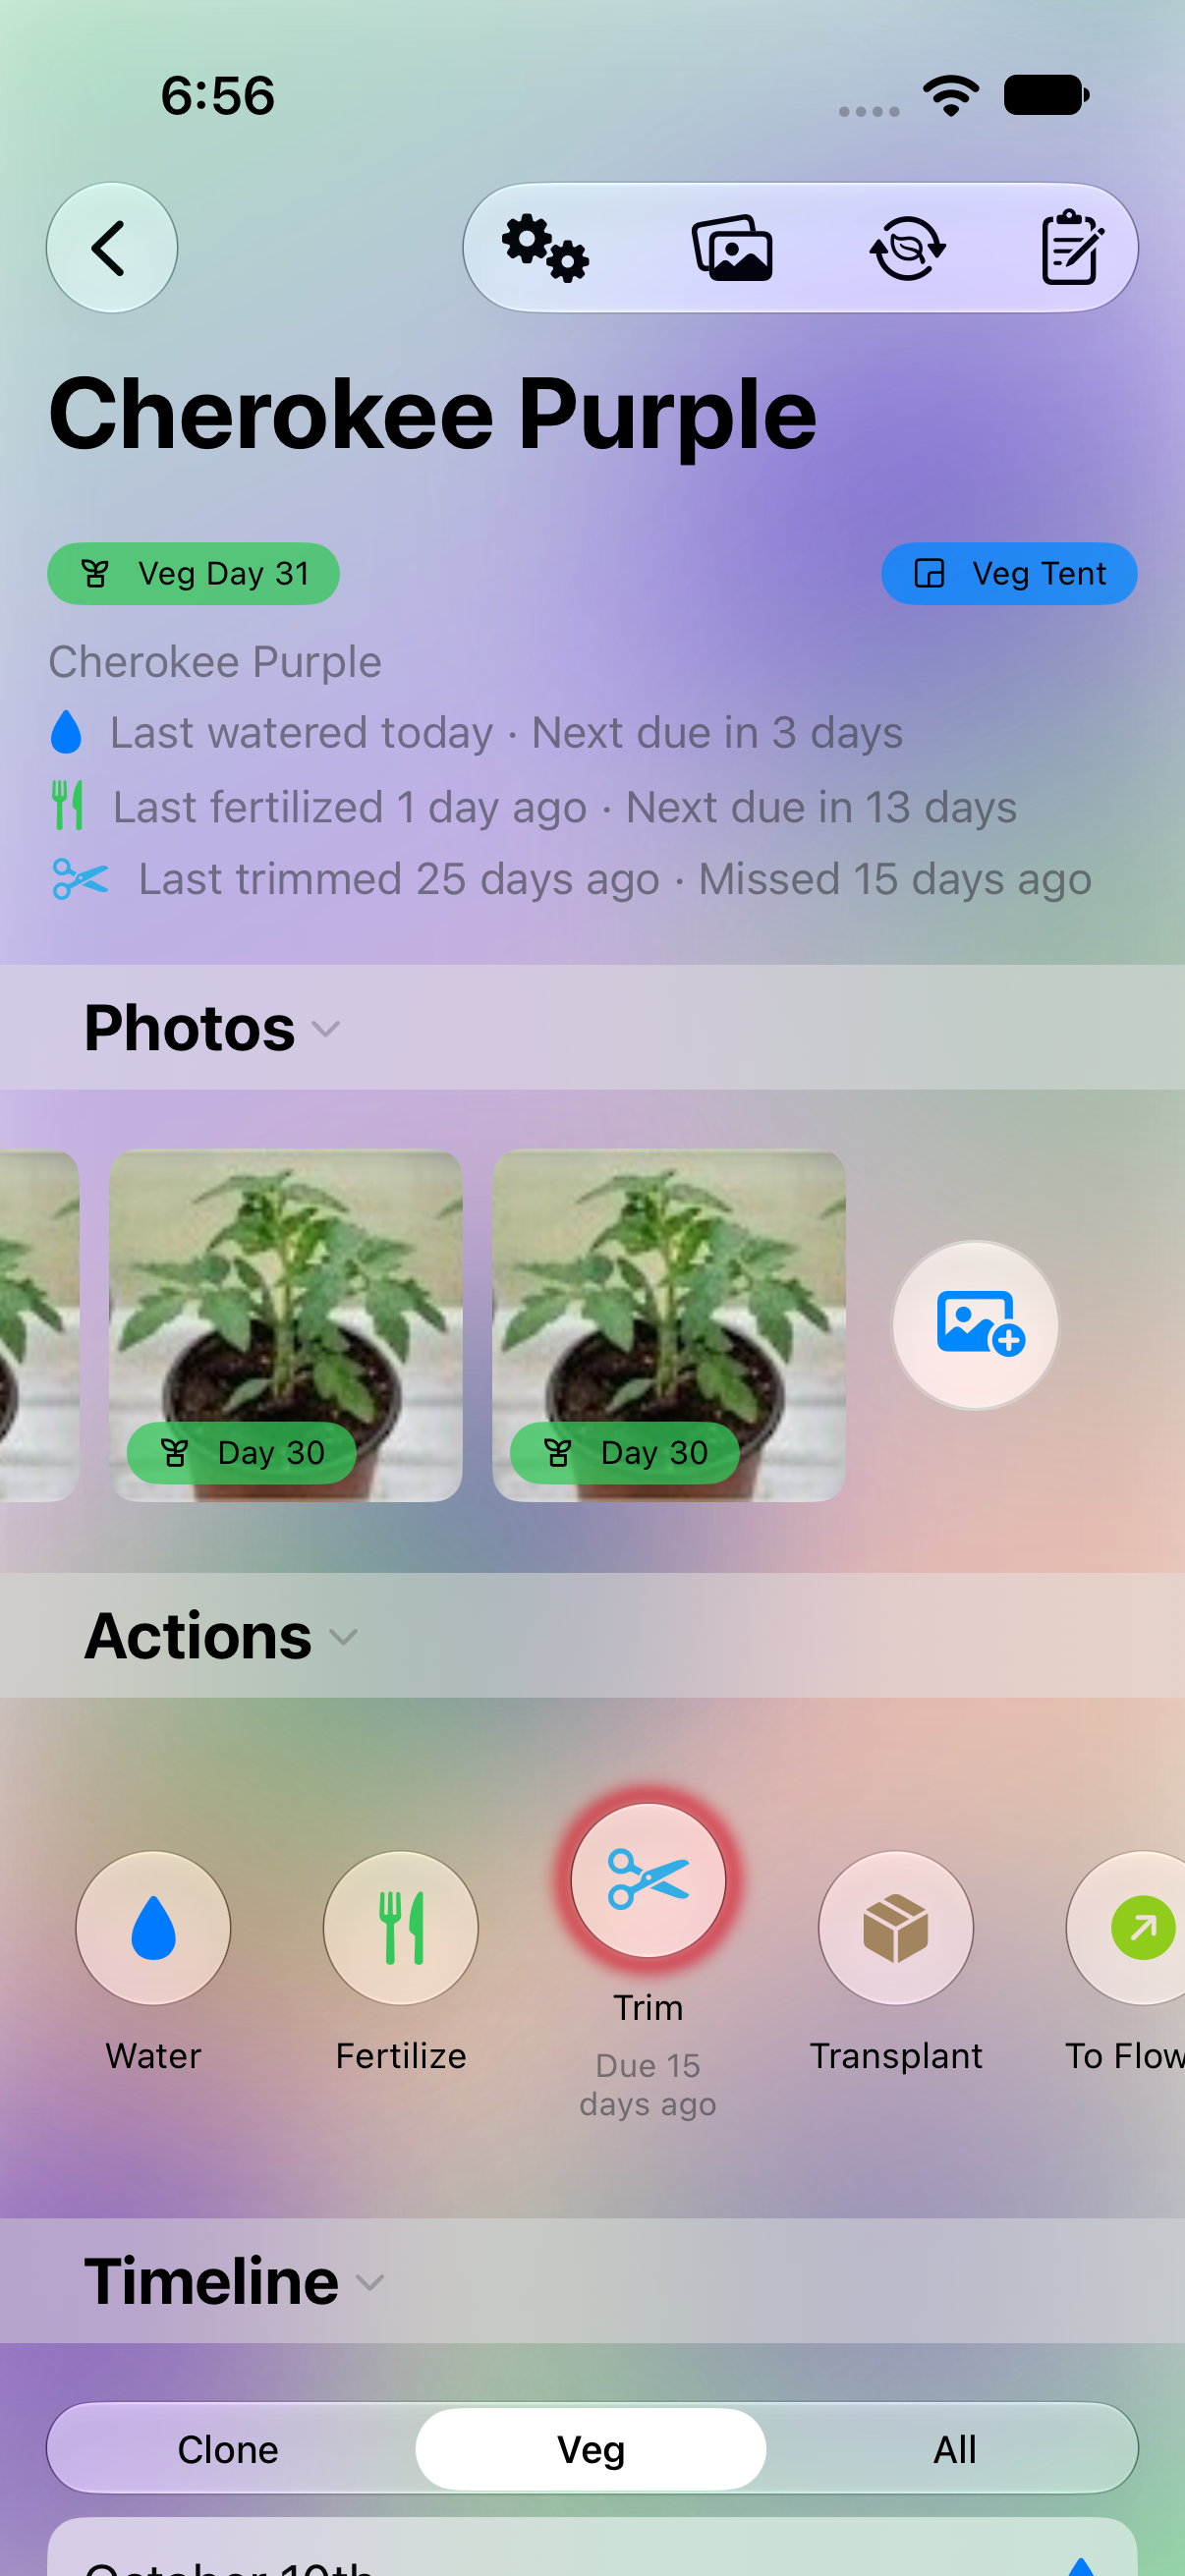
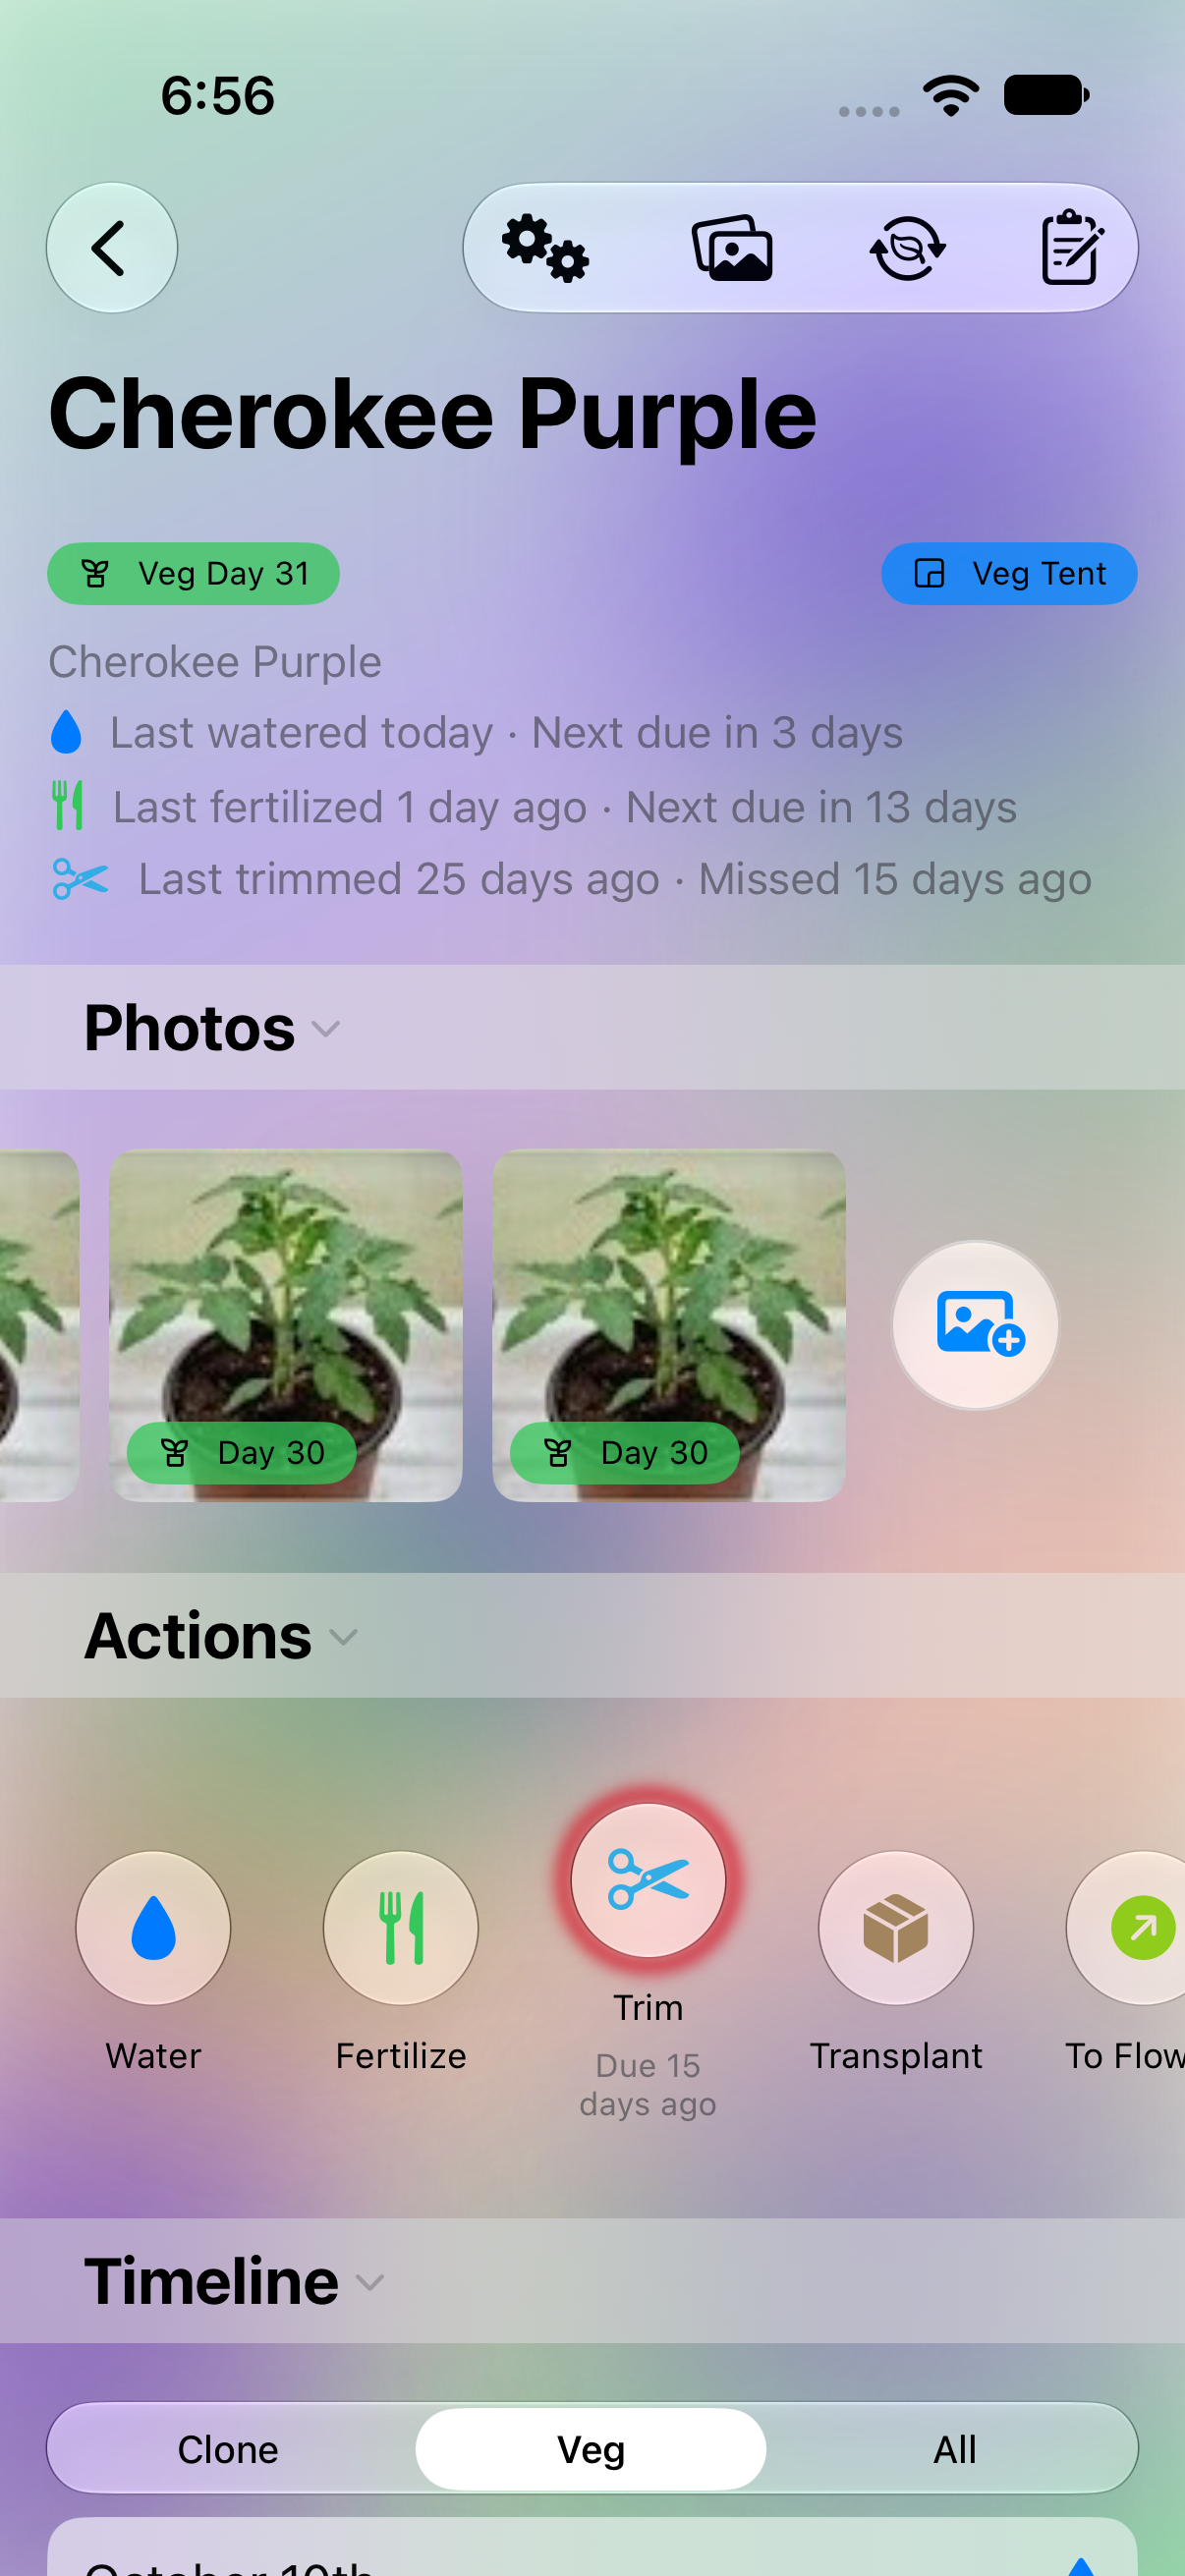
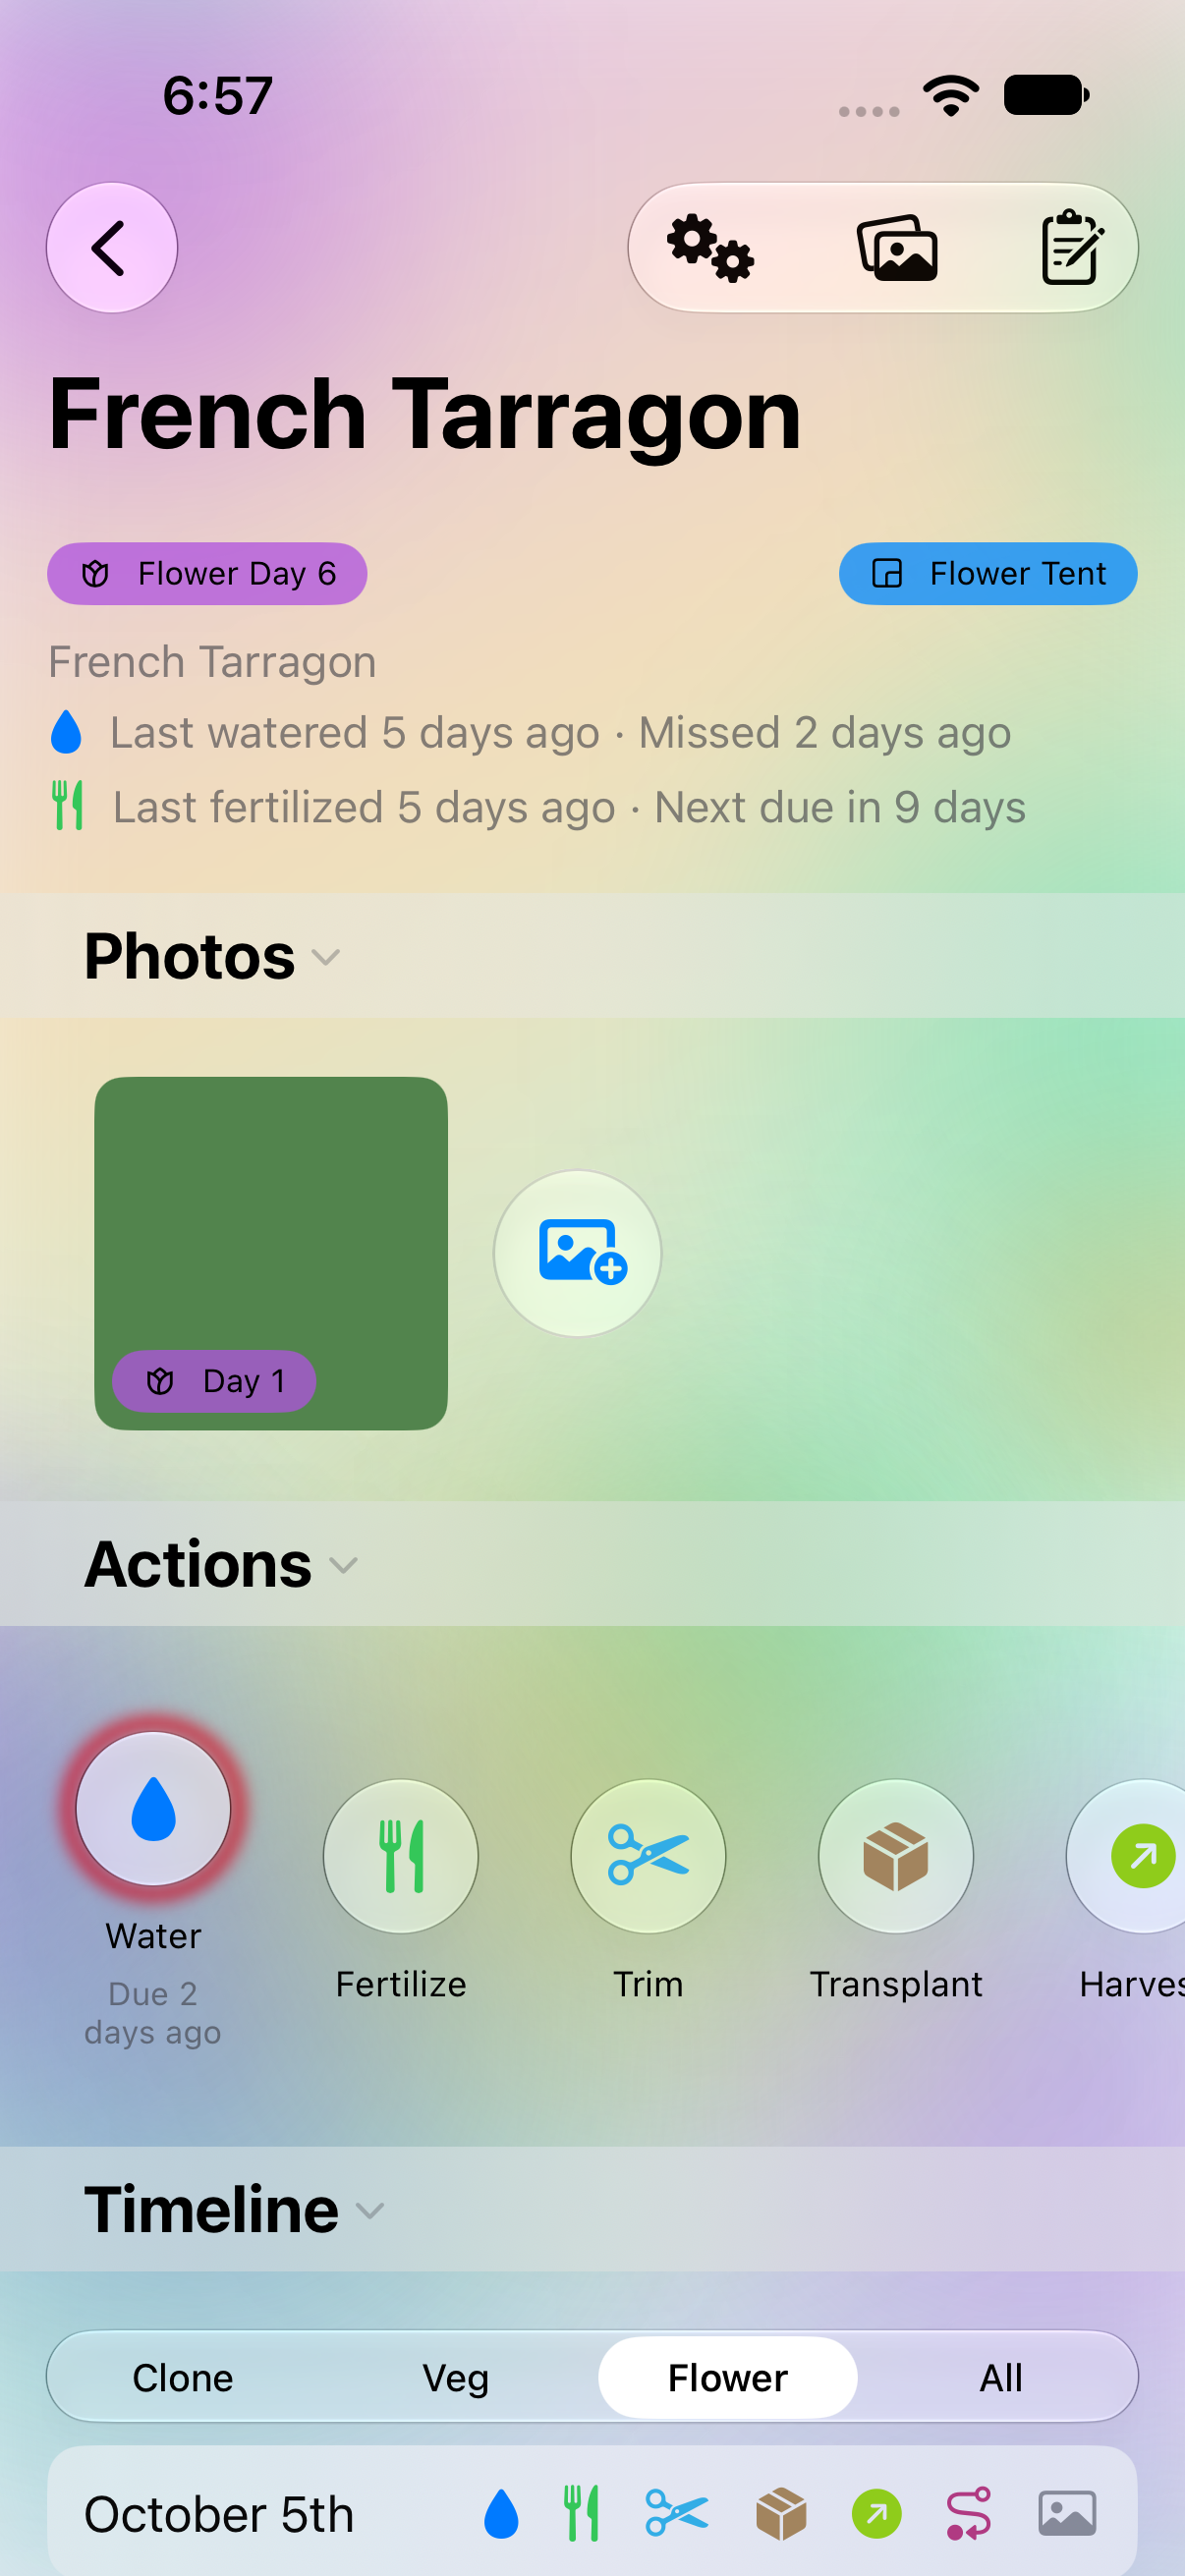
Log watering, fertilizing, trimming, and harvests in a single tap from a plant's detail screen. Need to log more than one thing at once — say, watering and fertilizing on the same visit? Tap as many action chips as apply before saving; they're independent, not mutually exclusive. And if an entire tent needs the same action, open the log sheet from the environment instead of a single plant to batch-apply it to every plant inside.
Sharing Photos
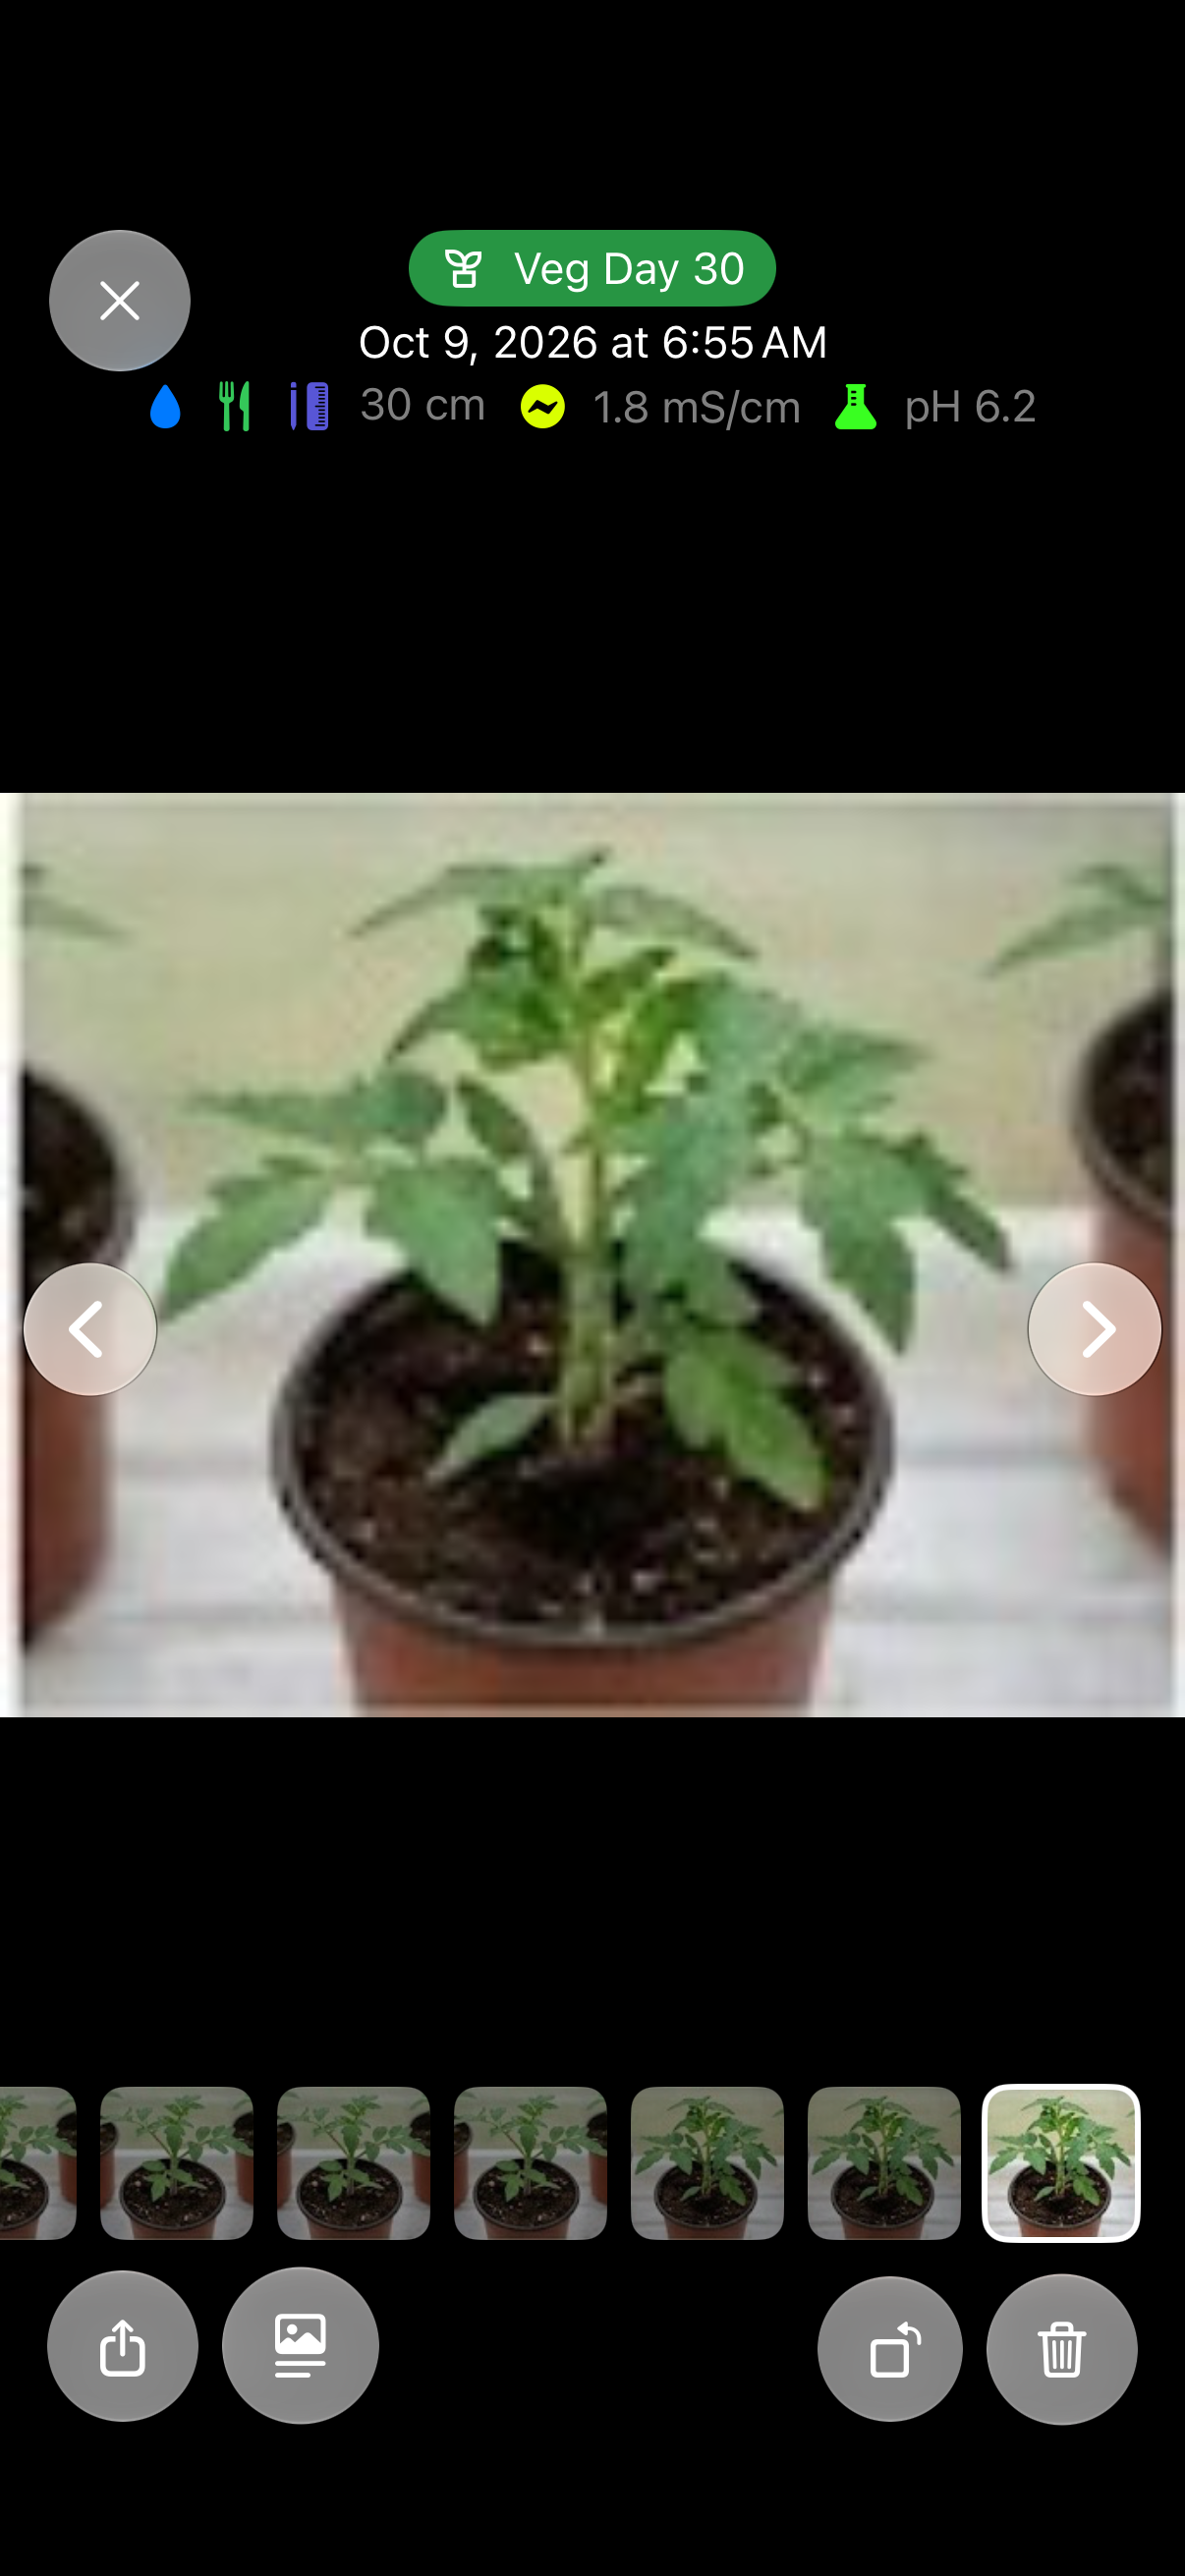
Every photo in a plant's gallery can be shared straight from the full-screen viewer — tap the Share button to bring up the system share sheet. The toggle next to it controls whether the shared image gets the plant's name and current growth stage composited into its lower-left corner as a badge, so you can post a clean photo or a labeled one, whichever you'd rather send.
Sensors, HomeKit & Siri
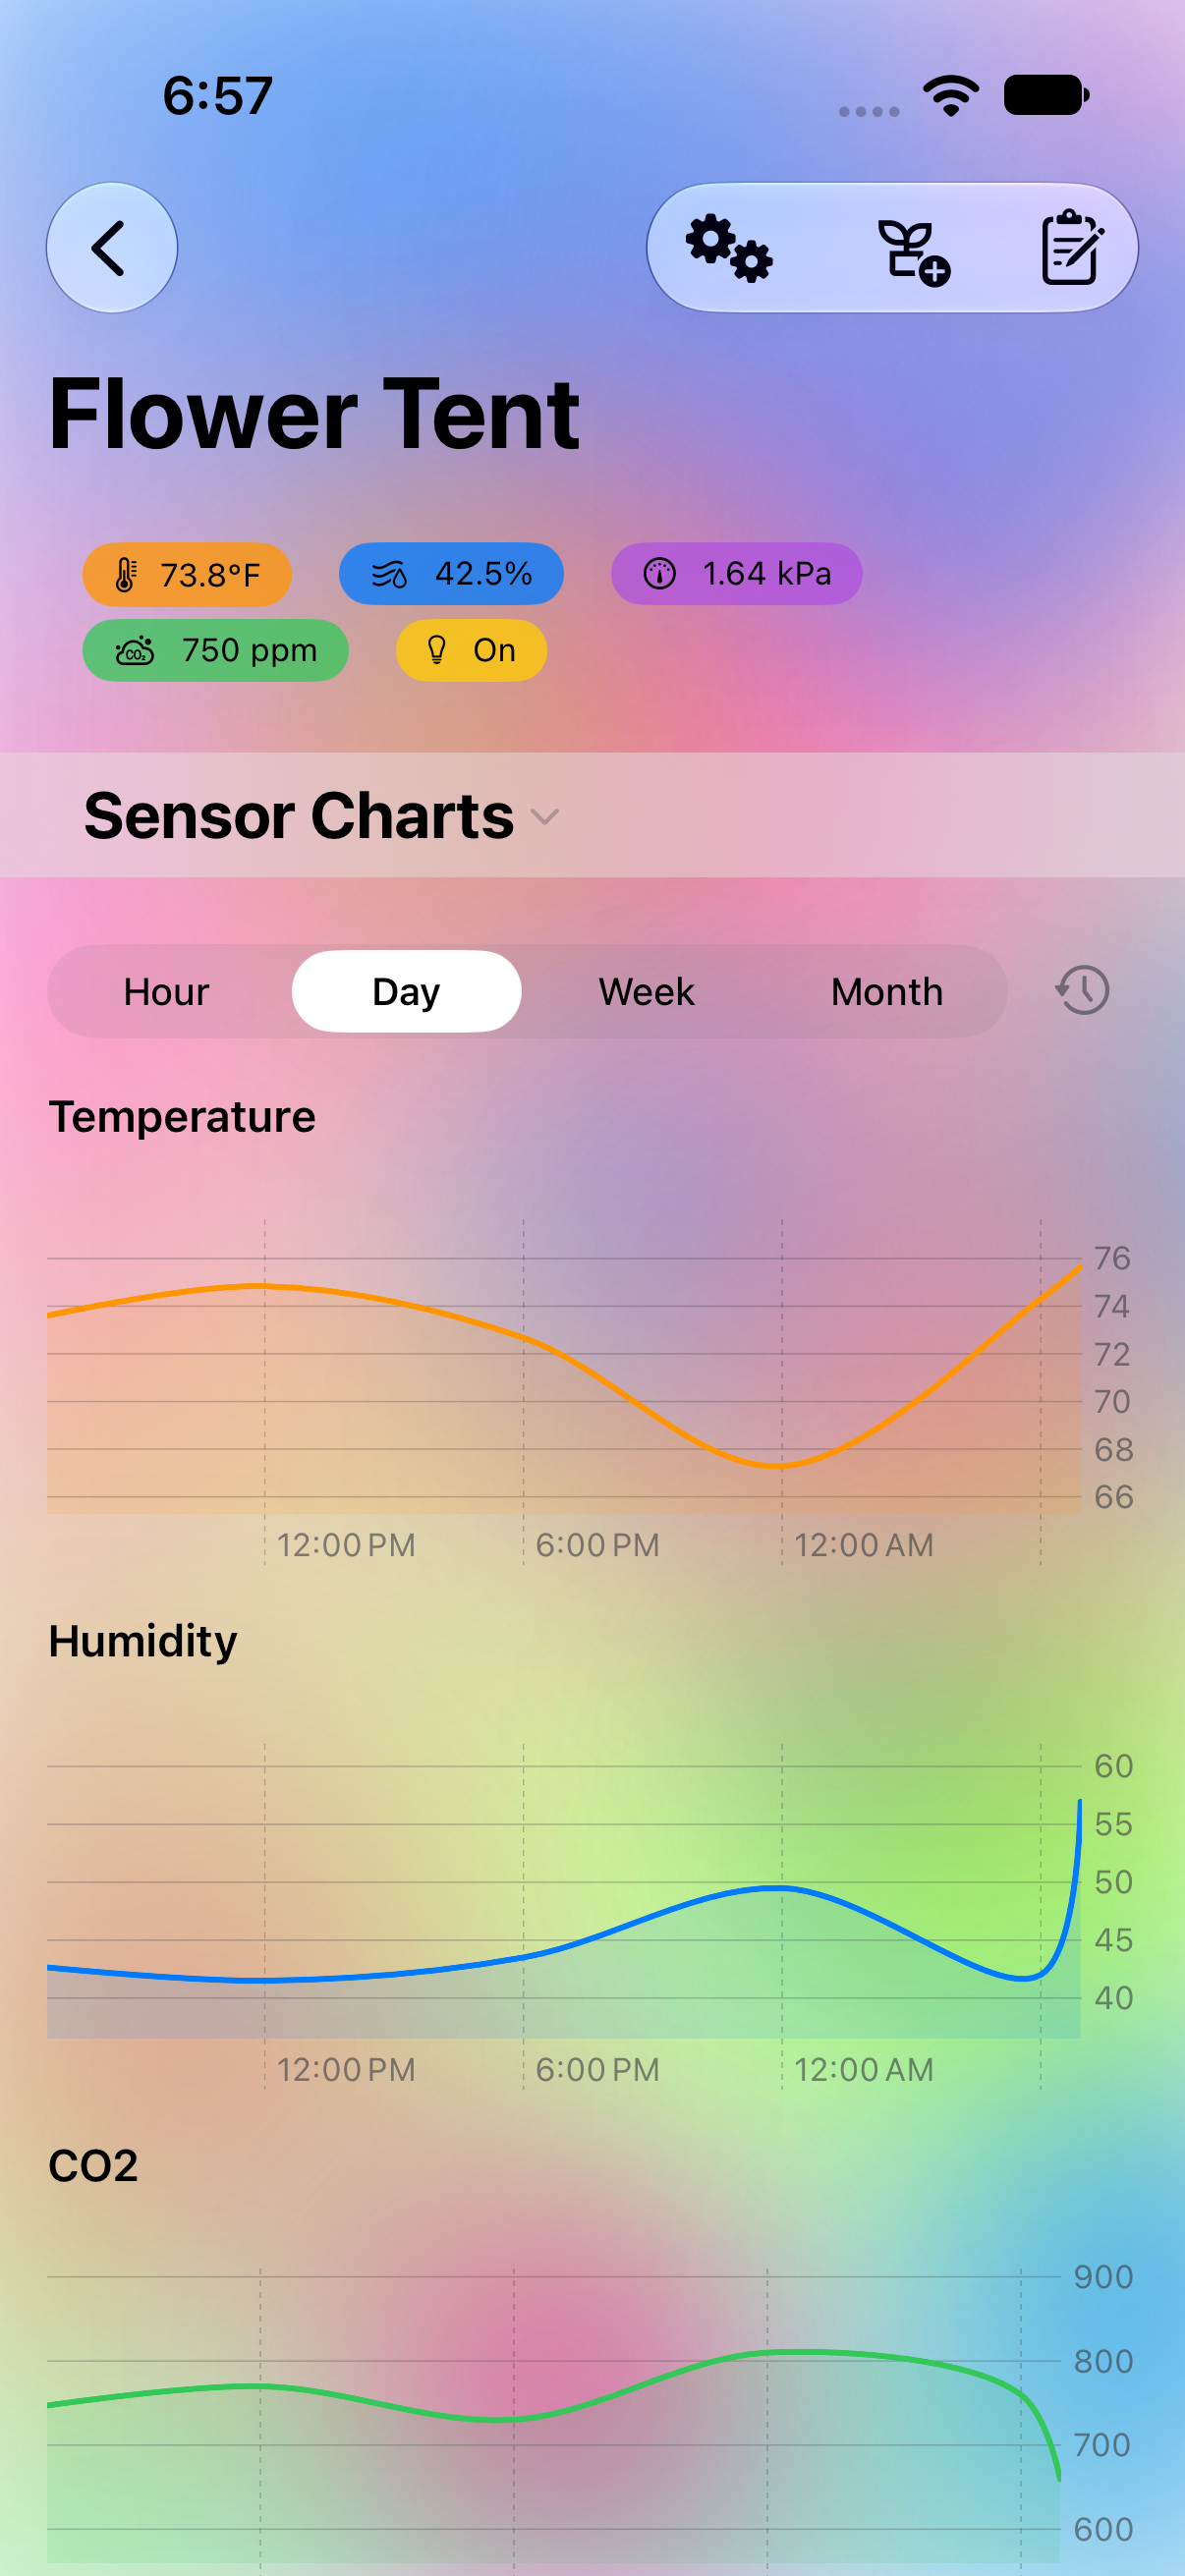
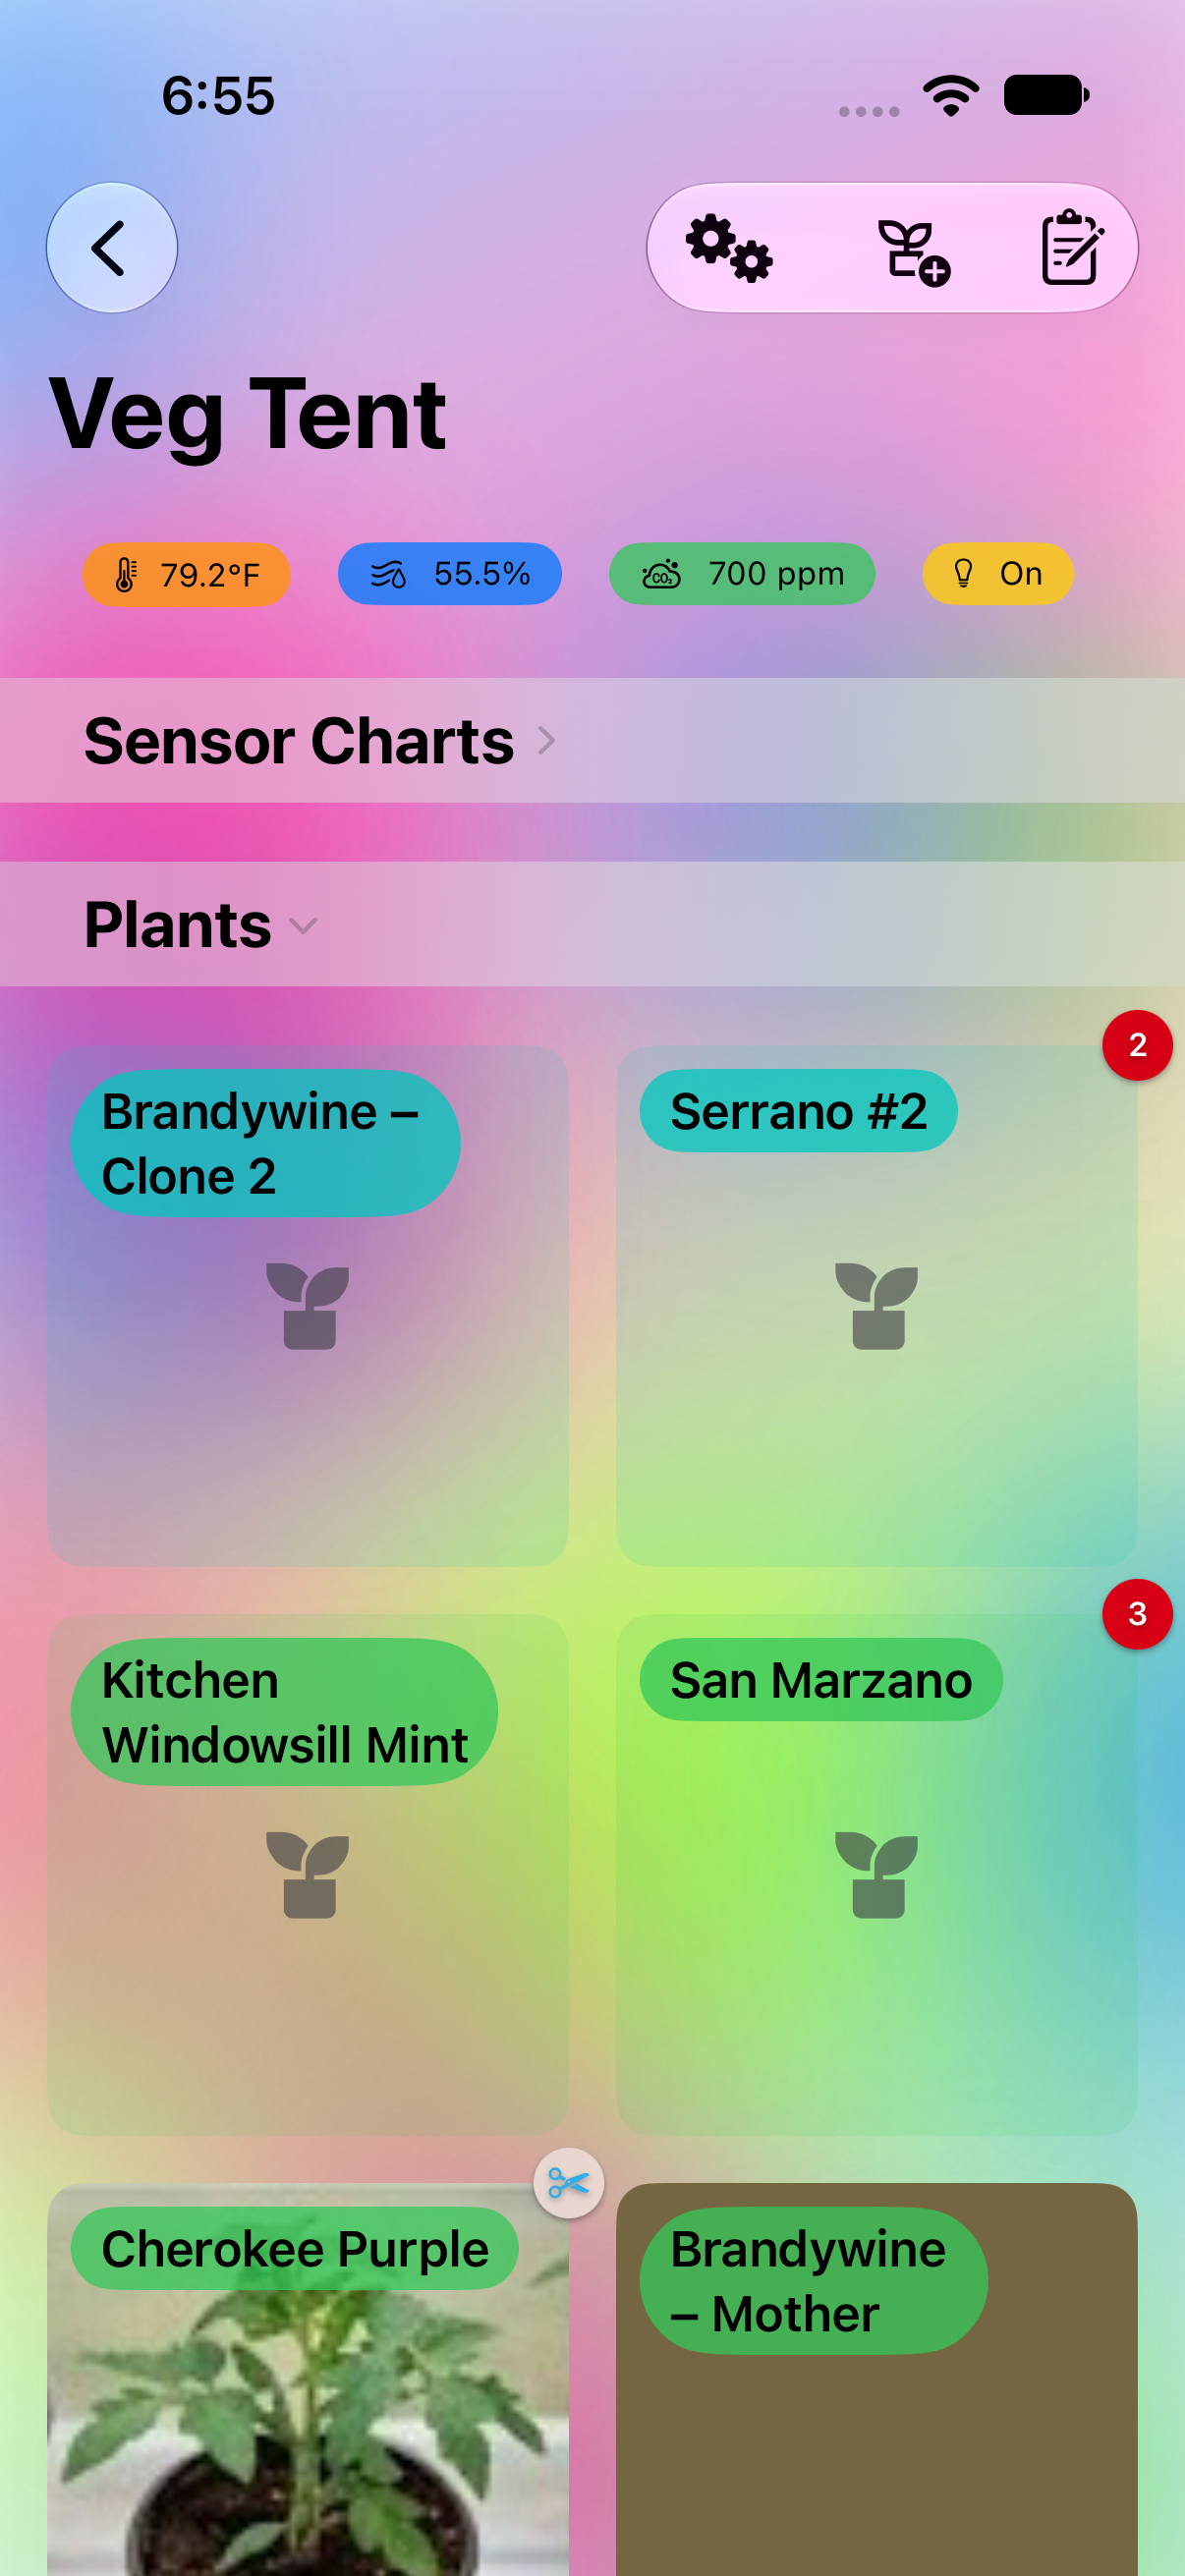
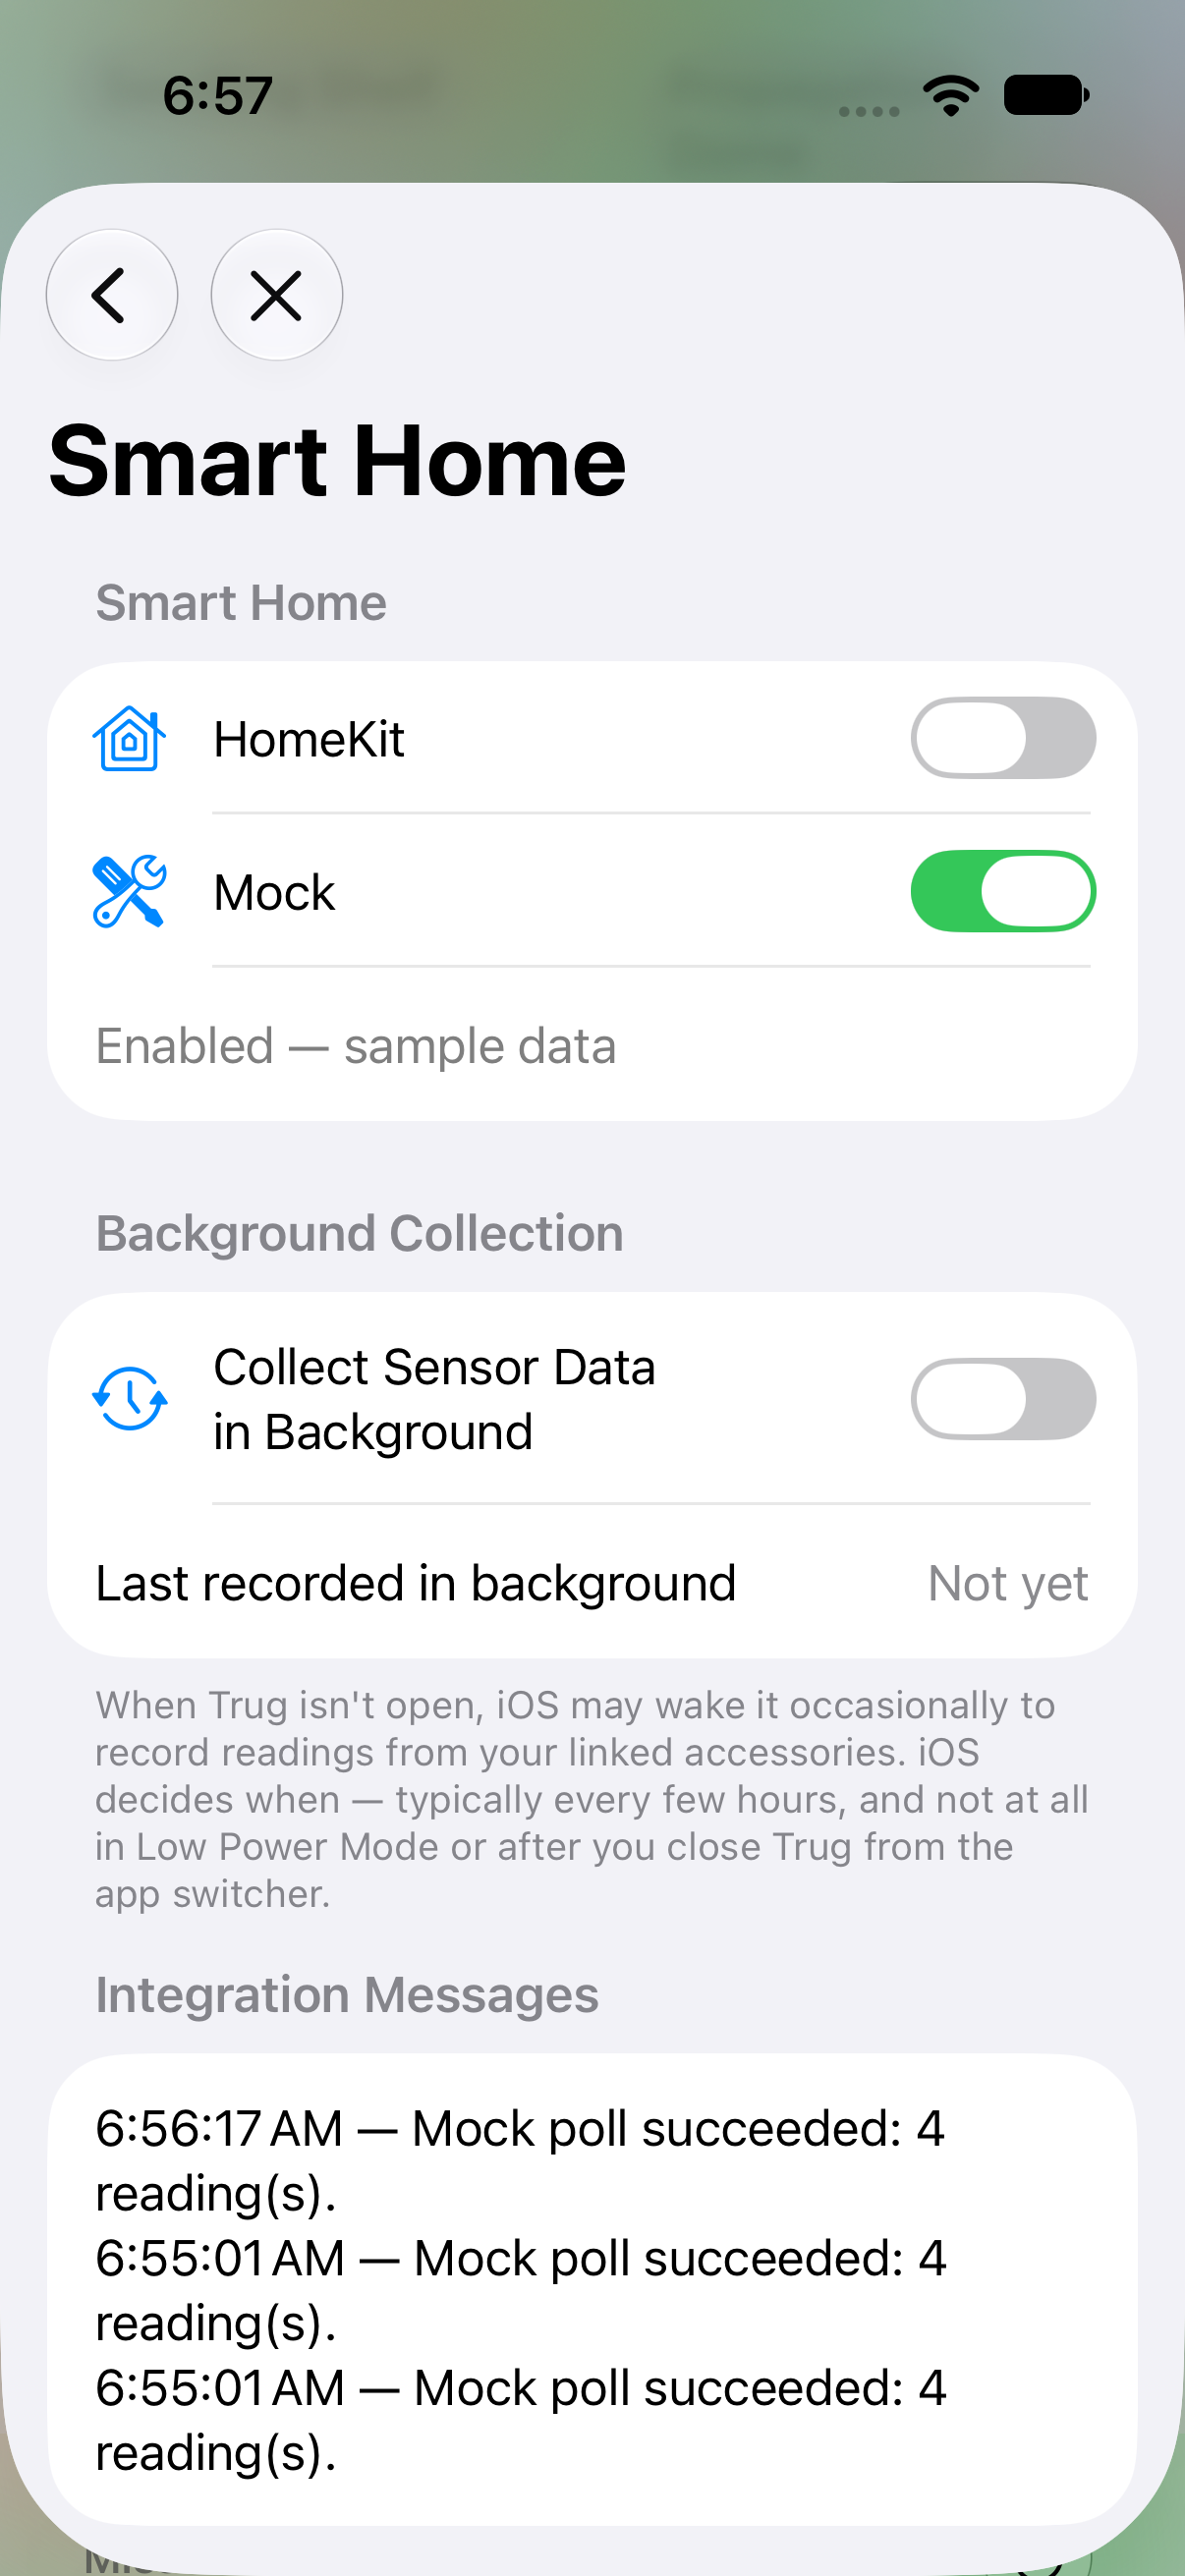
Link an environment to your HomeKit accessories to pull live temperature, humidity, CO₂, and light readings straight into Trug. Once linked, Trug automatically computes a VPD (vapor pressure deficit) badge so you can see at a glance whether conditions are in range.
You can also log actions hands-free with Siri and Shortcuts — just say something like "Log watering for Basil in Trug."
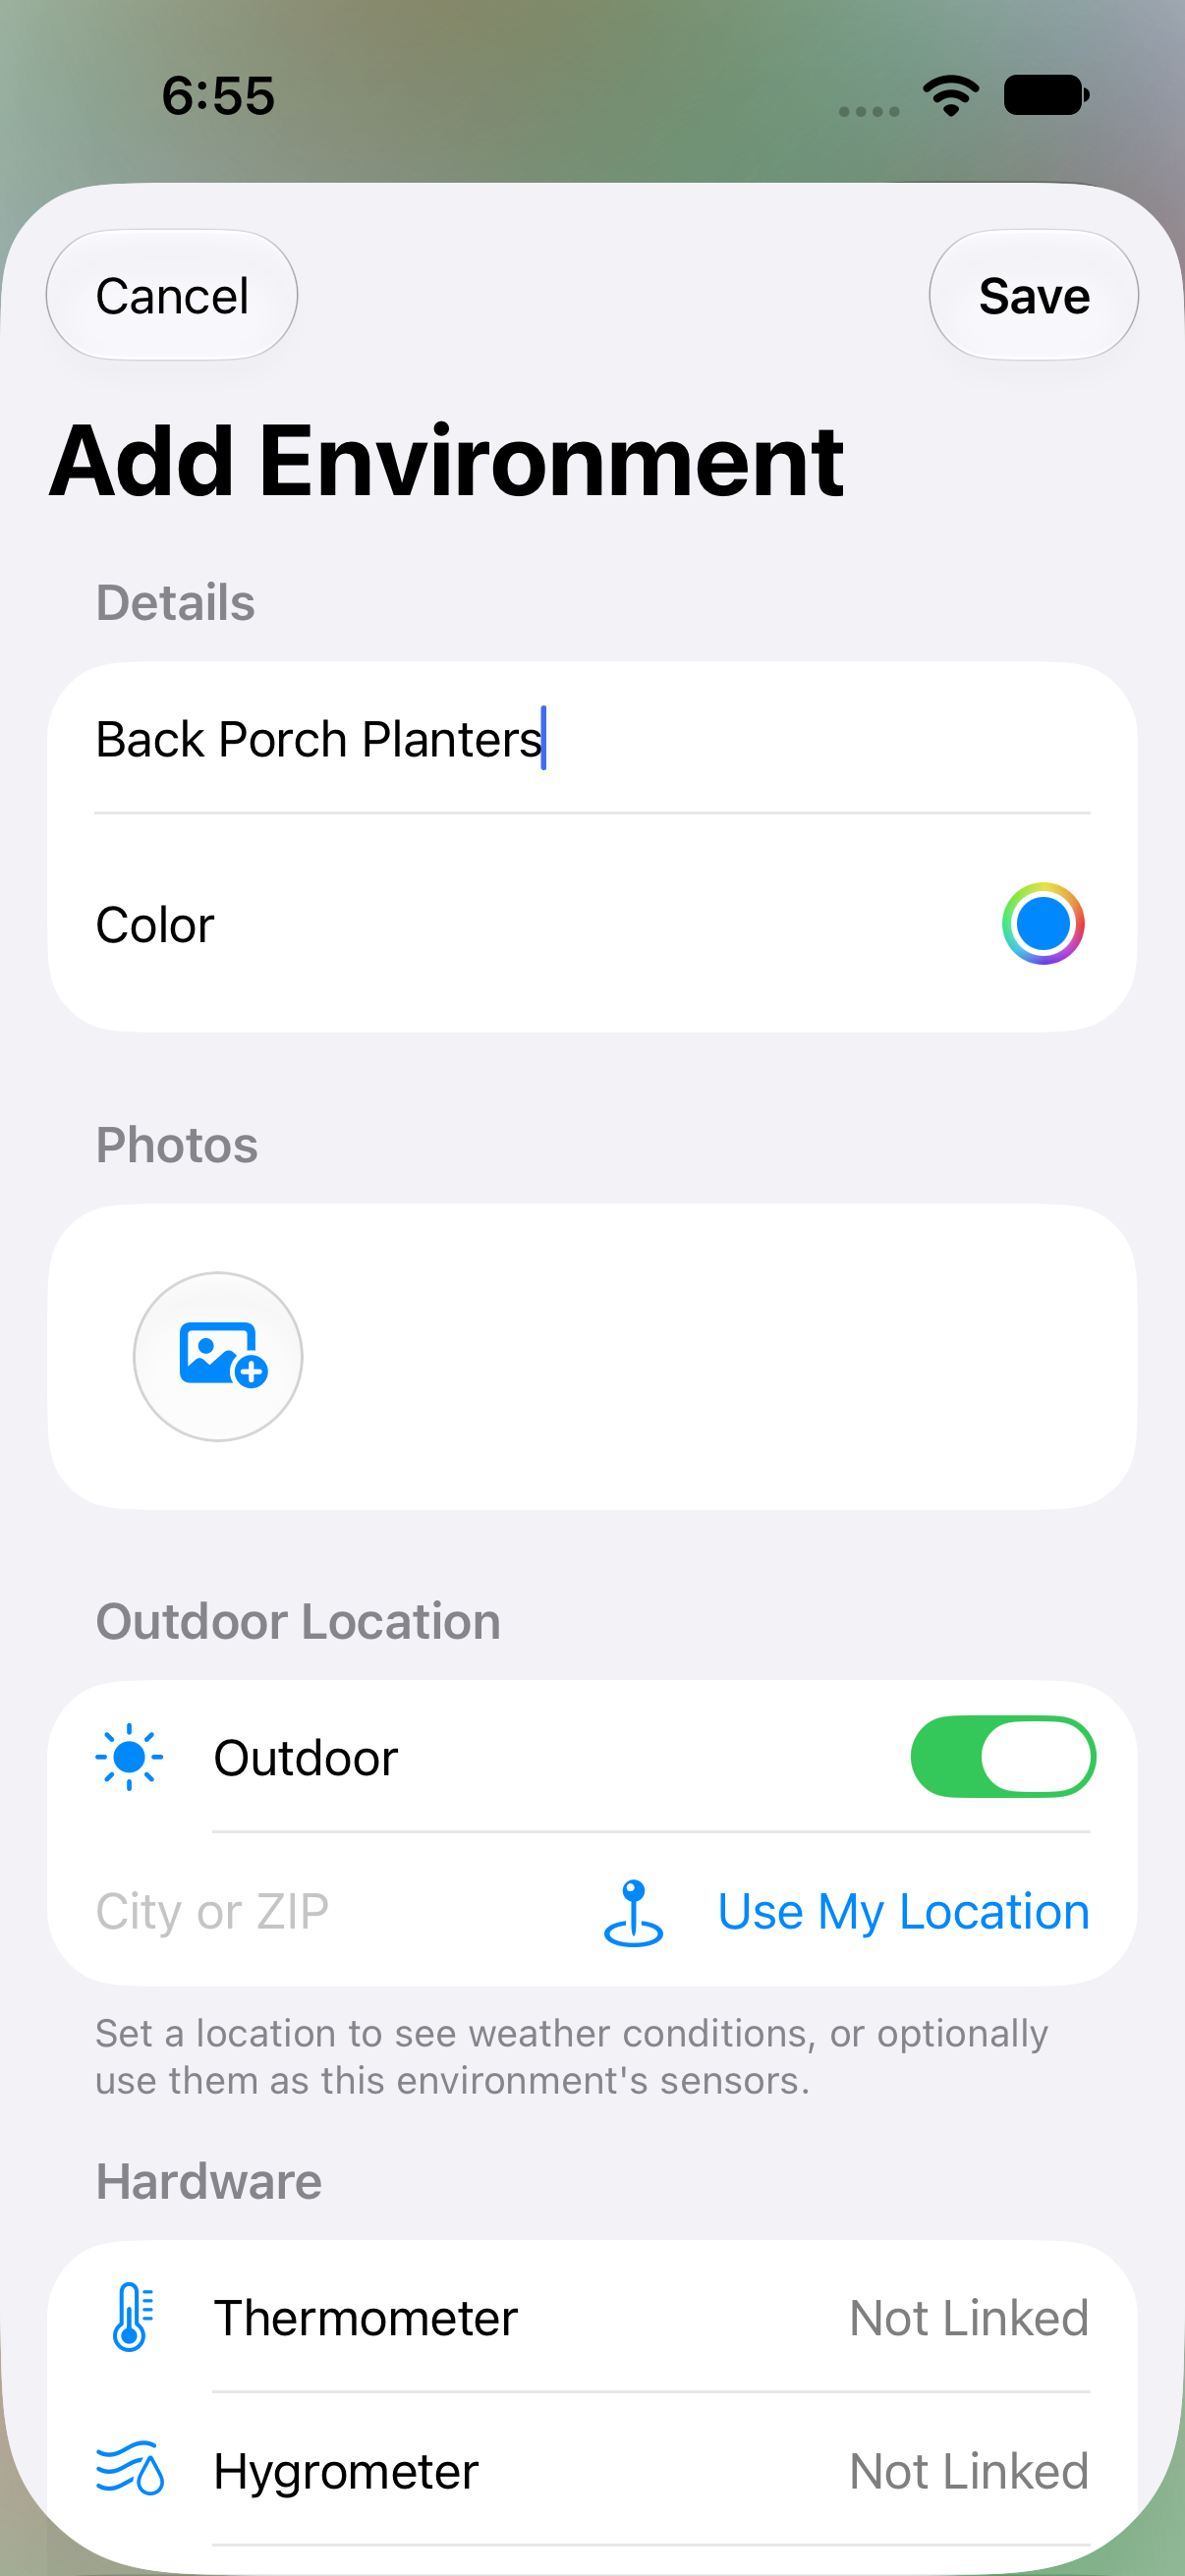
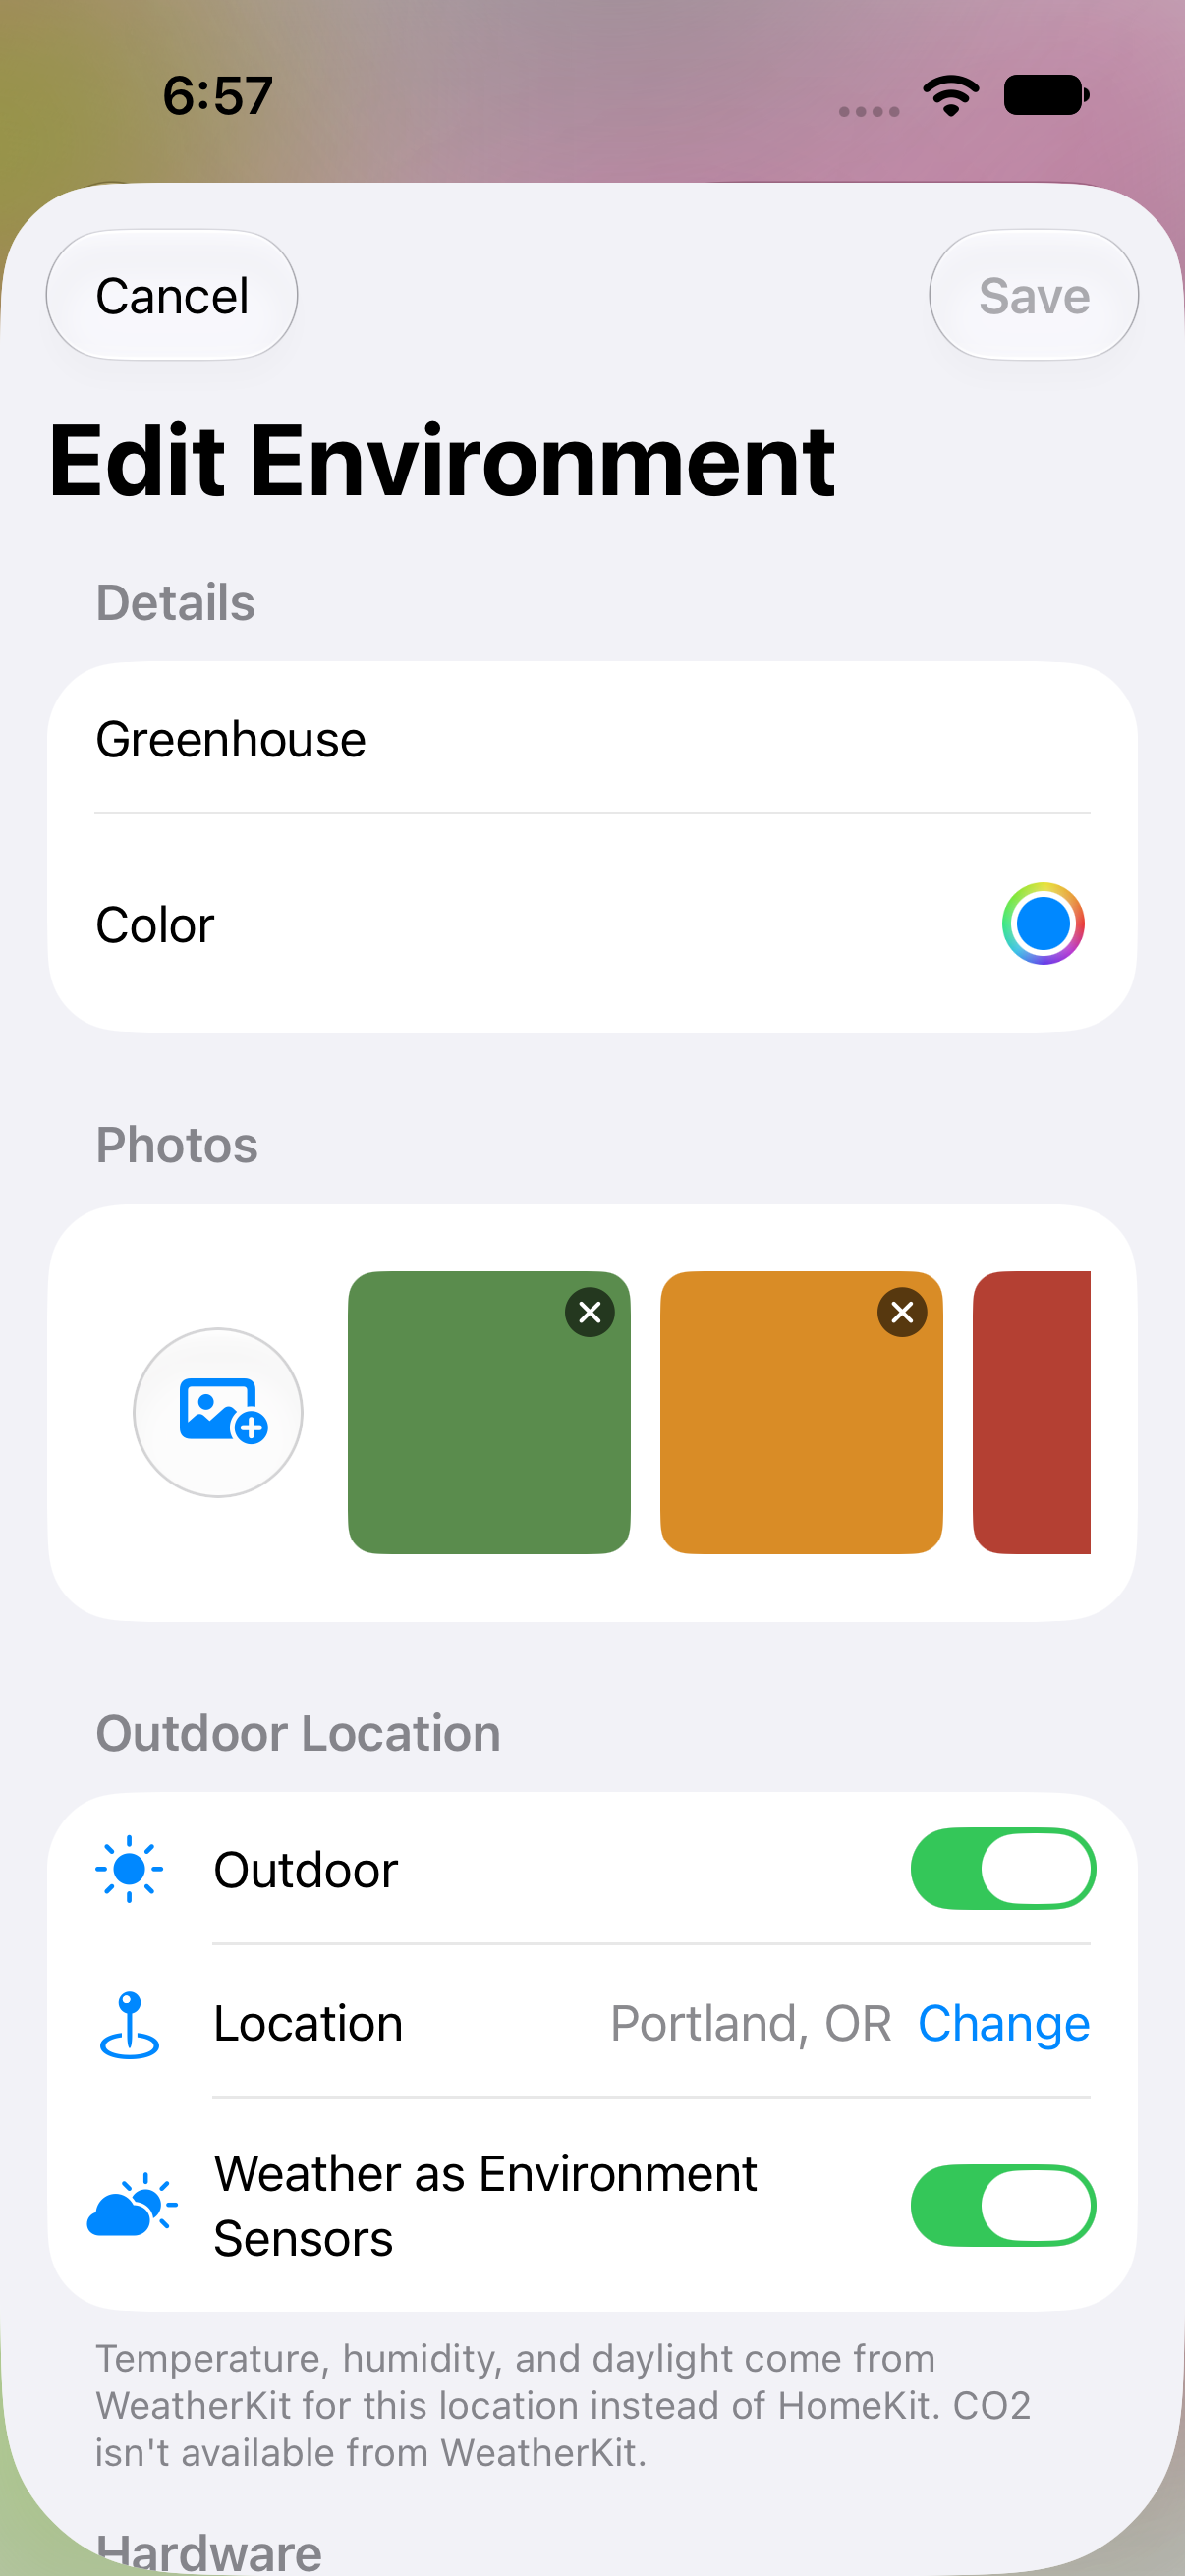
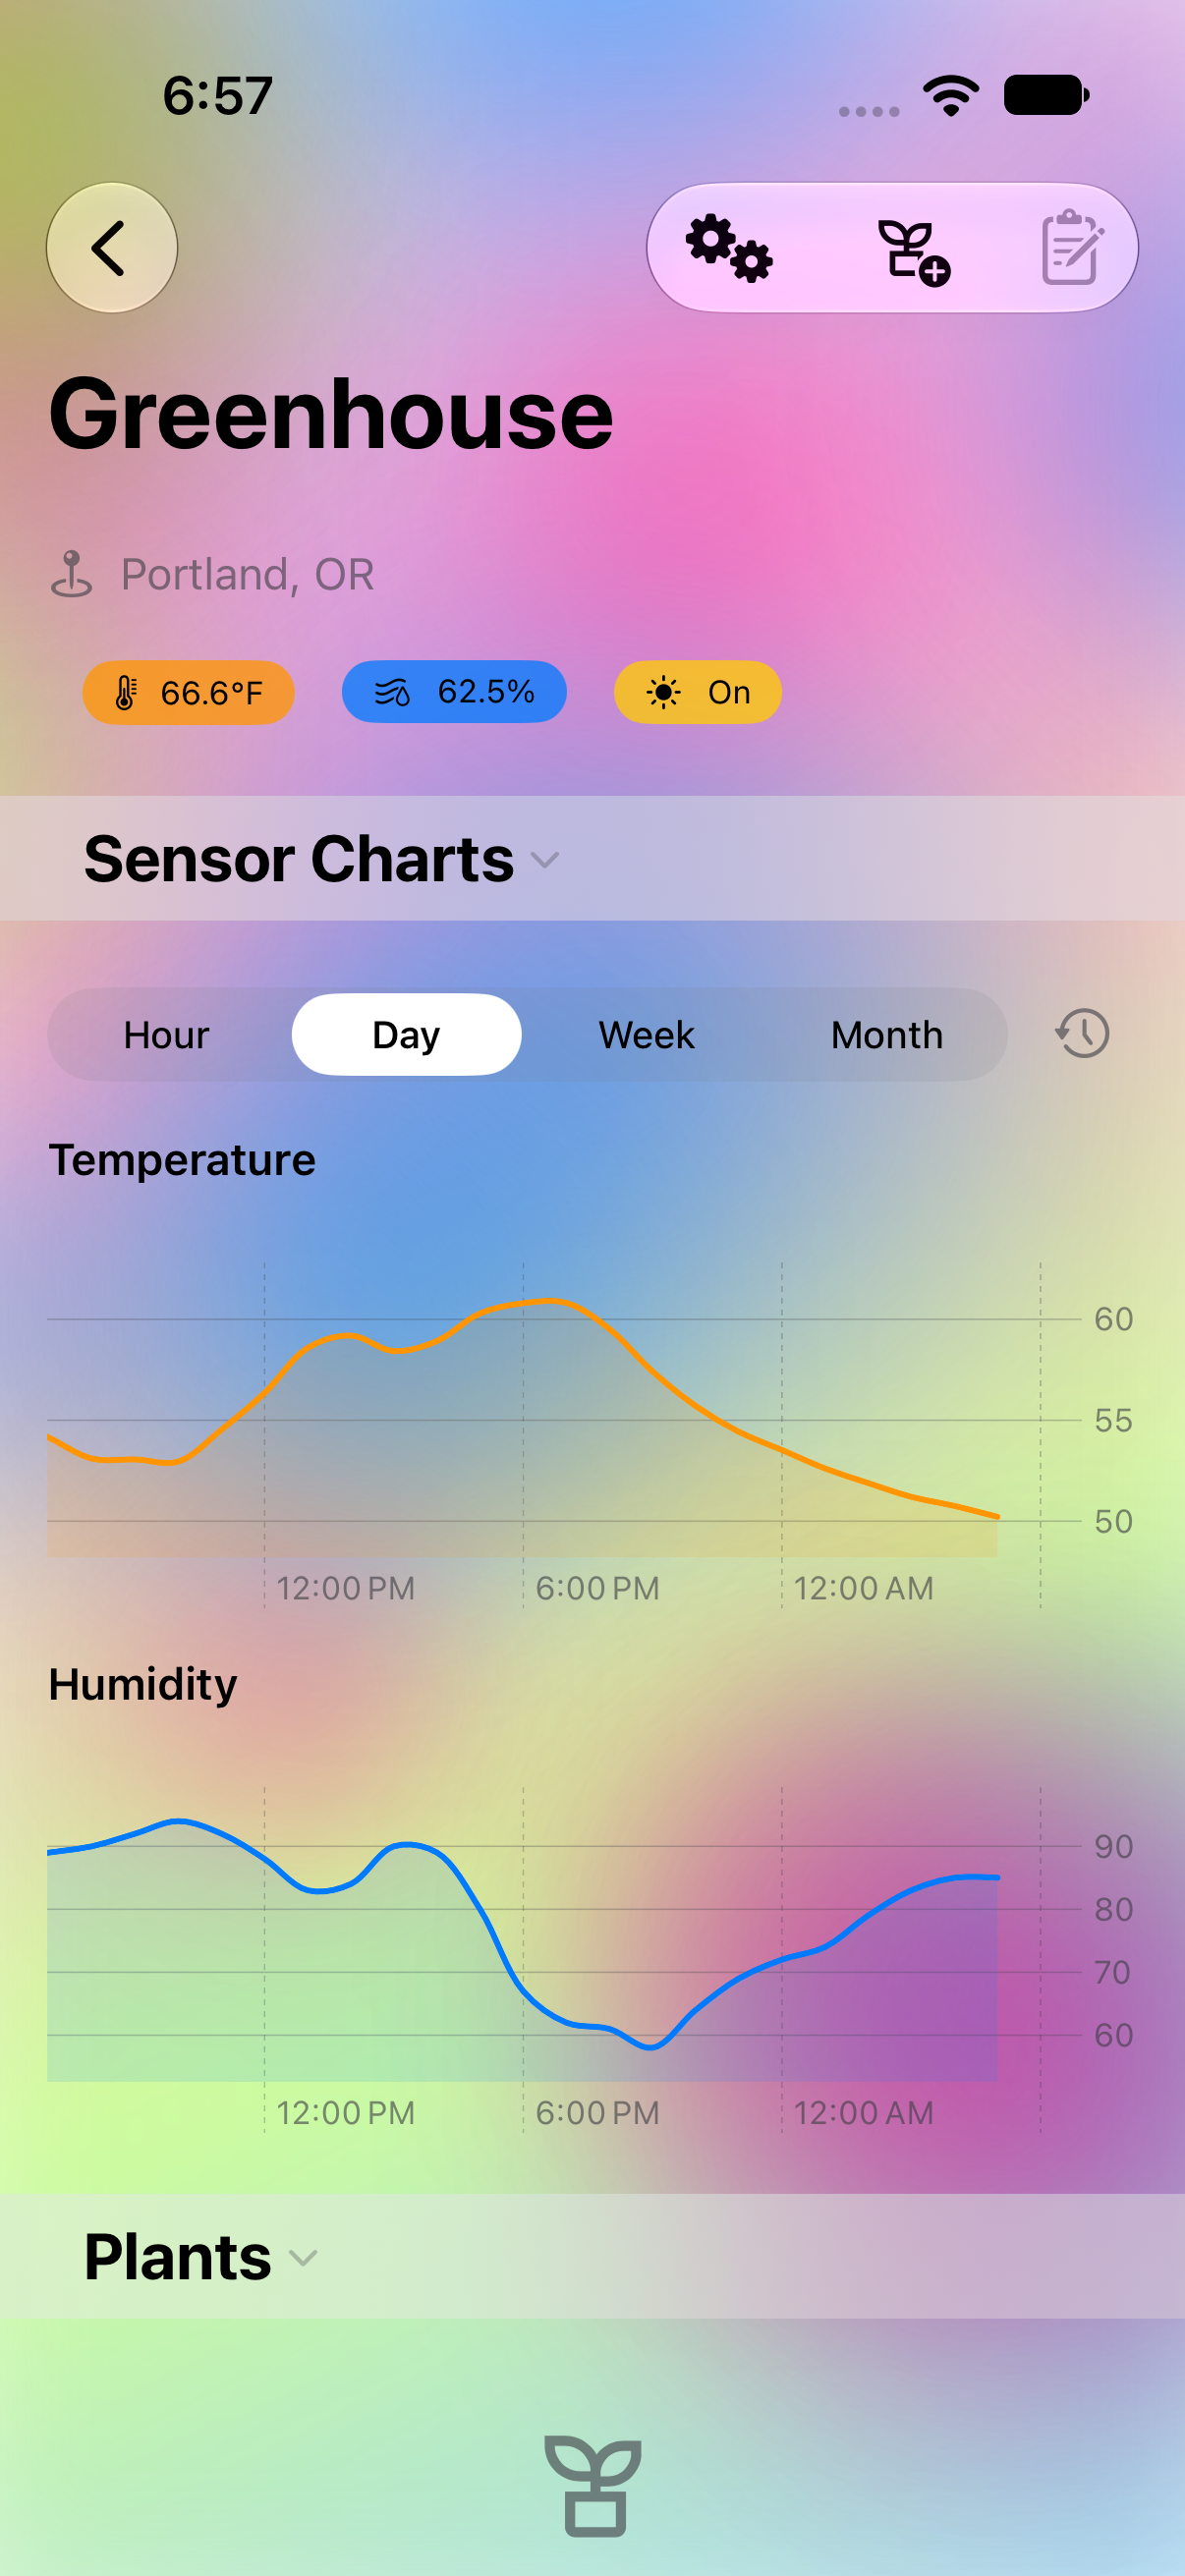
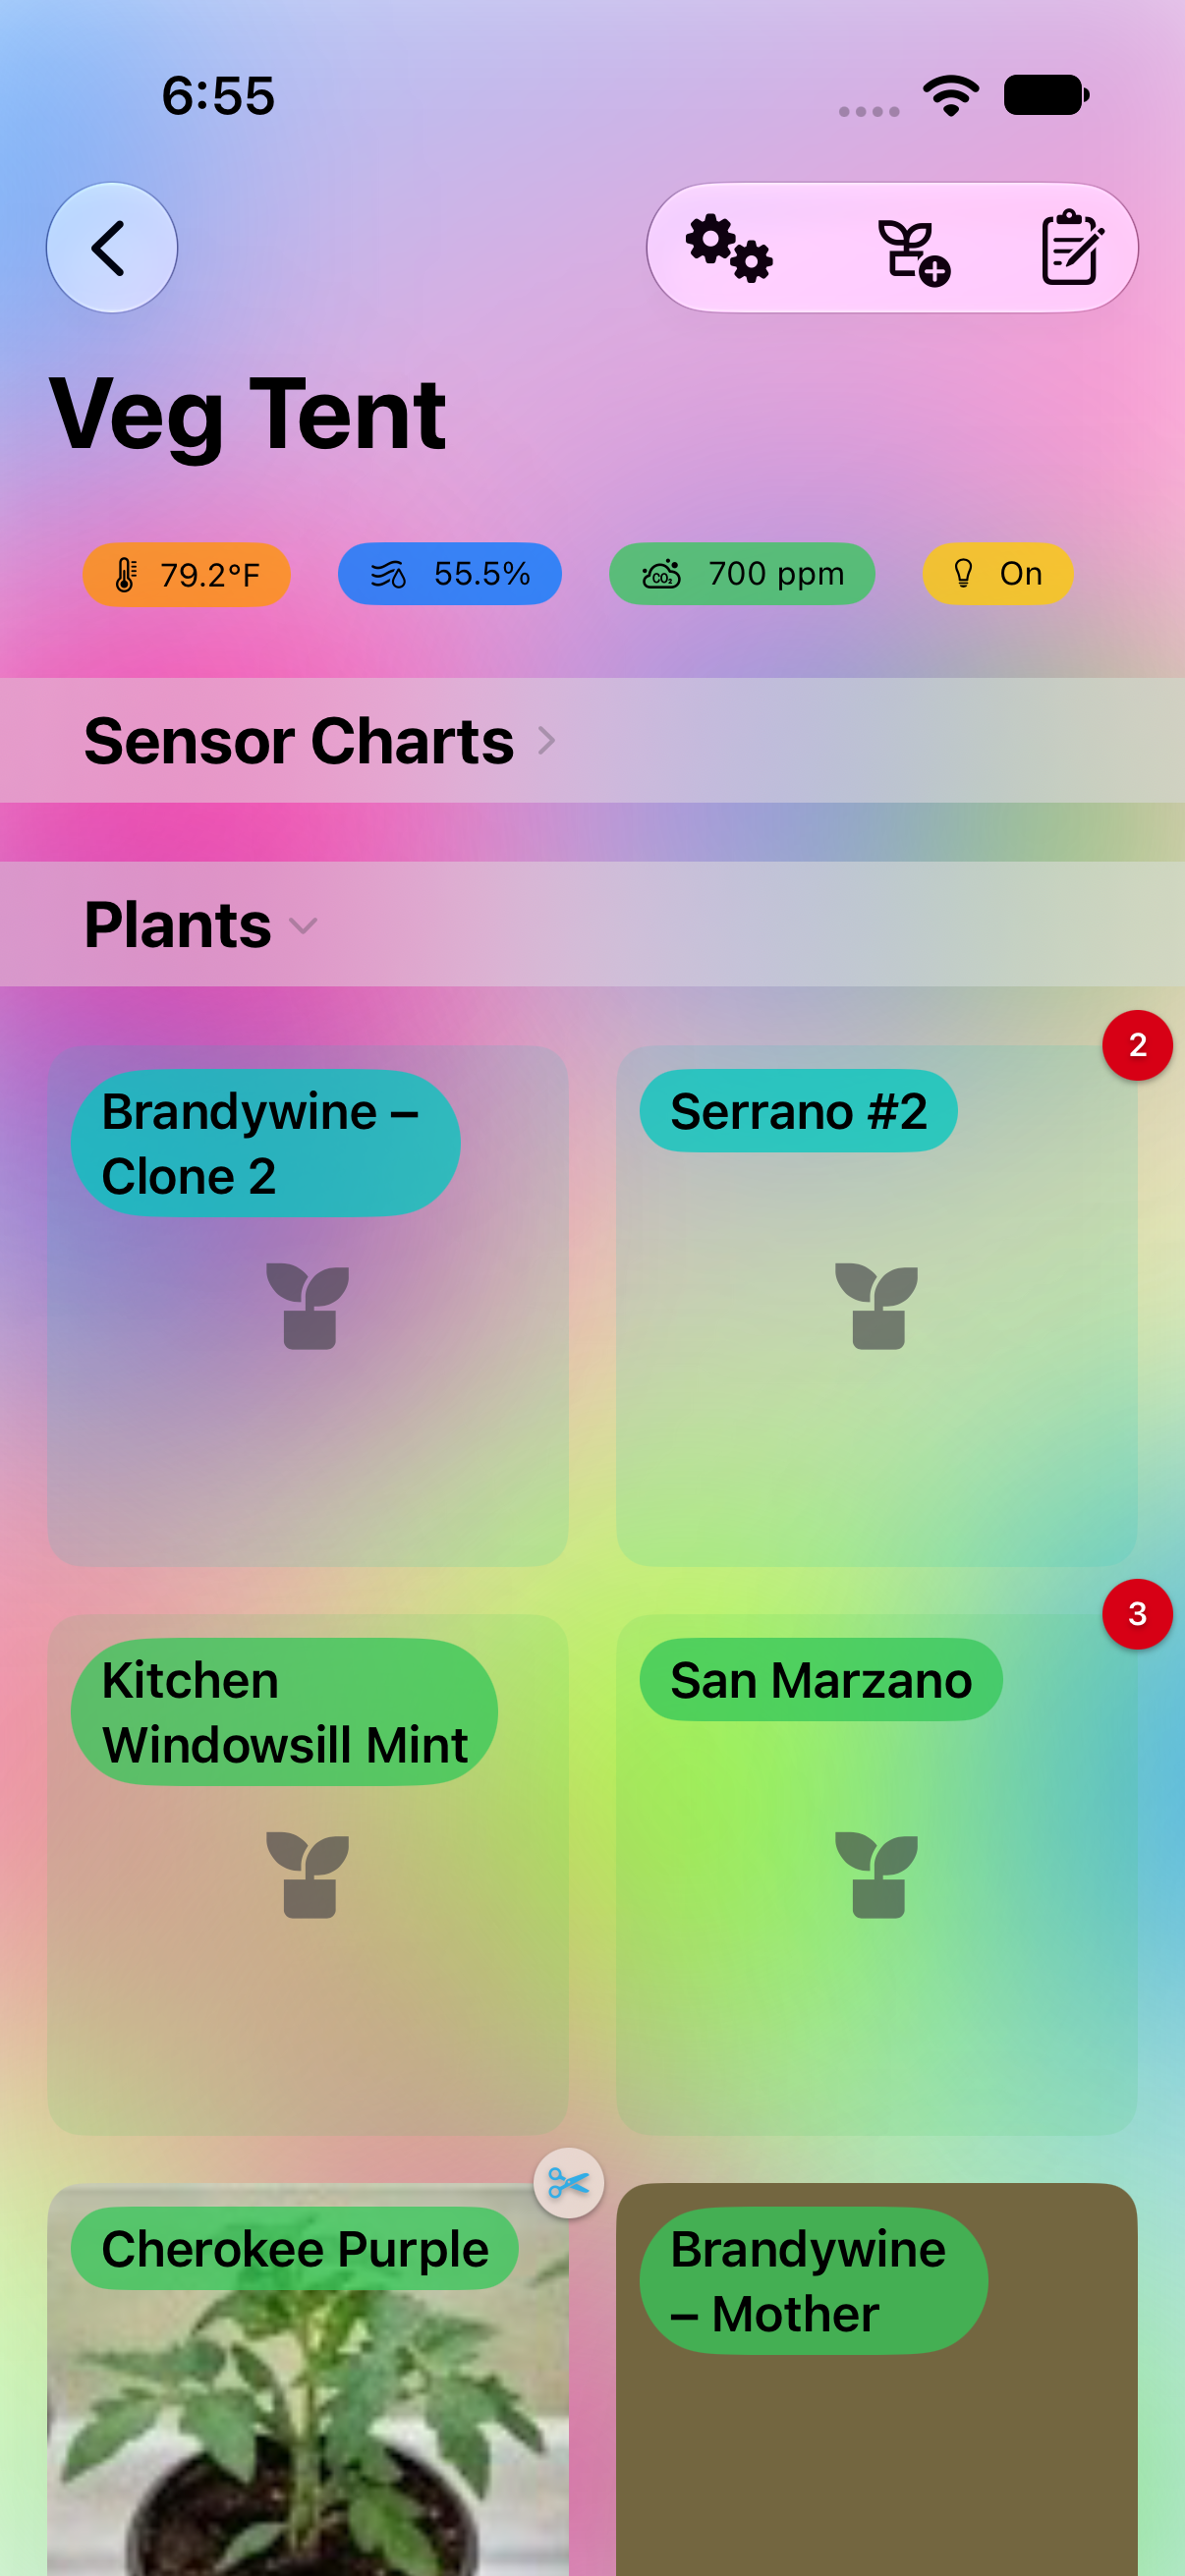
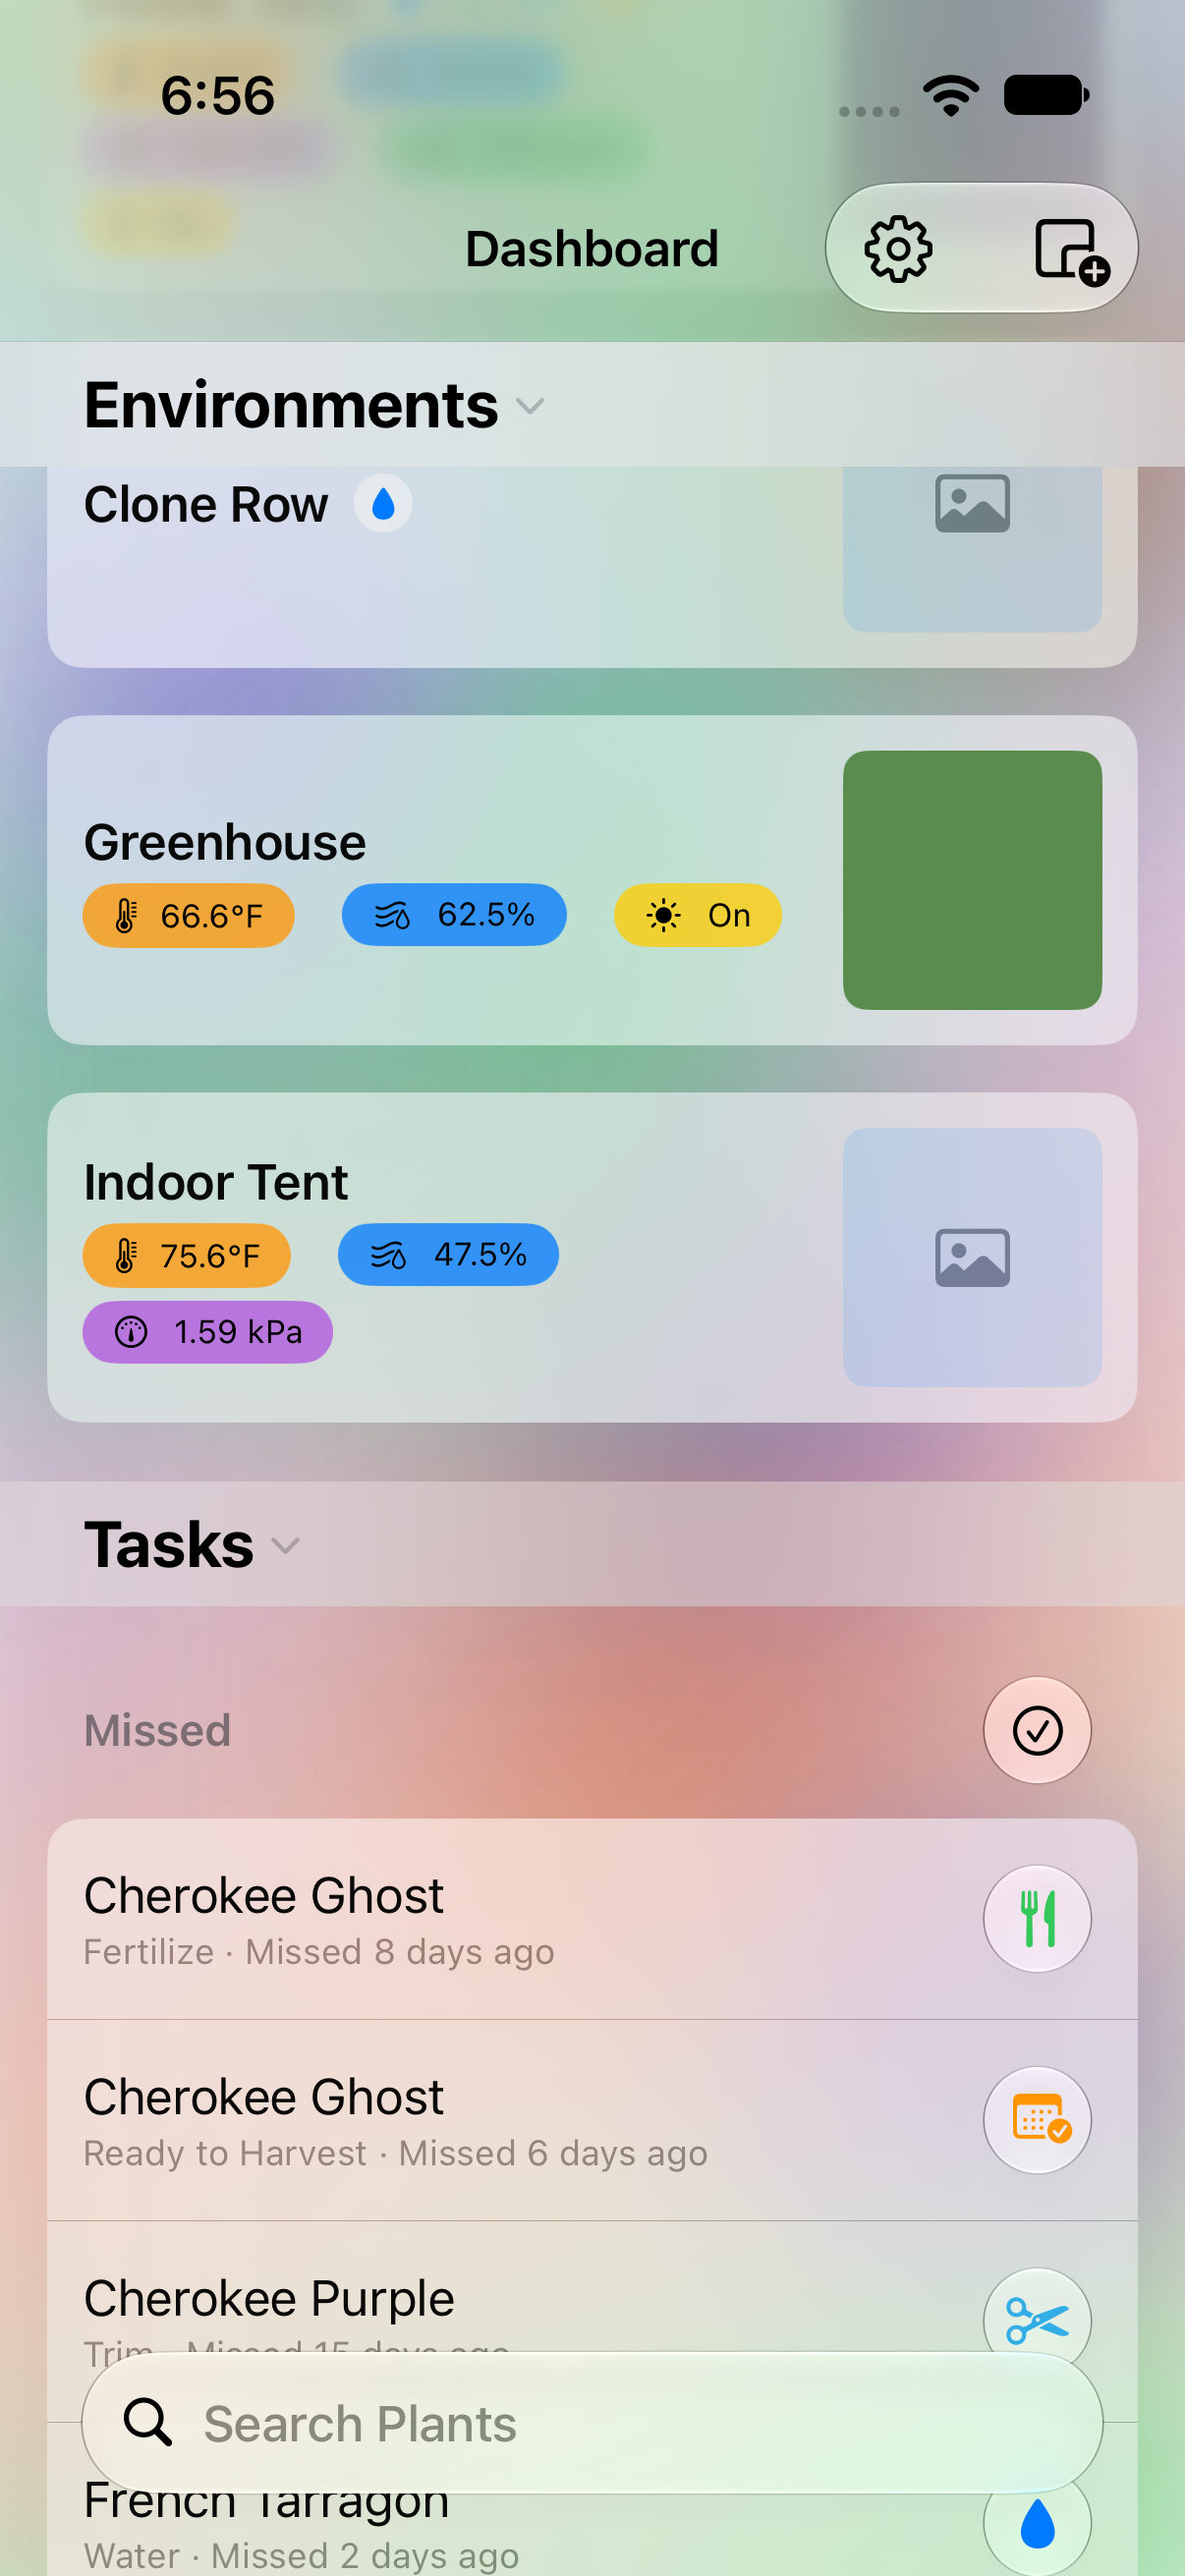
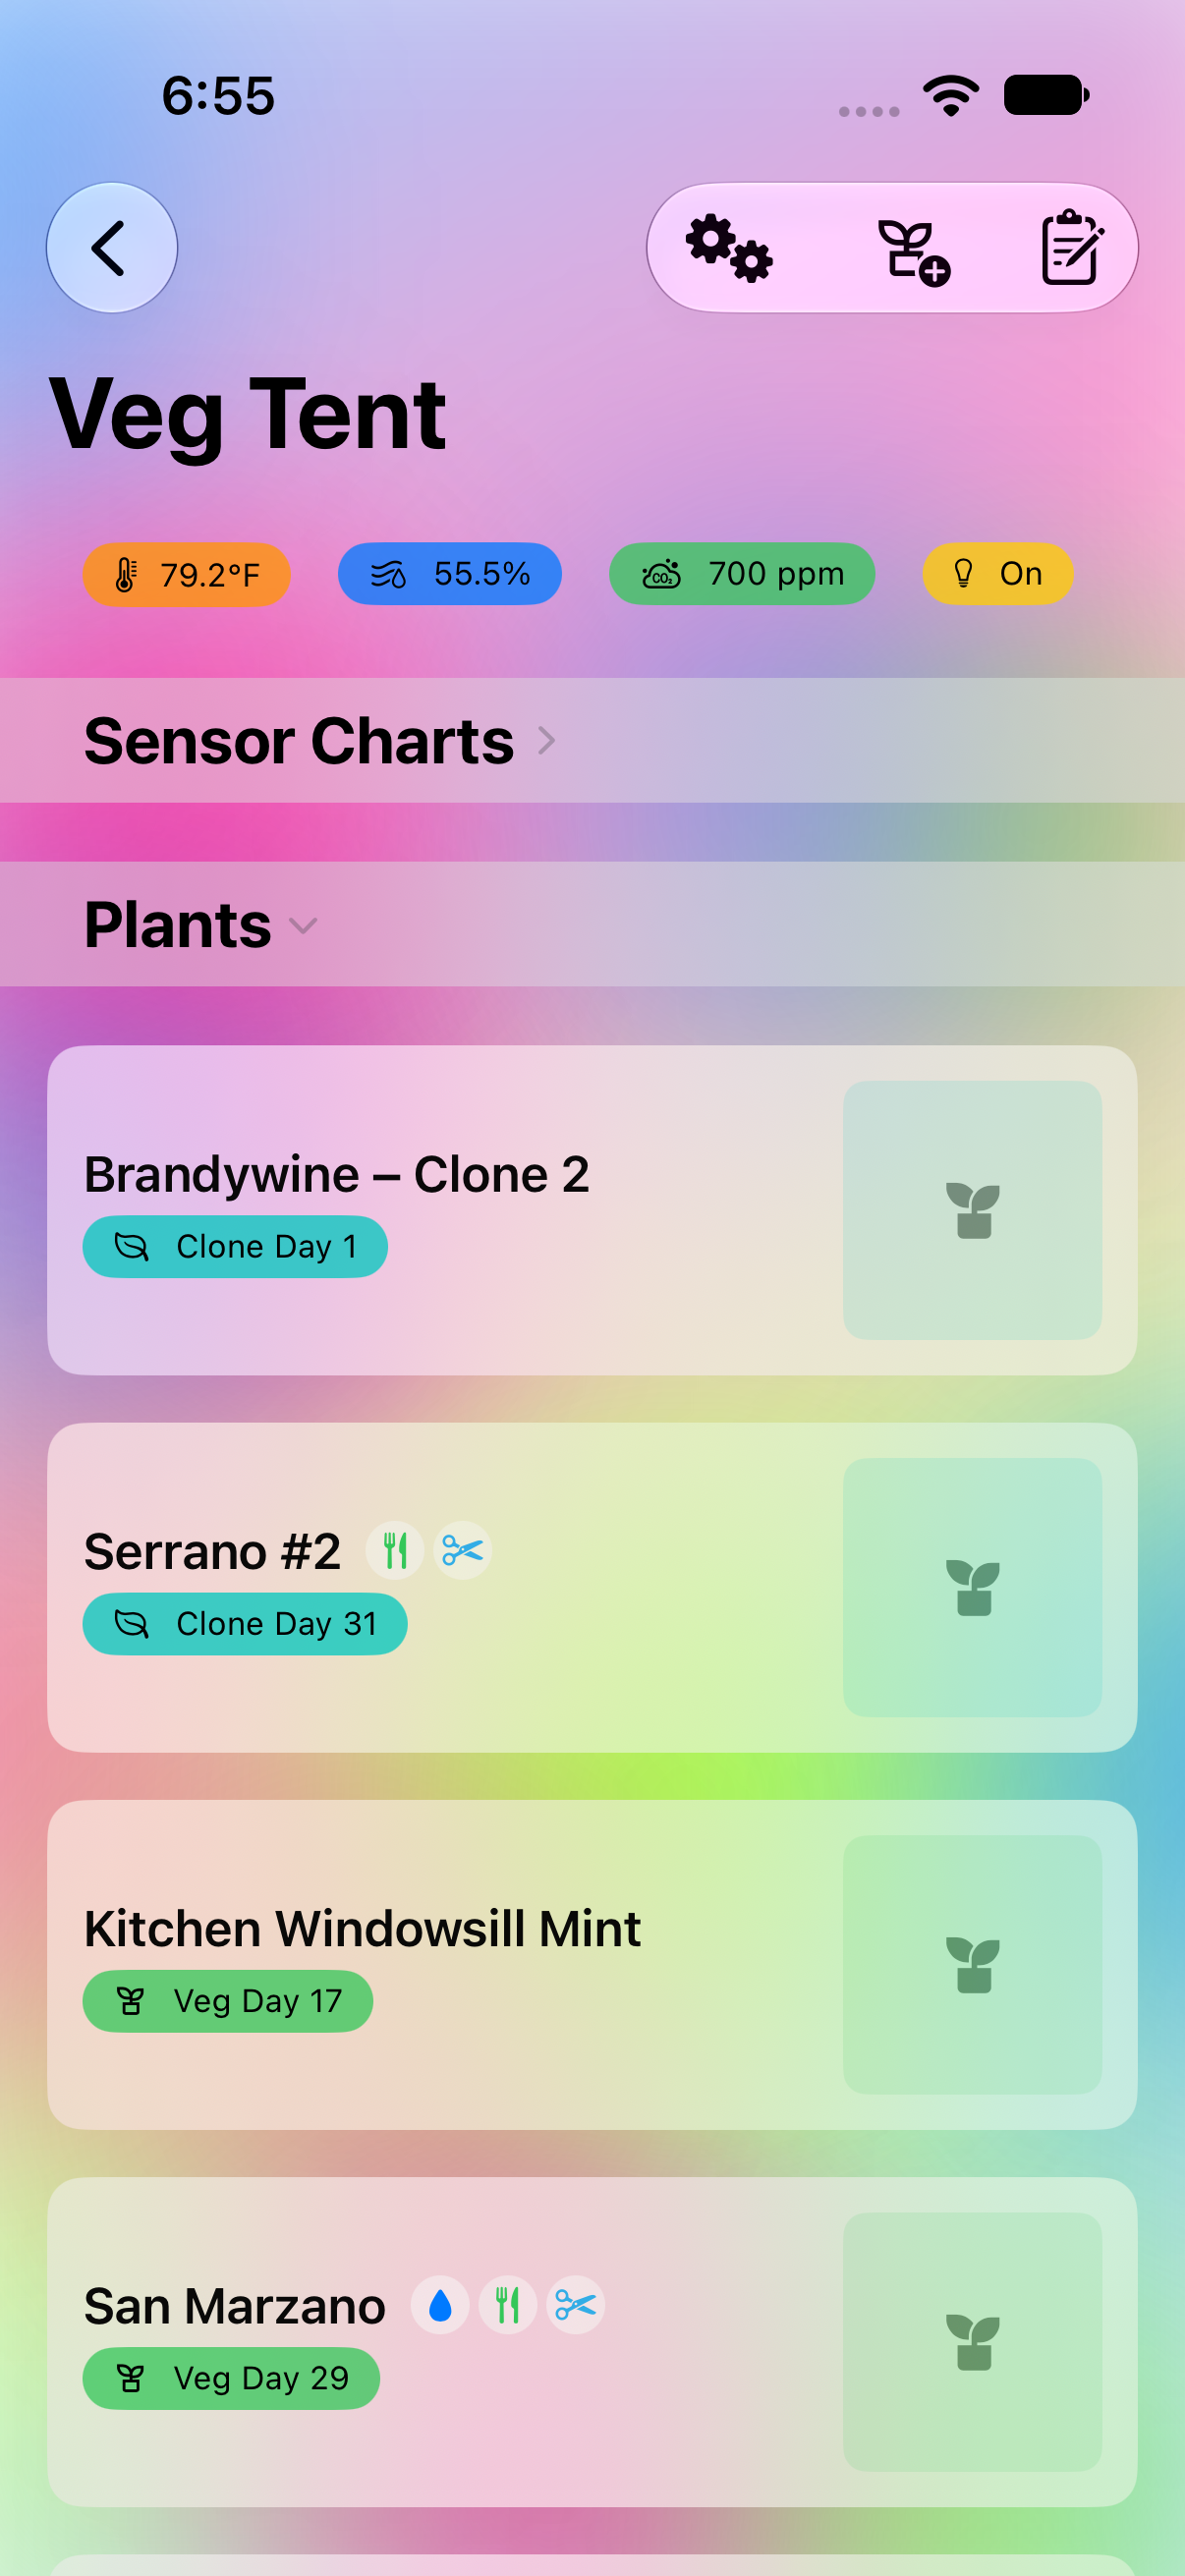
Don't have HomeKit hardware in a space, or growing outdoors? Mark an environment as Outdoor and Trug pulls live conditions from WeatherKit instead, computing the same VPD badge from forecast data. Below its sensors, every environment also lists its own plants and the tasks due just for them — handy for jumping straight to one tent's business without digging through the full dashboard.
Data Import & Export
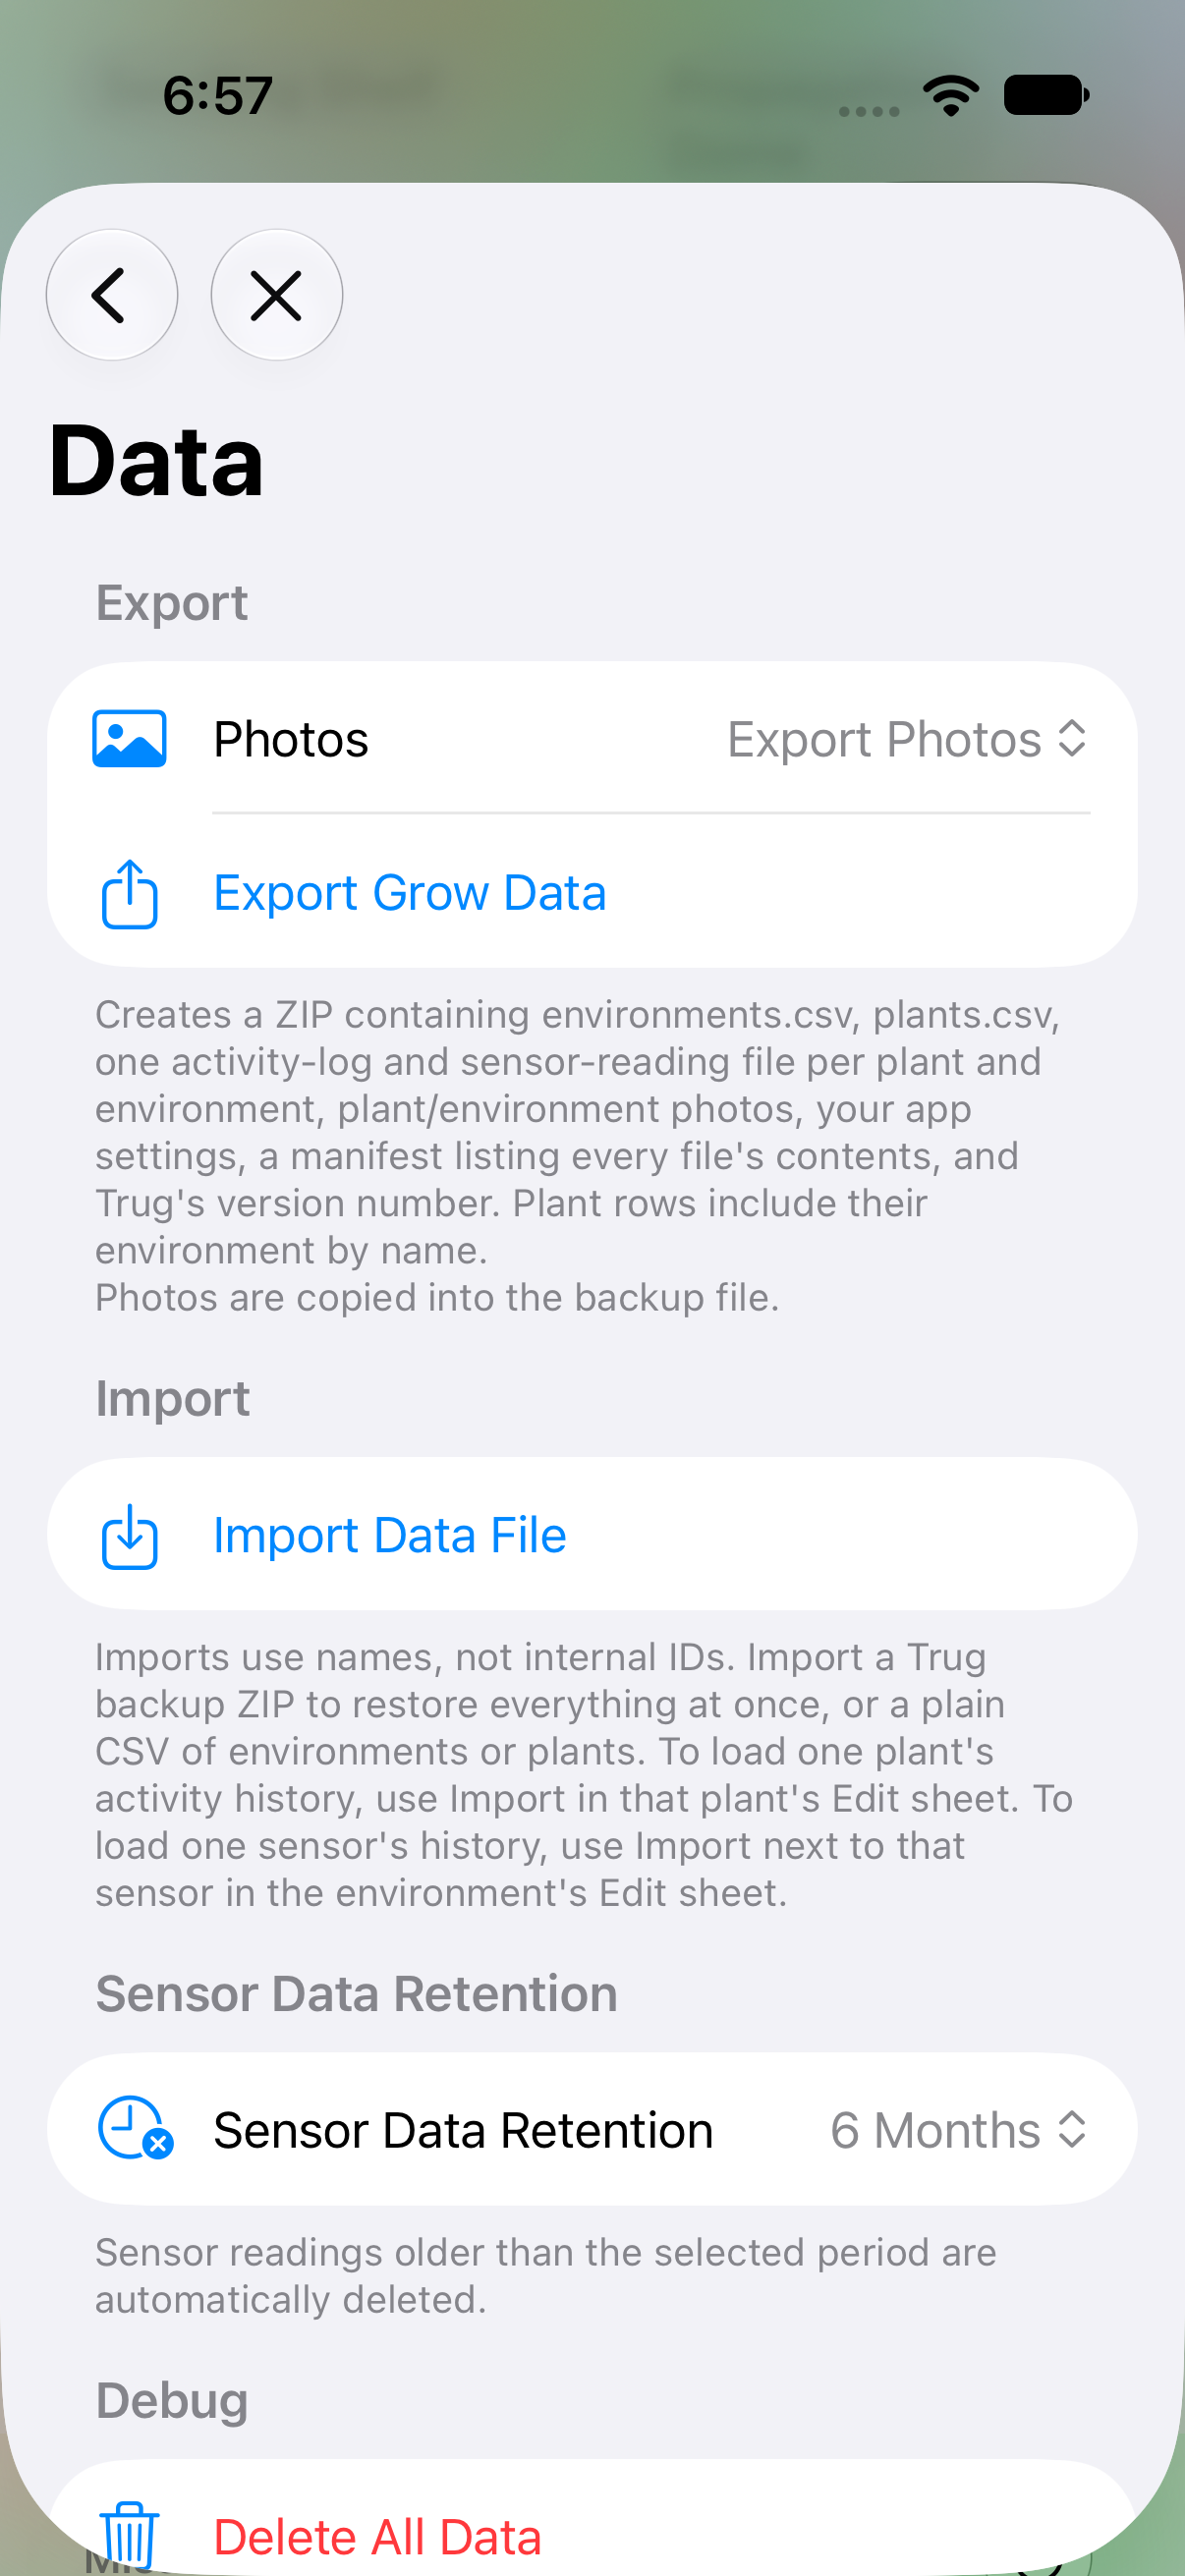
Your environments, plants, logs, and sensor history are always yours. Export everything as a CSV or ZIP archive from Settings, and import it back in — whether you're moving to a new device or just keeping an off-app backup.
Dashboard & Timeline
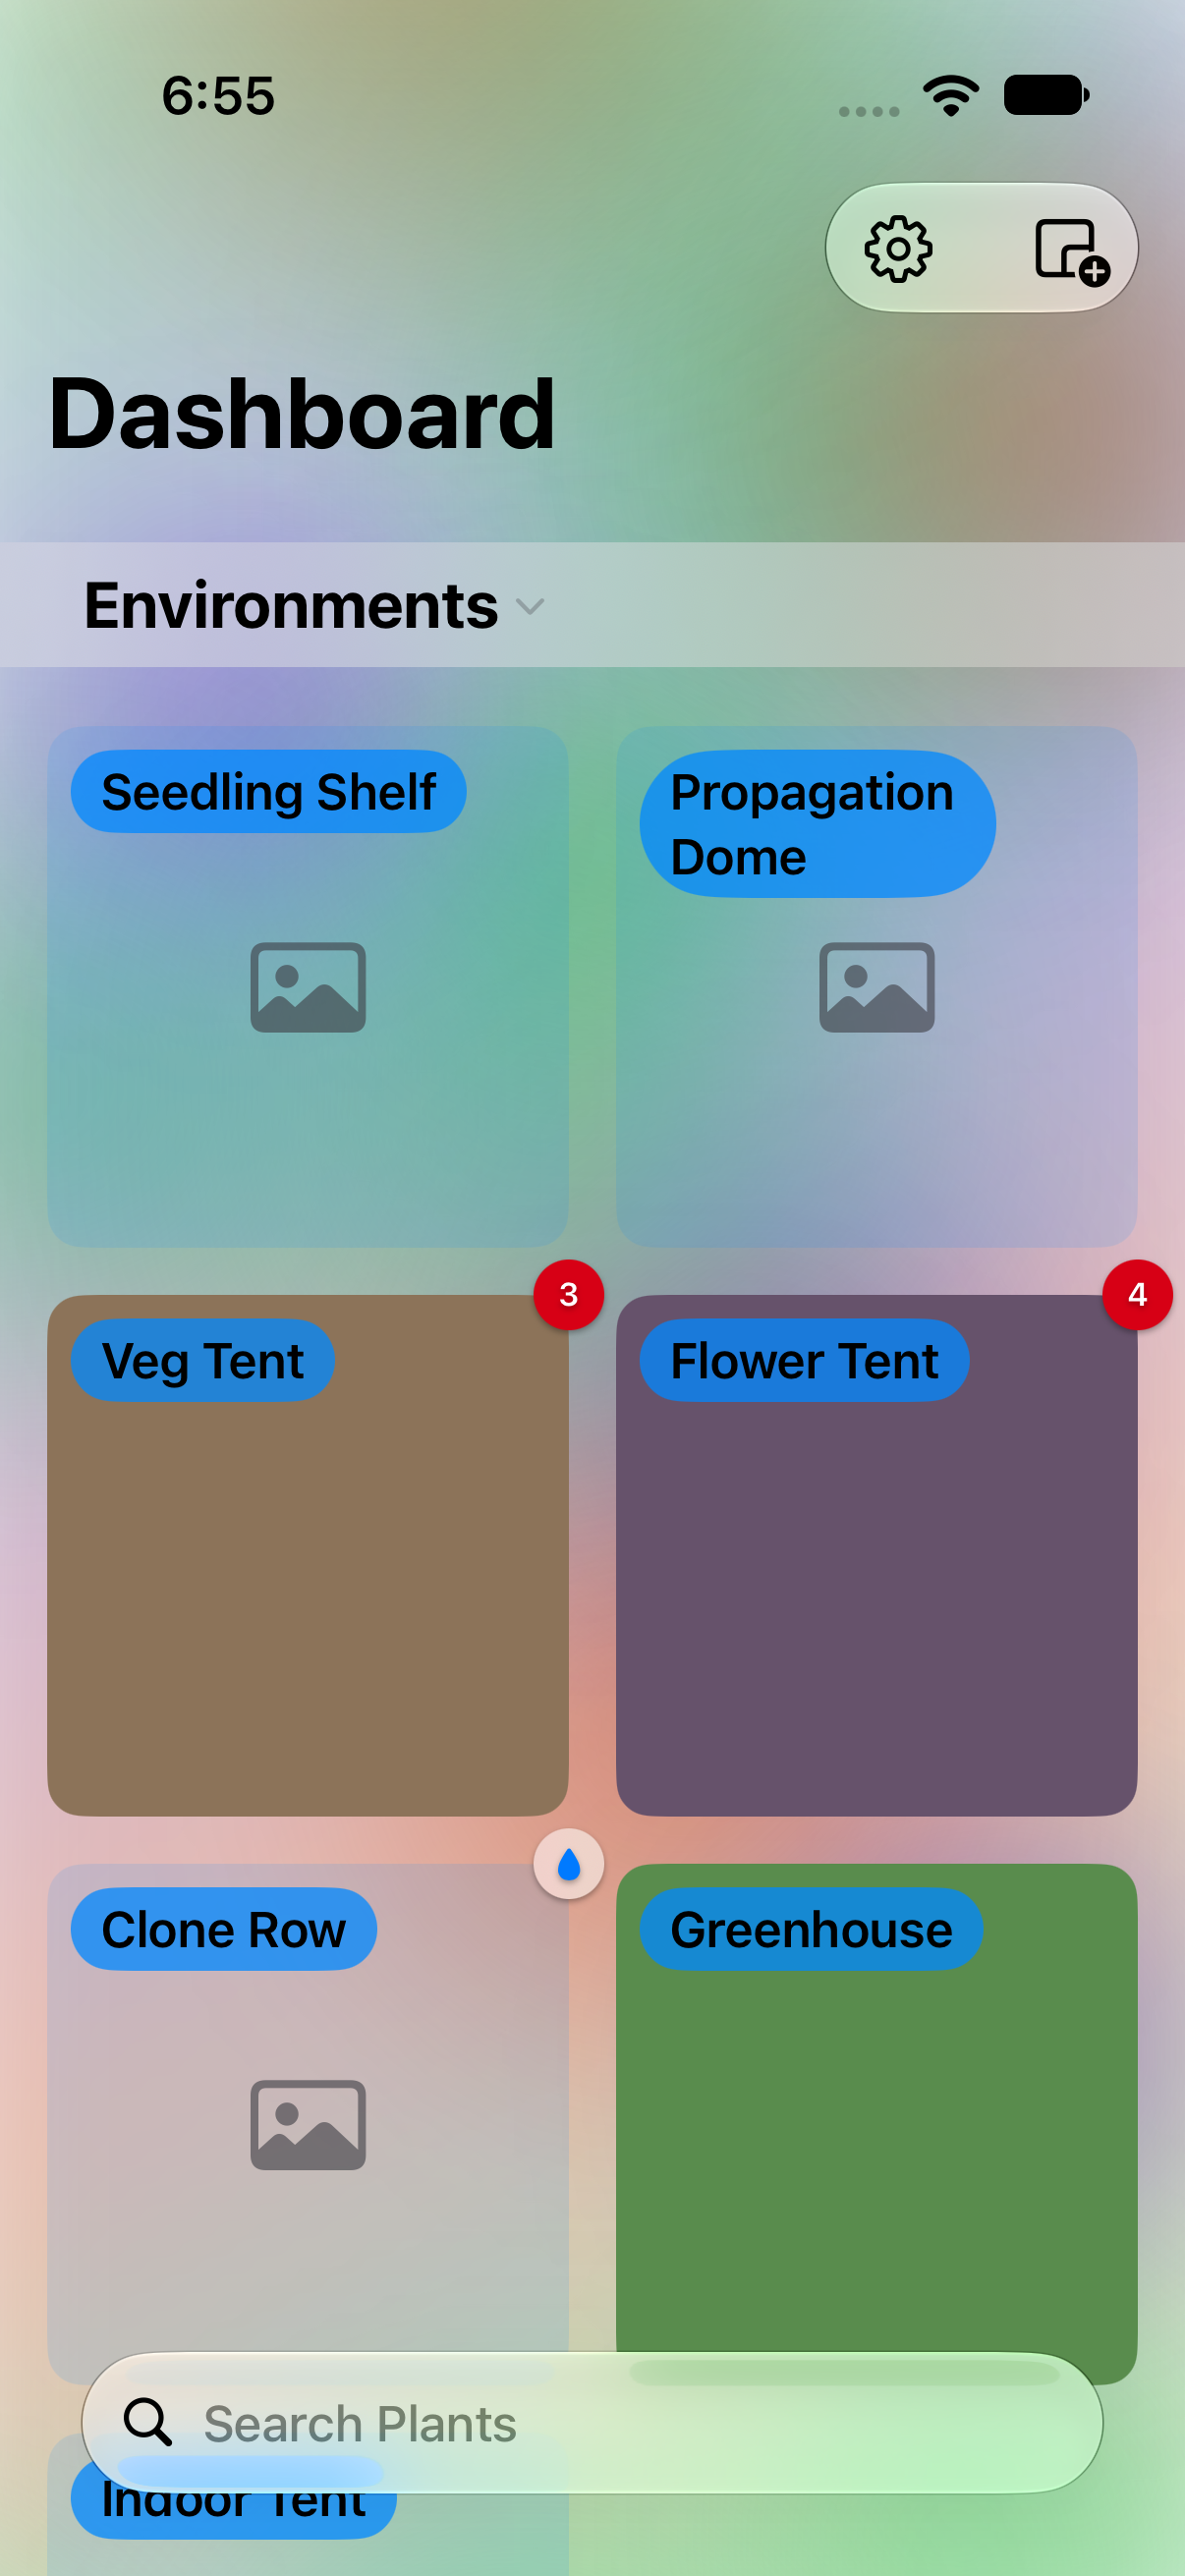
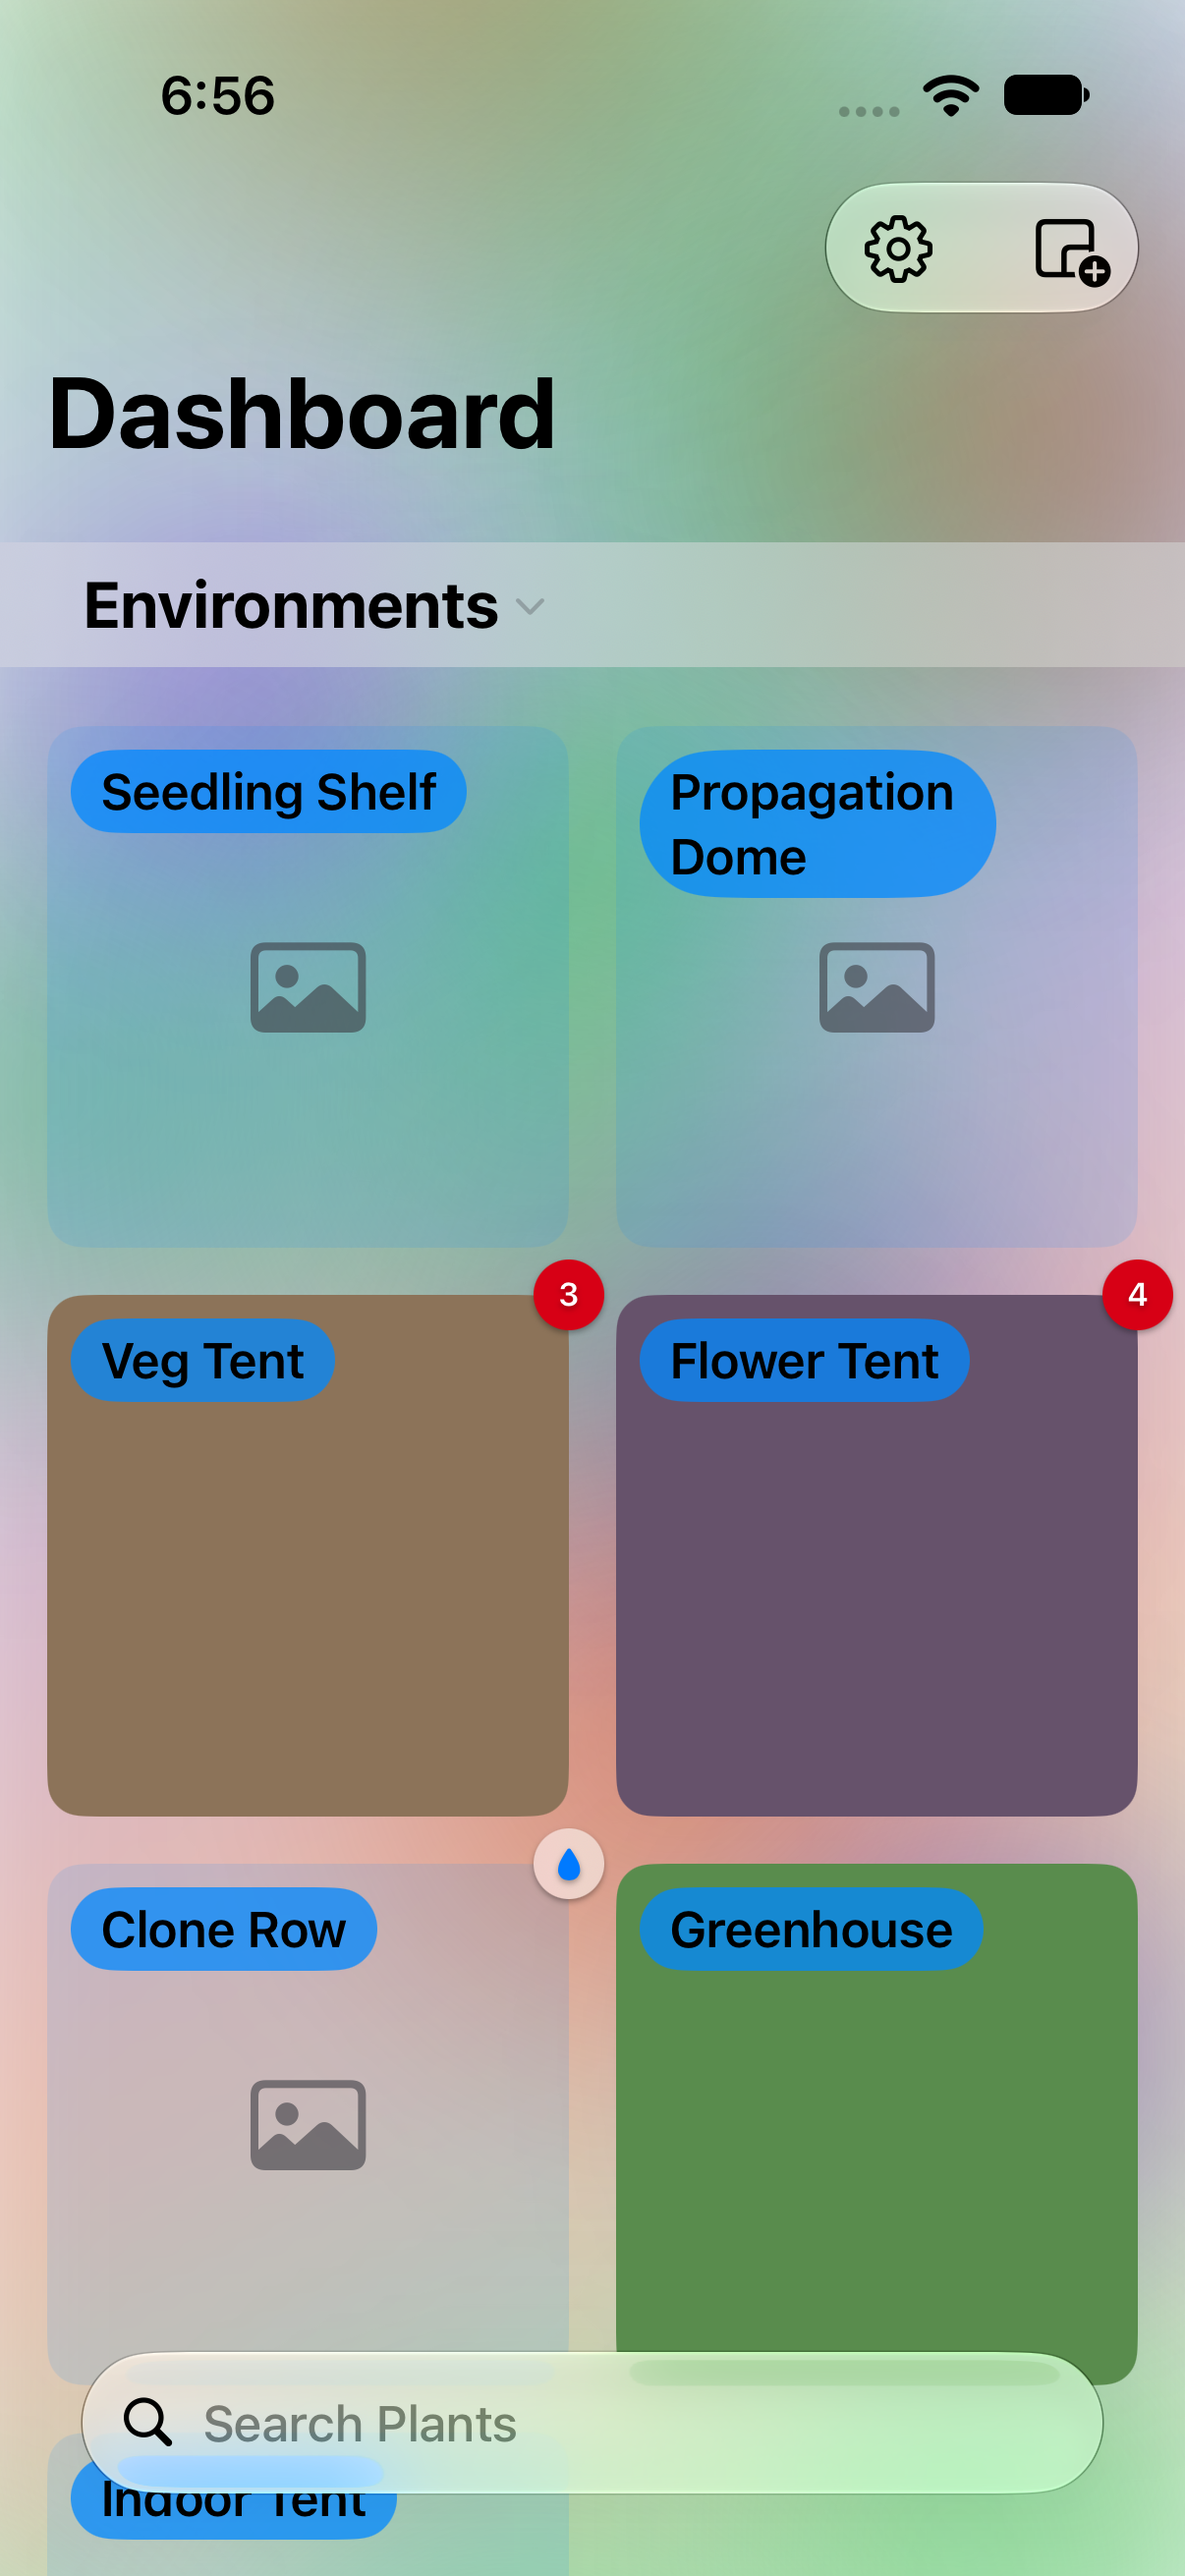
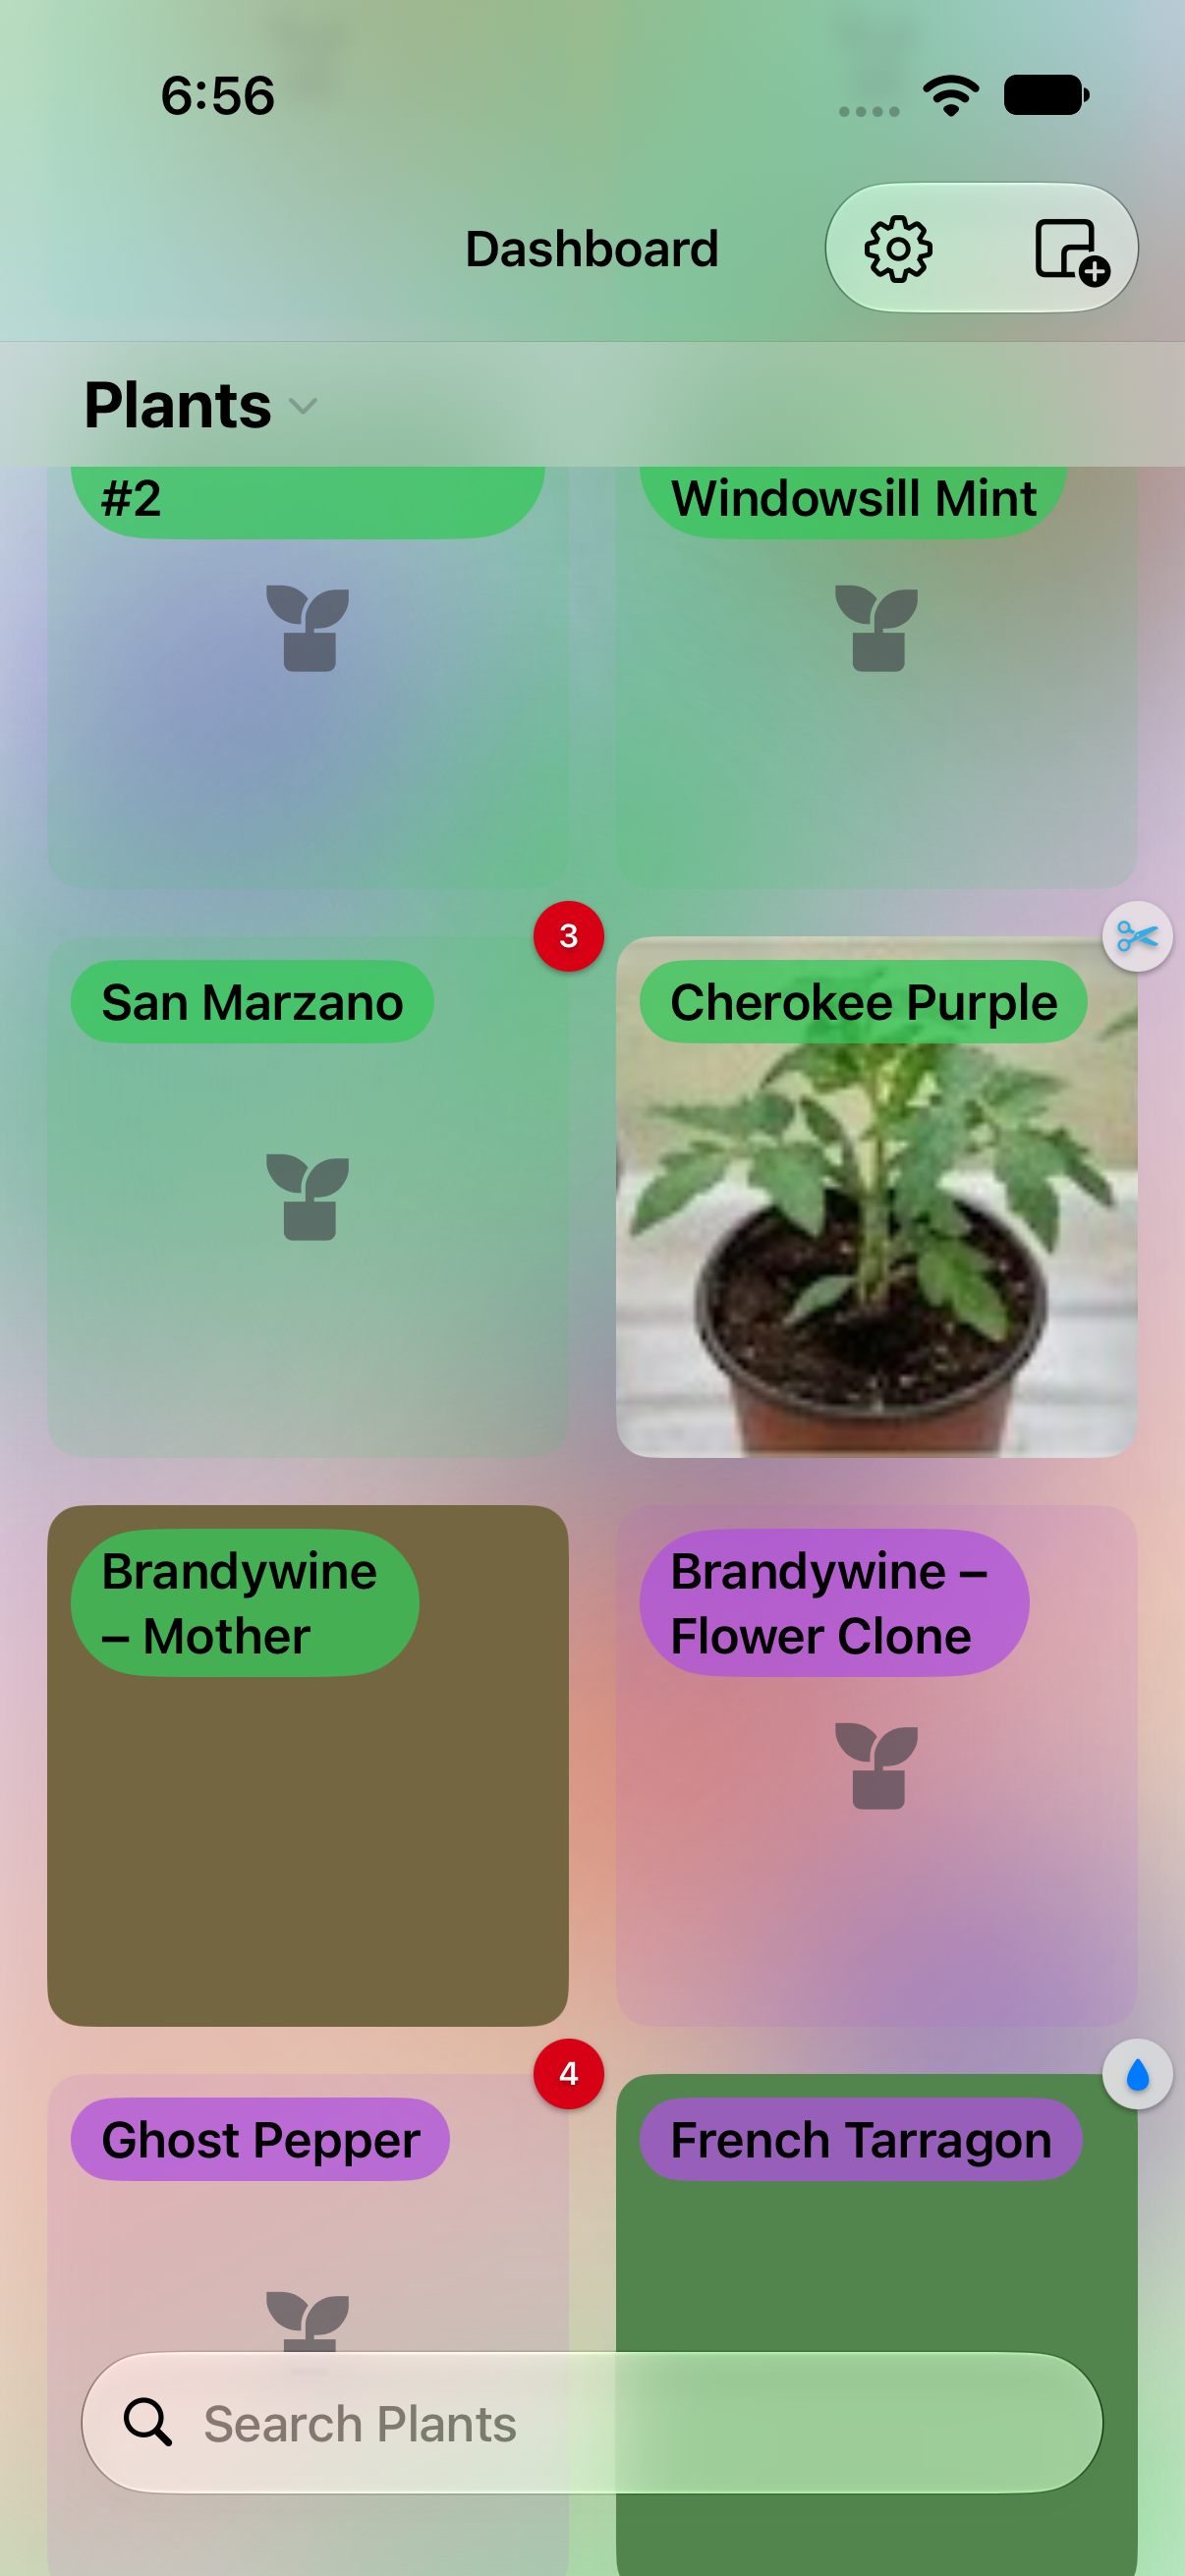
The dashboard gives you a daily digest of what's due — watering, feeding, trimming — with app icon badge counts so you never open Trug to a surprise. Each plant also keeps a reverse- chronological timeline of every logged action and photo, so you can scroll back through its whole history at a glance.
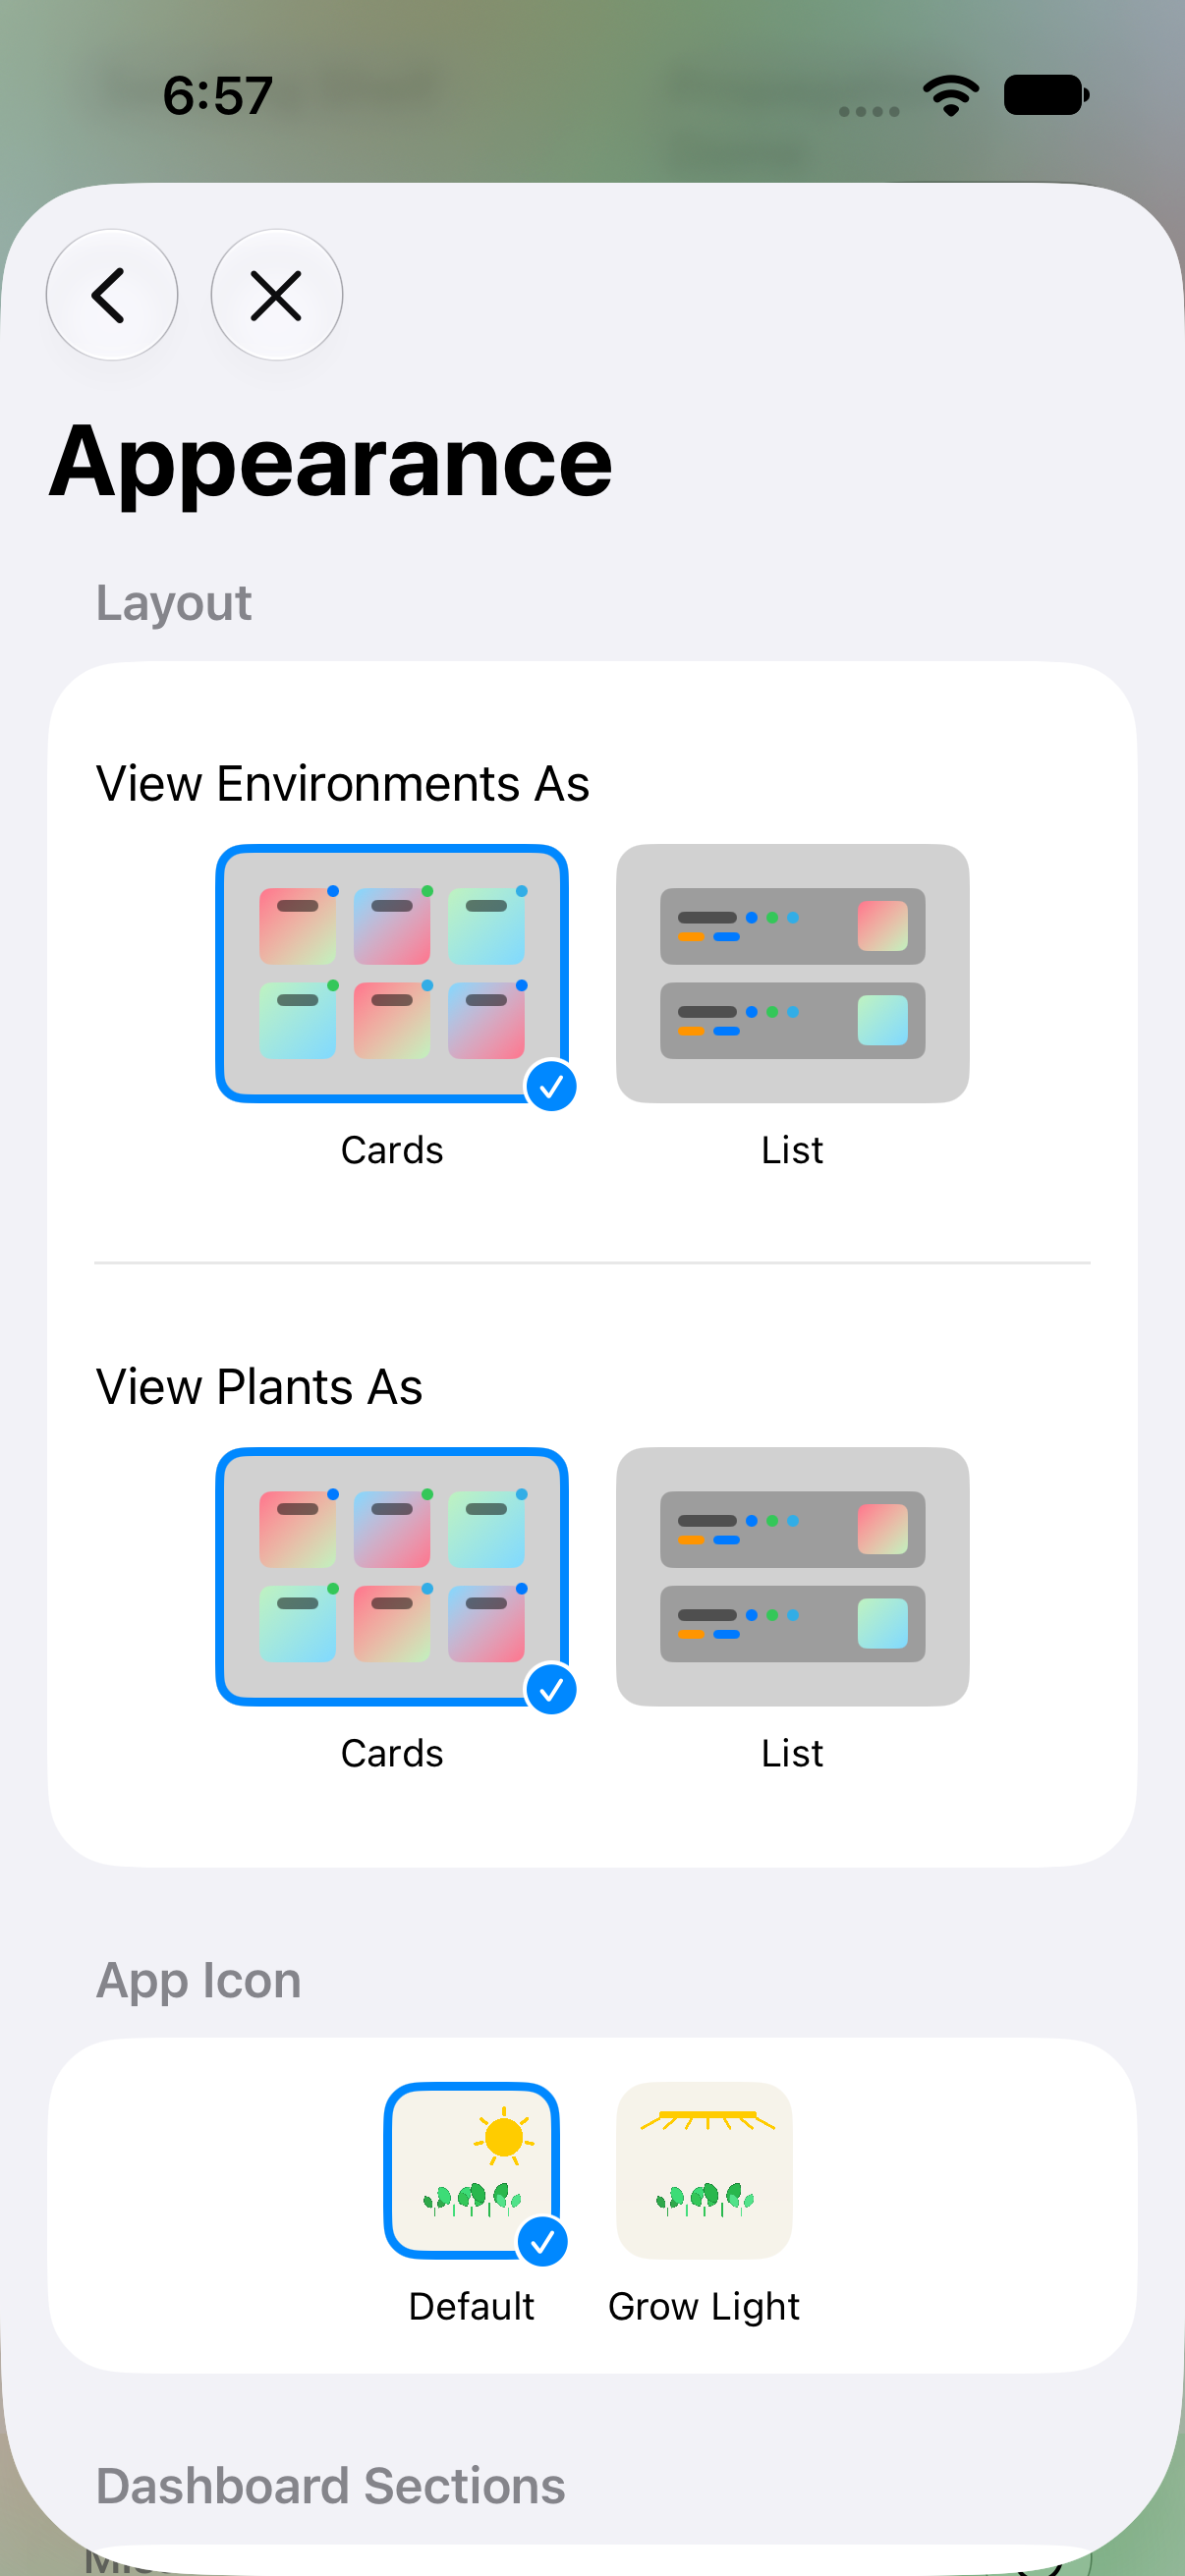
The dashboard can also show every plant across all your environments in one place, not just today's tasks — turn on its Plants section from Settings > Appearance if you'd like both. And if you'd rather browse dense lists than scroll through cards, Appearance lets you switch the Environments list and any environment's Plants section to Rows independently.
Widgets
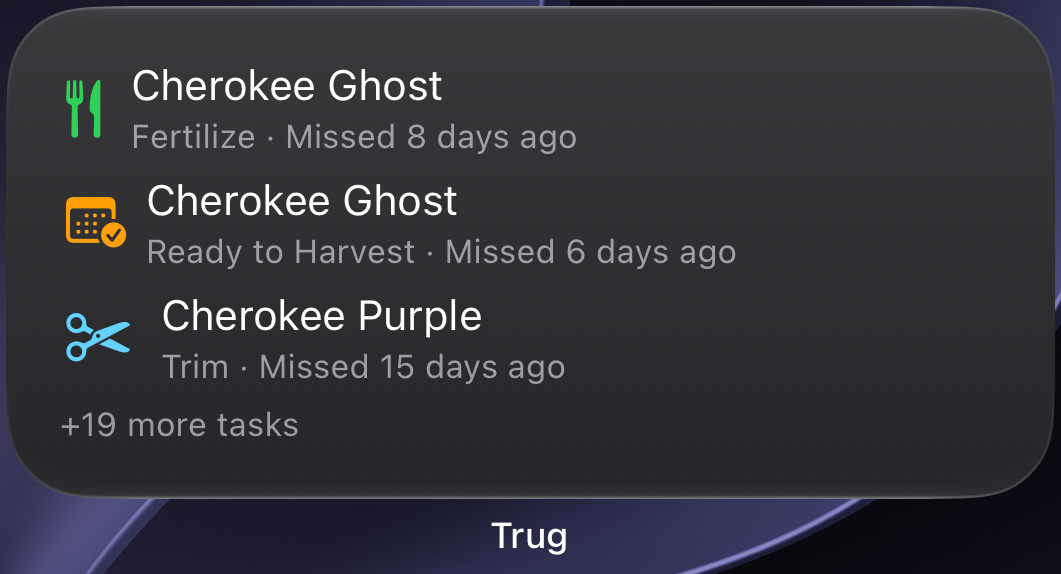
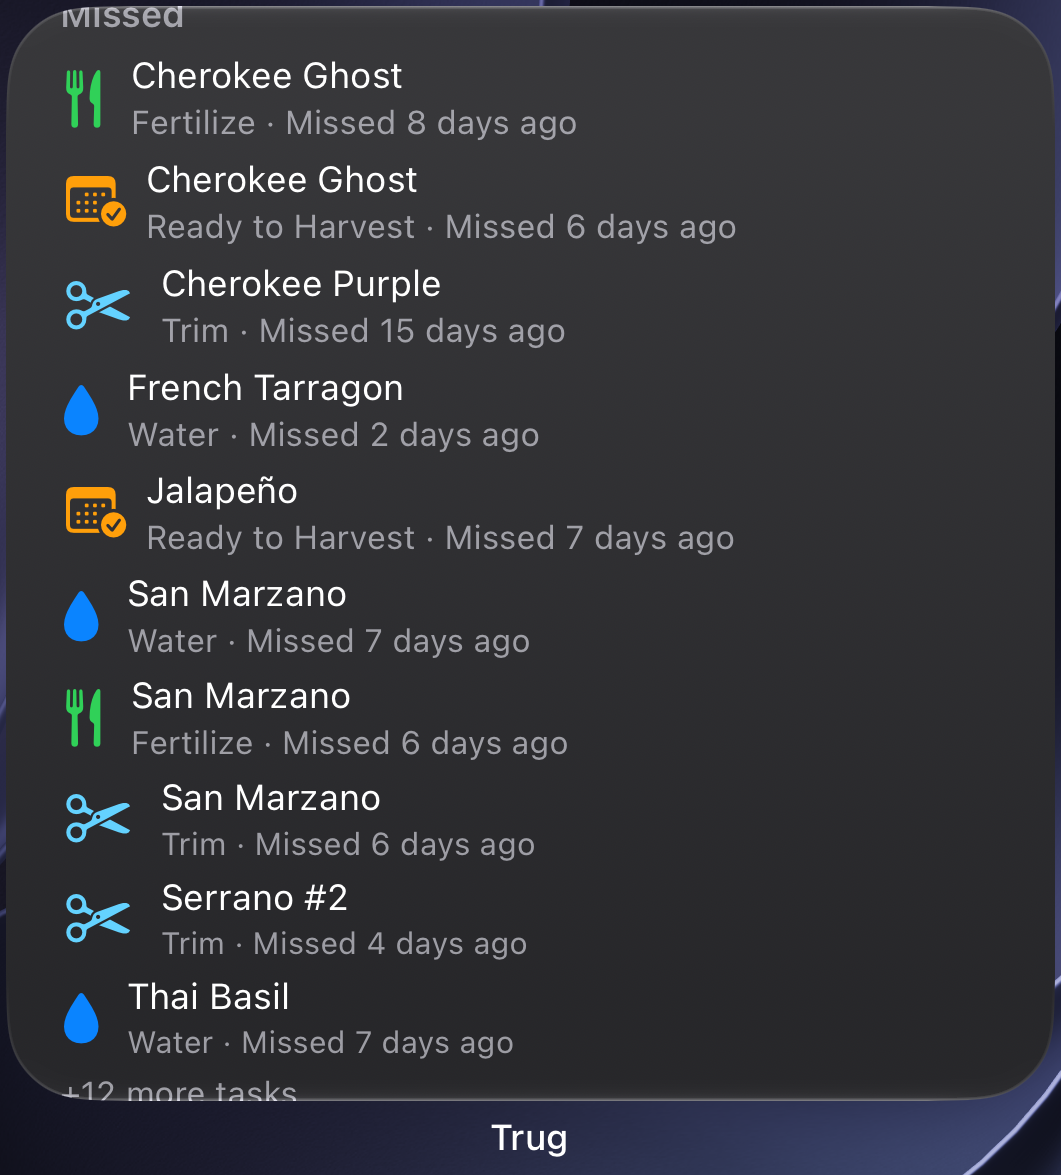
Add Trug's Tasks widget to your Home Screen in any of three sizes to see what's due without opening the app at all — the small size shows your single most pressing task, medium and large show more of the list.

Settings
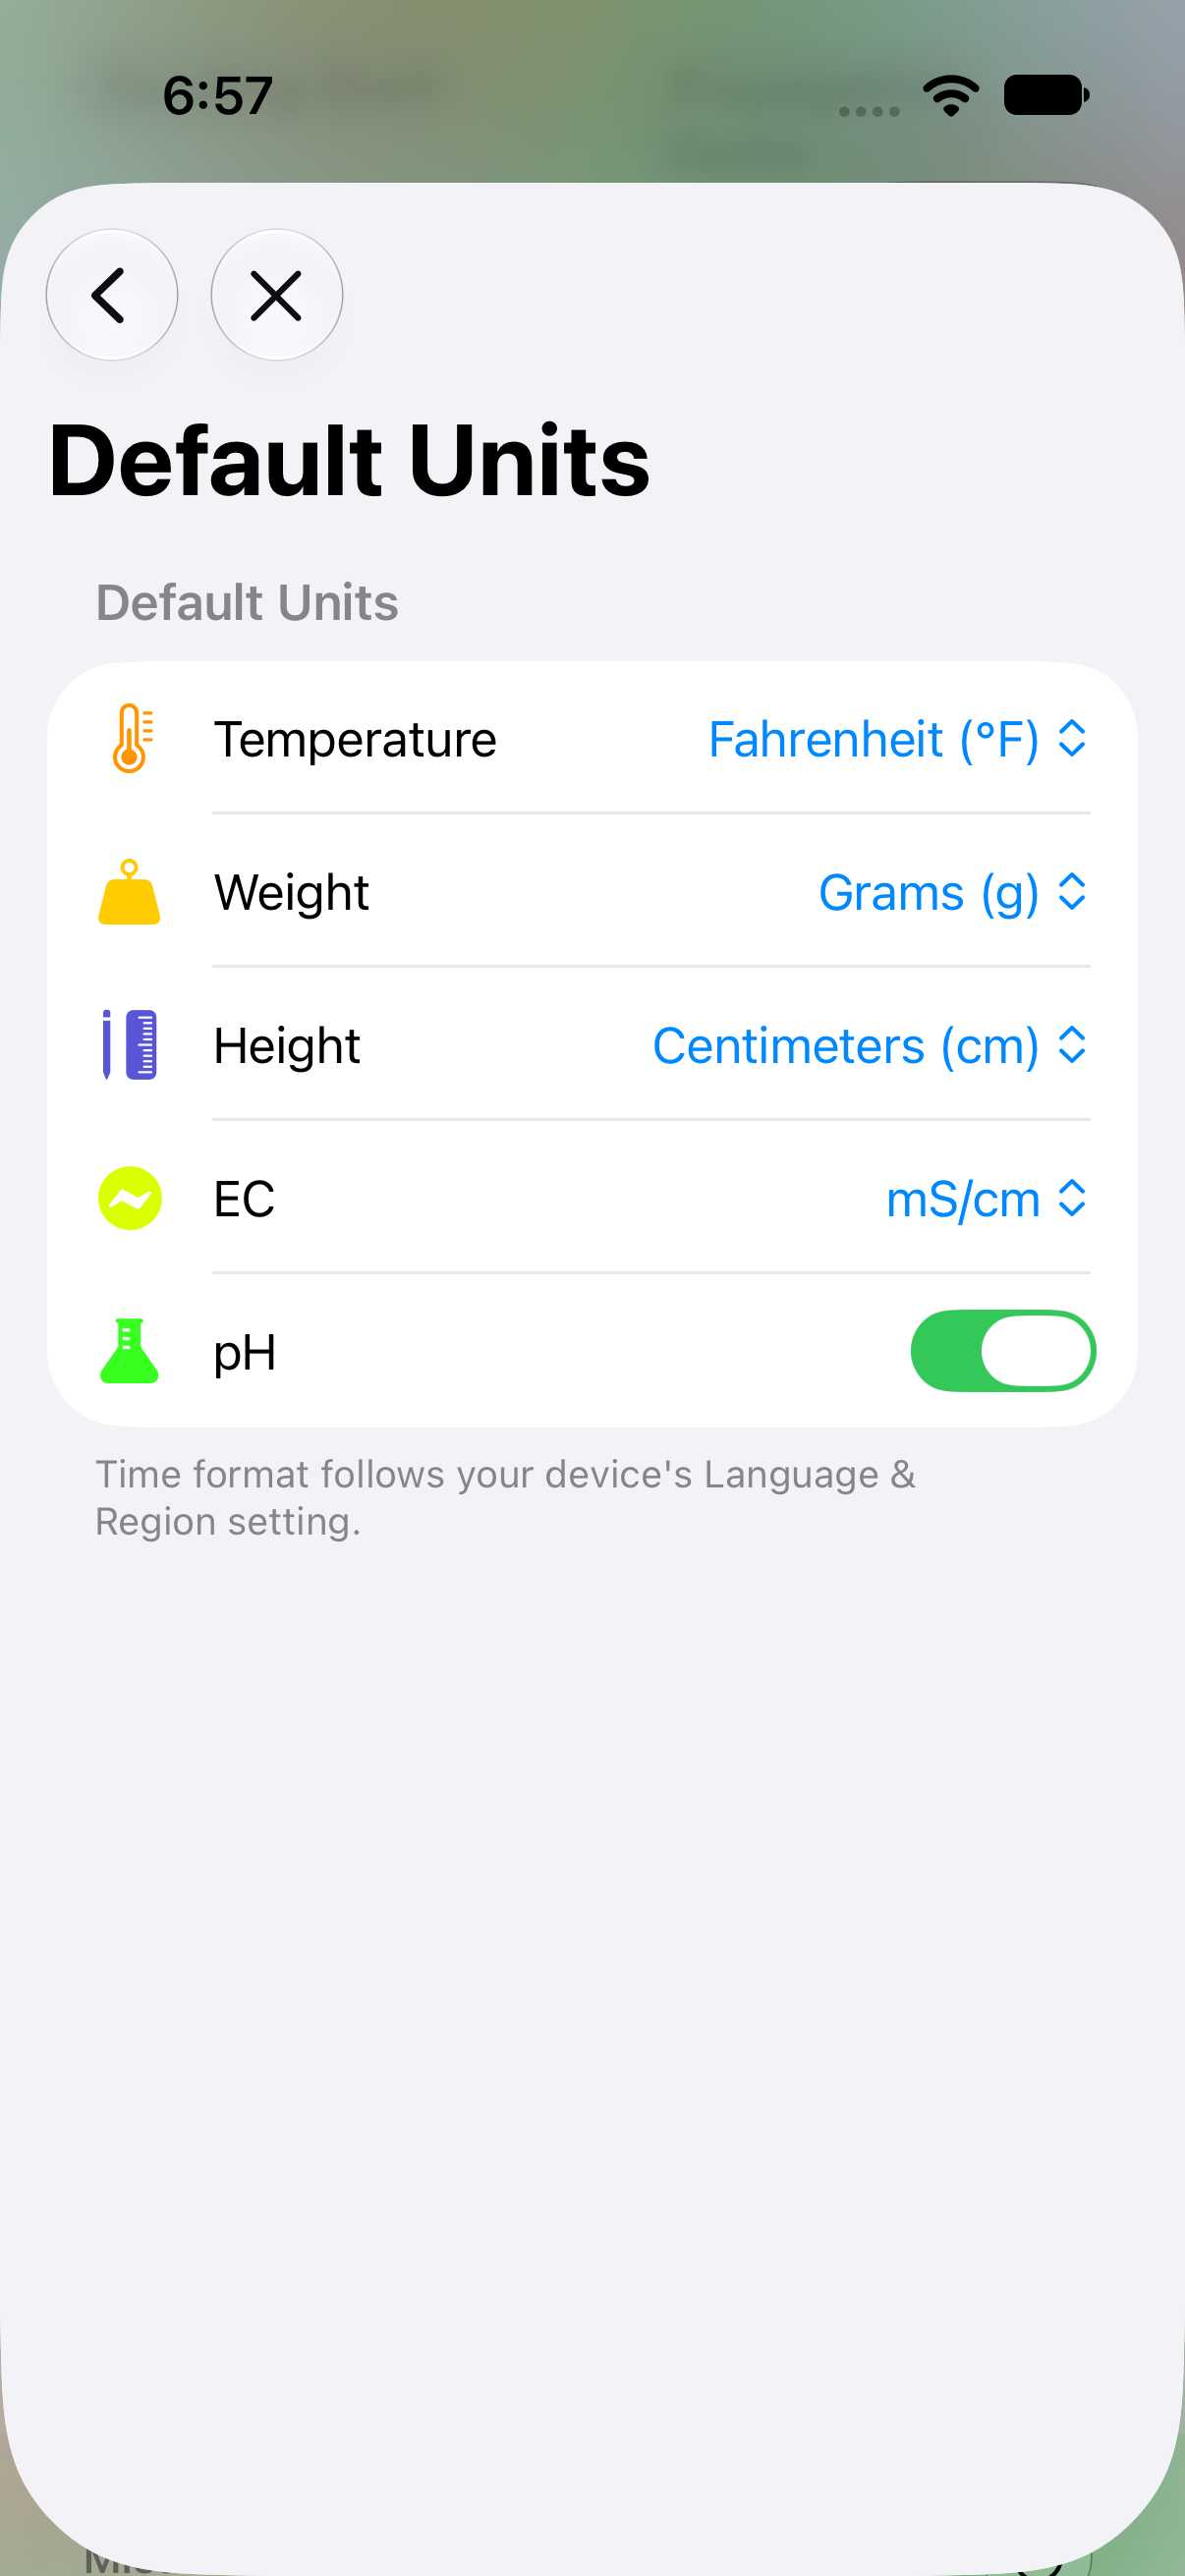
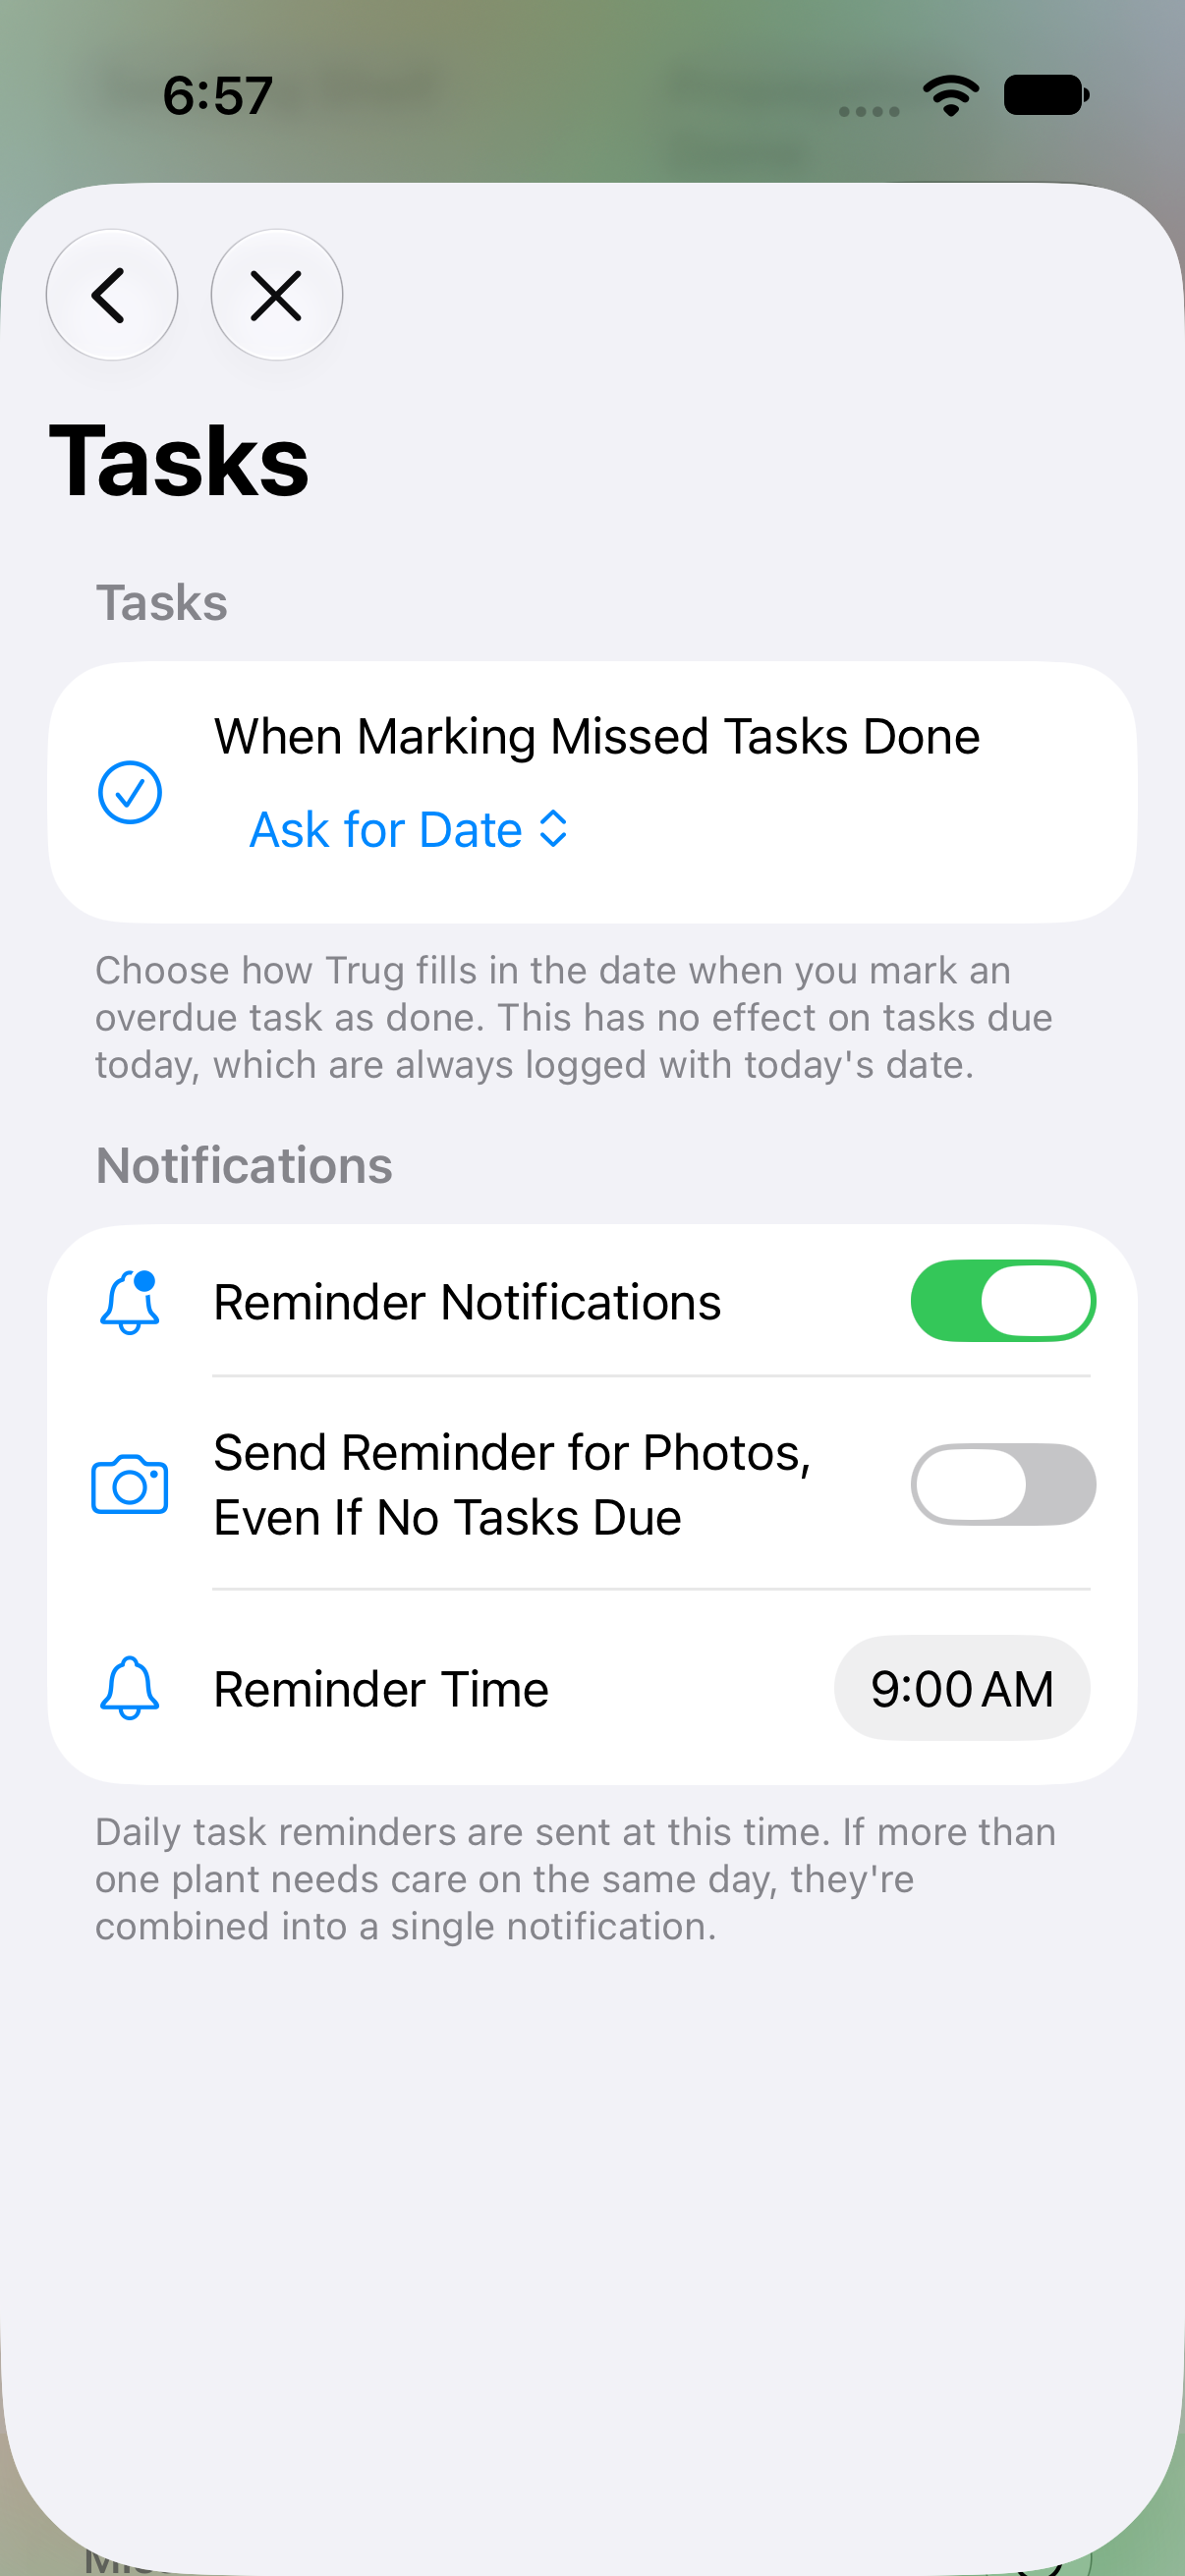
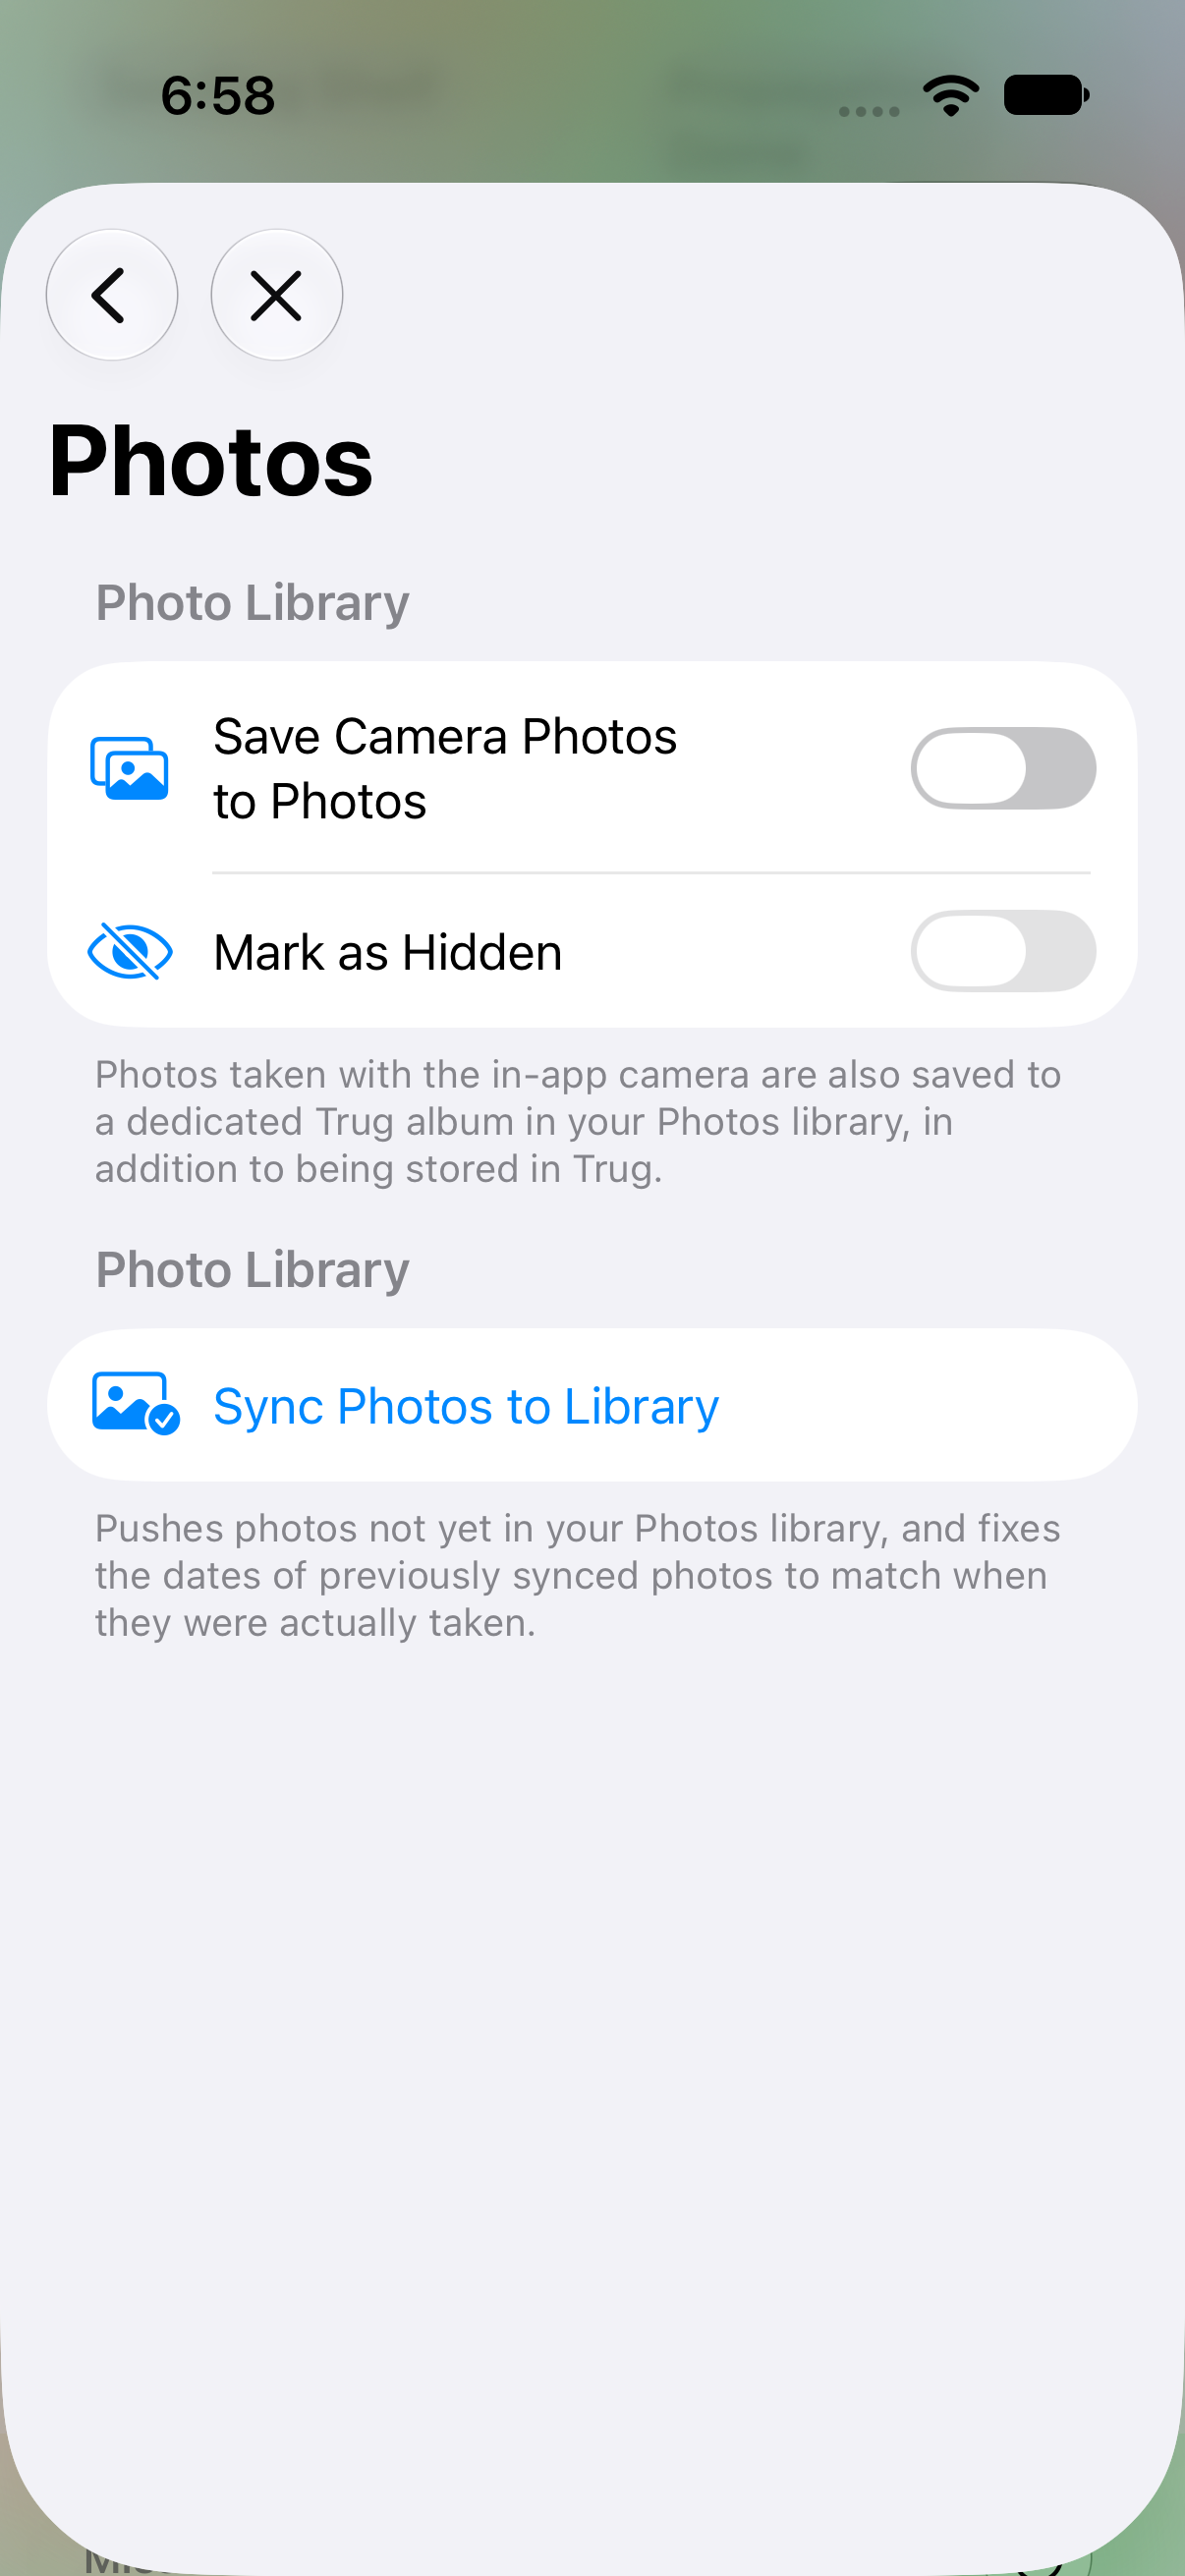
Every Settings screen, at a glance:
Mac Menu Bar
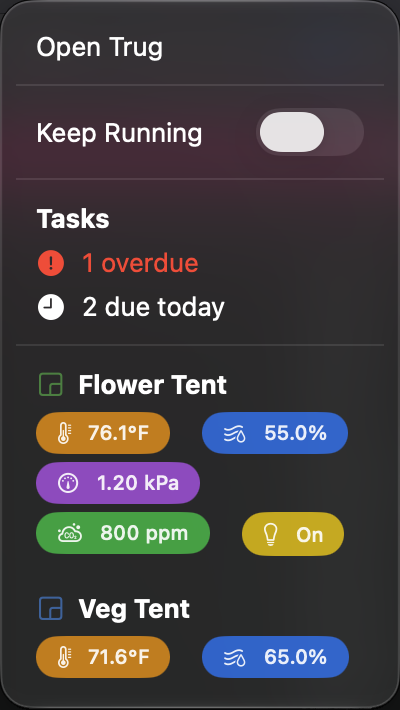
On macOS, Trug also installs a lightweight menu bar extra that works even when the main app isn't running. Click its icon for an at-a-glance summary of today's tasks and each environment's latest sensor readings — handy for a quick check without switching windows.
Mac Keyboard Shortcuts
Trug's Mac App has a real menu bar with shortcuts for the actions you'll use most:
| ⌘N | New Window |
| ⌘L | Log Action |
| F⌘F | Find Plant |
| ⌃⌘N | New Environment |
| ⌃⌘E | Edit Environment |
| ⇧⌘N | New Plant |
| ⇧⌘E | Edit Plant |
| ⇧⌘C | Take Clone |
| ⇧⌘P | Add Photo |
| ⇧⌘M | Move Plant to Environment |
| ⇧⌘A | Advance Growth Stage |
| ⌘, | Settings |
| ⌘[ / ⌘] | Back / Forward |
| ⌘D | Dashboard |
| ⌘Q | Quit |